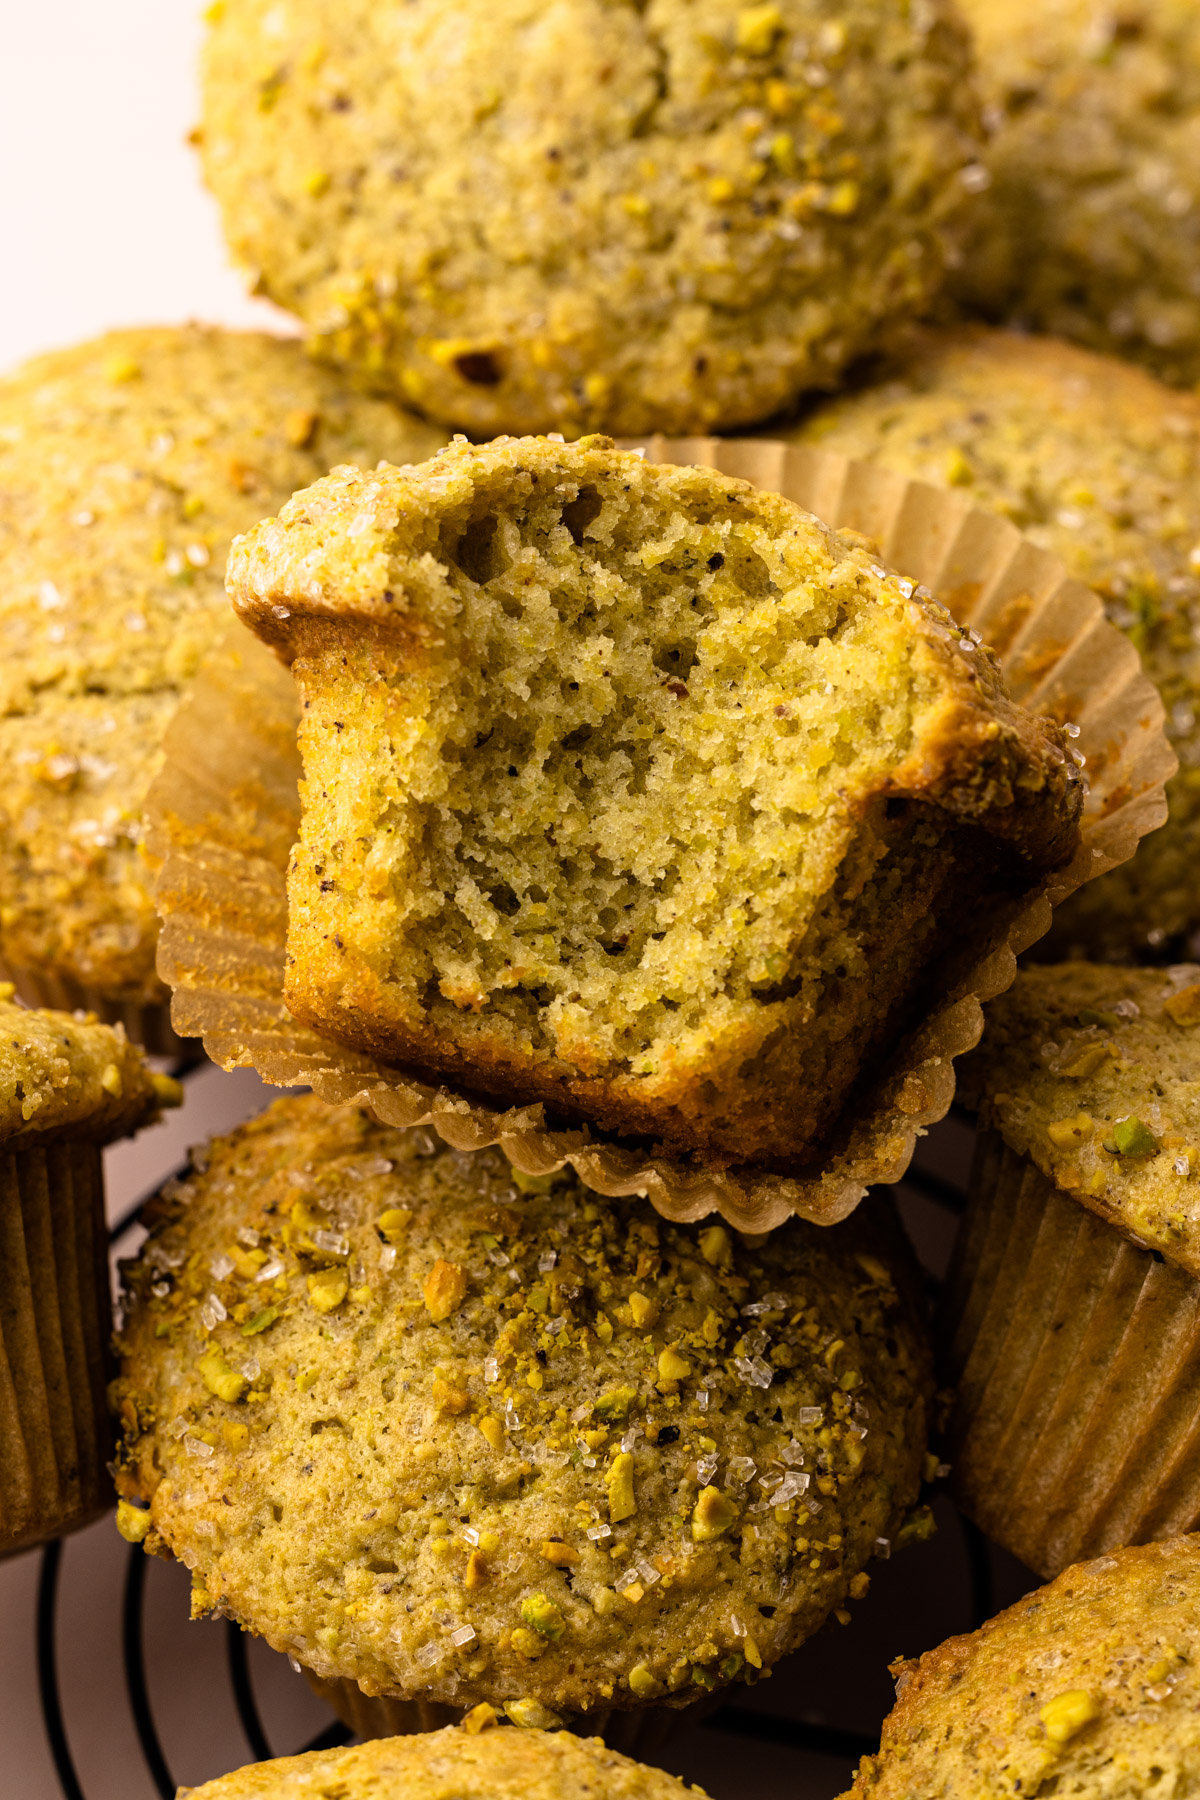
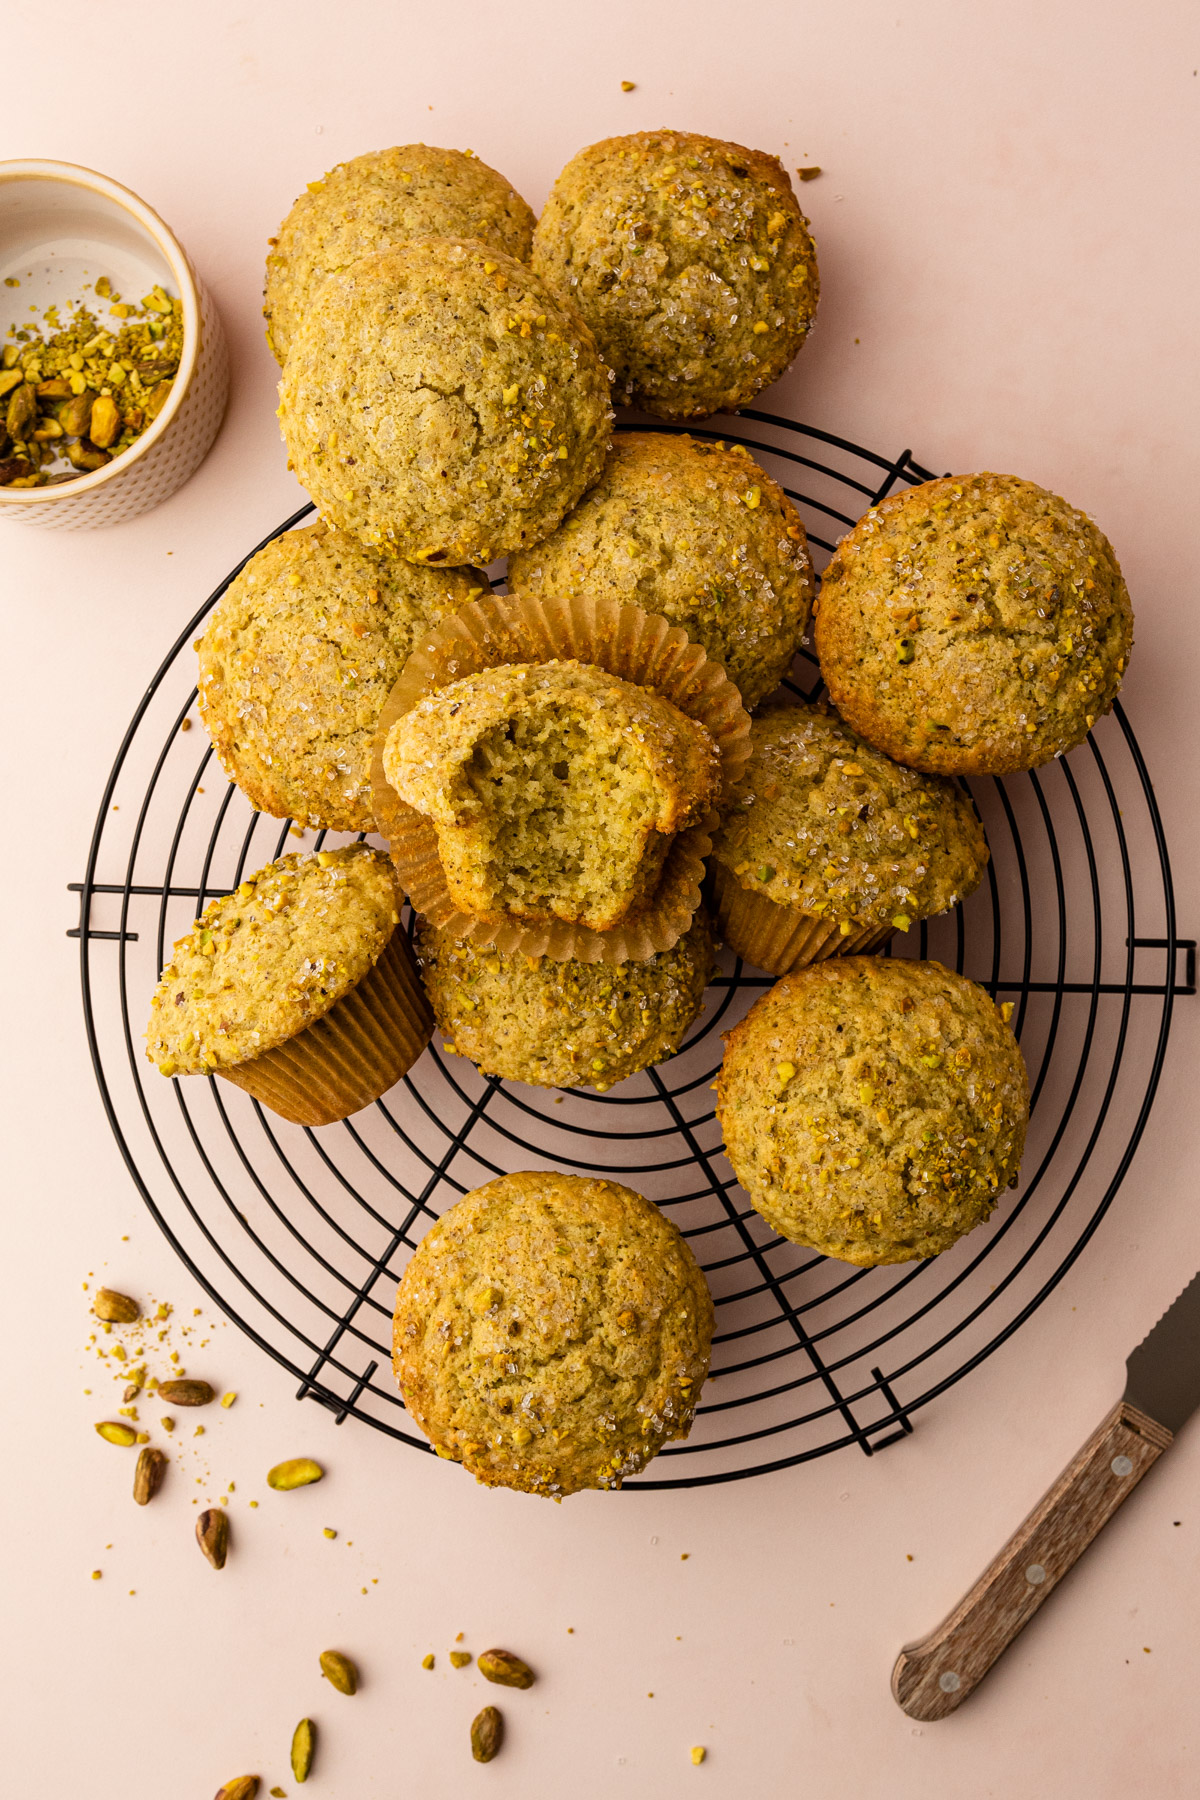
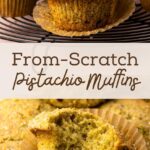
These real deal Homemade Pistachio Muffins, made without any packaged mix, have a nutty and tender crumb and a sweet pistachio flavor.
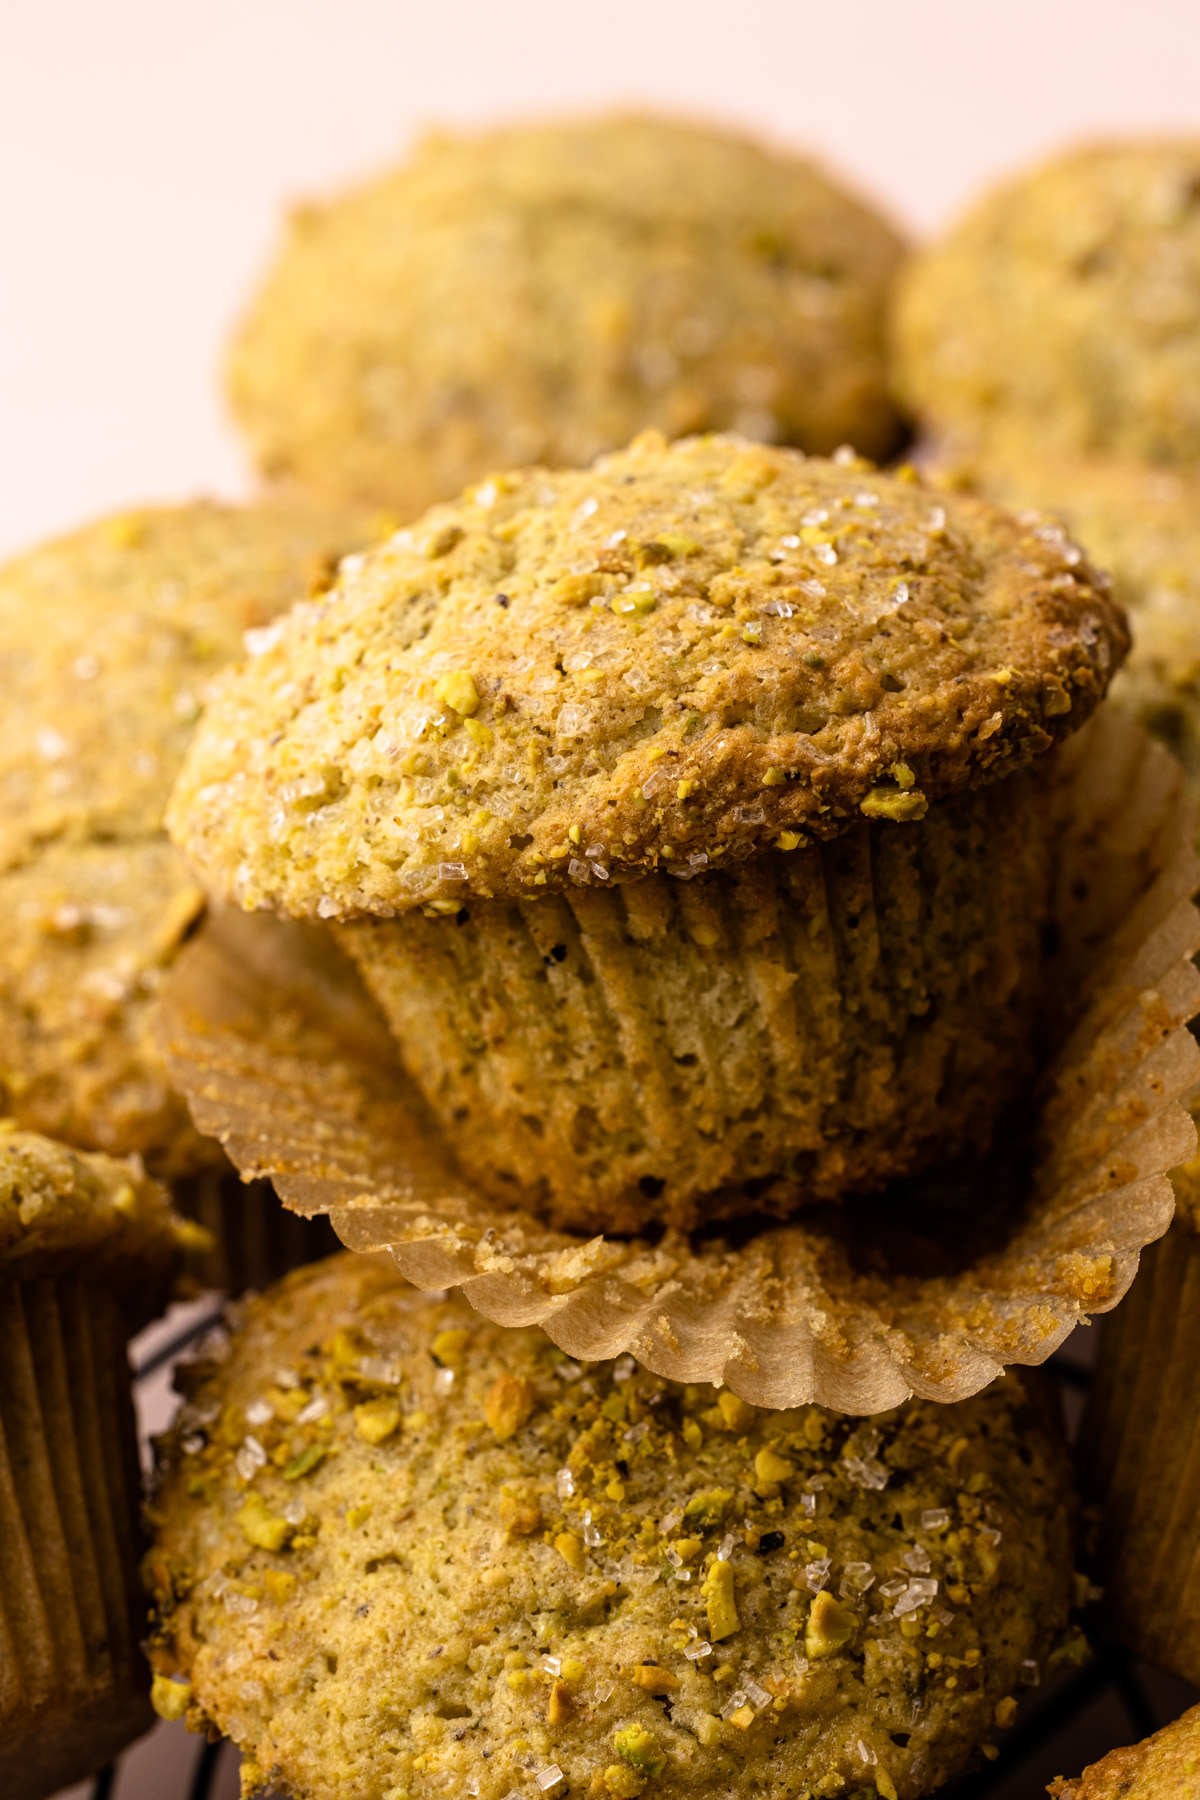
Pistachio muffins from the grocery store used to be my favorite when I was a kid. You know those tall, dense, brightly hued green ones with crunchy sugar on top and maybe one or two small pieces of pistachio? But having tried them as an adult recently, I have to admit my grown-up taste buds can't handle all that artificial flavor. However, that nostalgic craving for that flavor I remember through rose-colored glasses still gets me every once in a while. So this recipe really was just a long time coming.
This recipe uses real pistachios (and real everything else), and not a box mix of anything to be found. Because it's all real actual ingredients, the color isn't bright green; but it's still a pretty color with that characteristic "pistachio" flavor thanks to the use of almond extract, which is often what we are tasting when eating pistachio-flavored baked goods.
More of a visual learner? Check out the video of me making it (below near the recipe) to see just how it's done!
Ingredients Needed and Substitutions
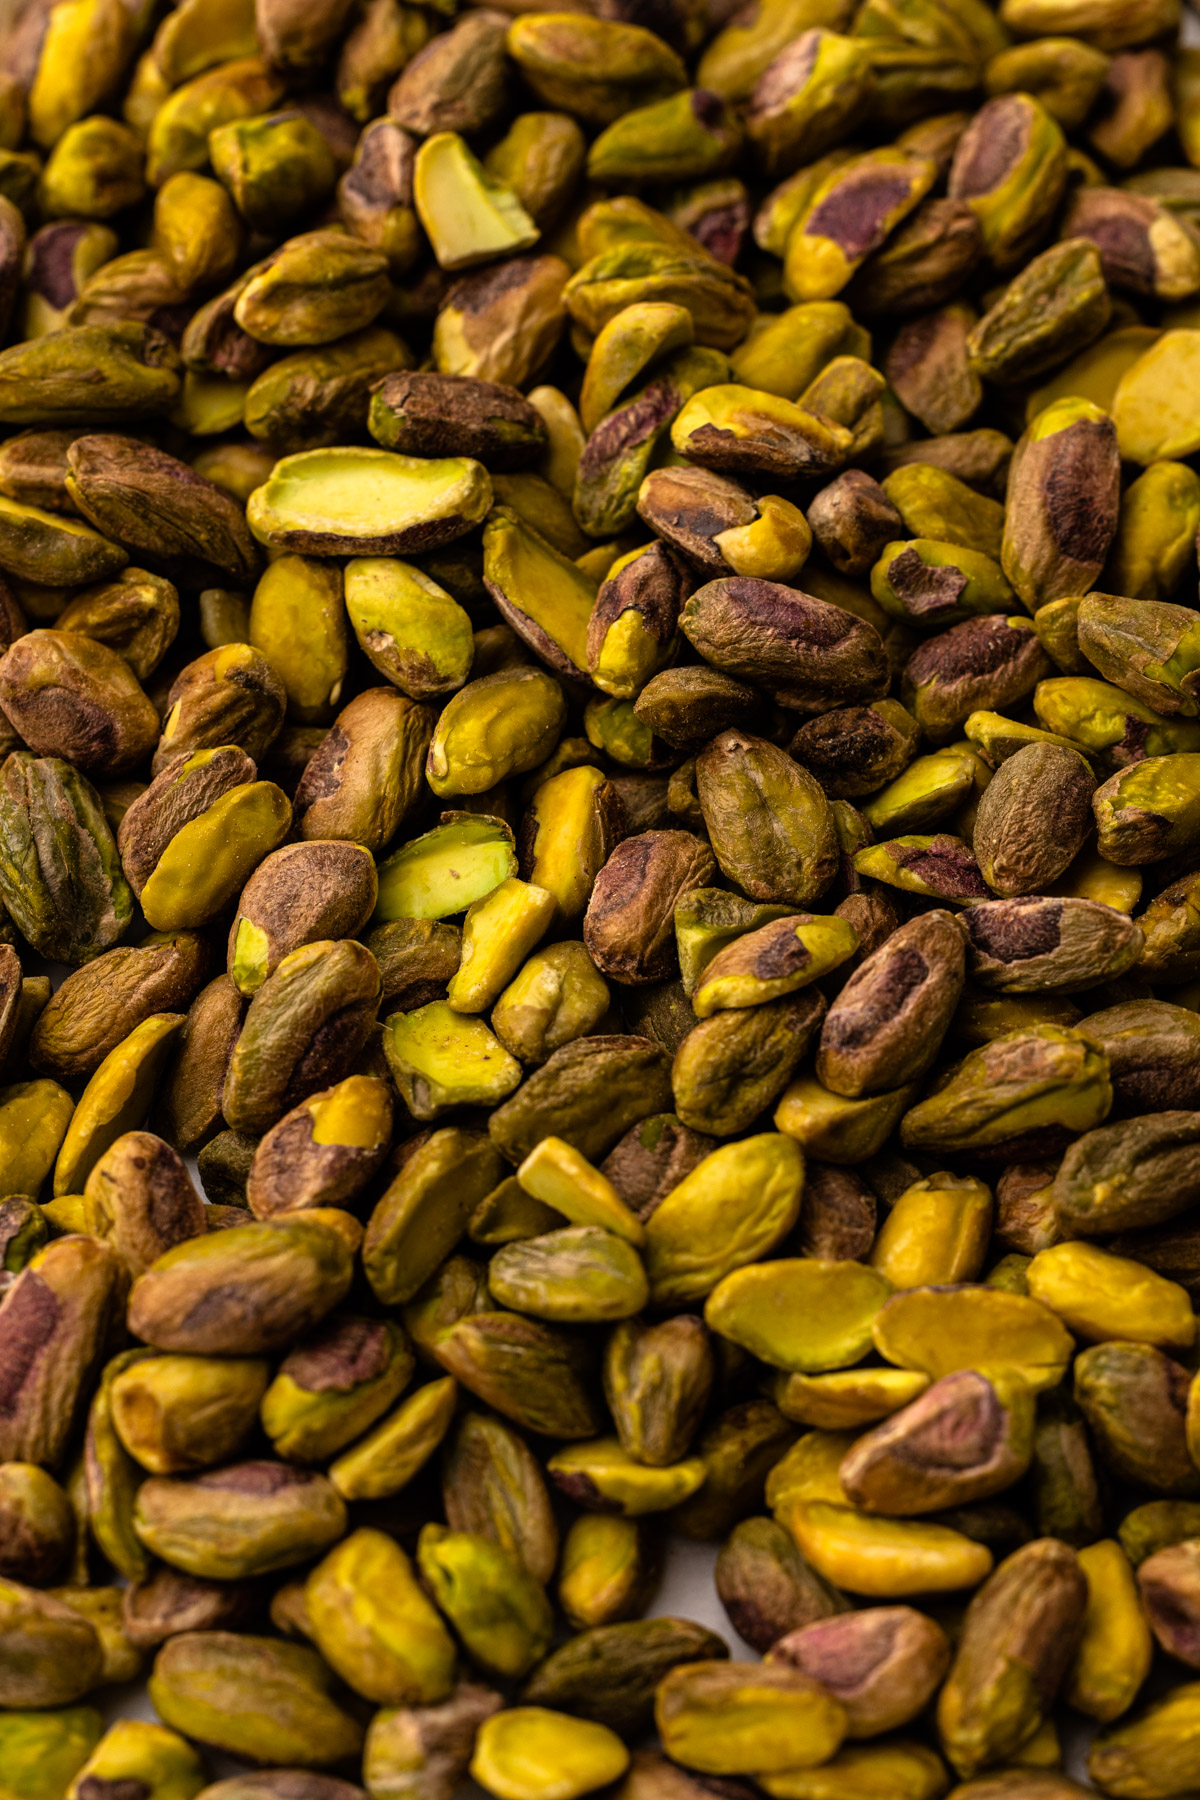
Here is a brief overview of the ingredients needed for this recipe. The full recipe with quantities is listed below this text in the recipe card. If substitutions are available for this recipe, they'll be listed here. If you don't see a substitution you are looking for, please leave a comment below.
- raw unsalted shelled pistachios (see more on this below)
- plain unsweetened yogurt (you can use regular or greek yogurt)
- unsalted butter
- eggs
- granulated sugar
- almond extract (this is the flavor we typically associate with pistachio)
- all-purpose flour
- baking powder + baking soda
- kosher salt
- coarse sugar (this is for sprinkling on top of the muffins before they are baked)
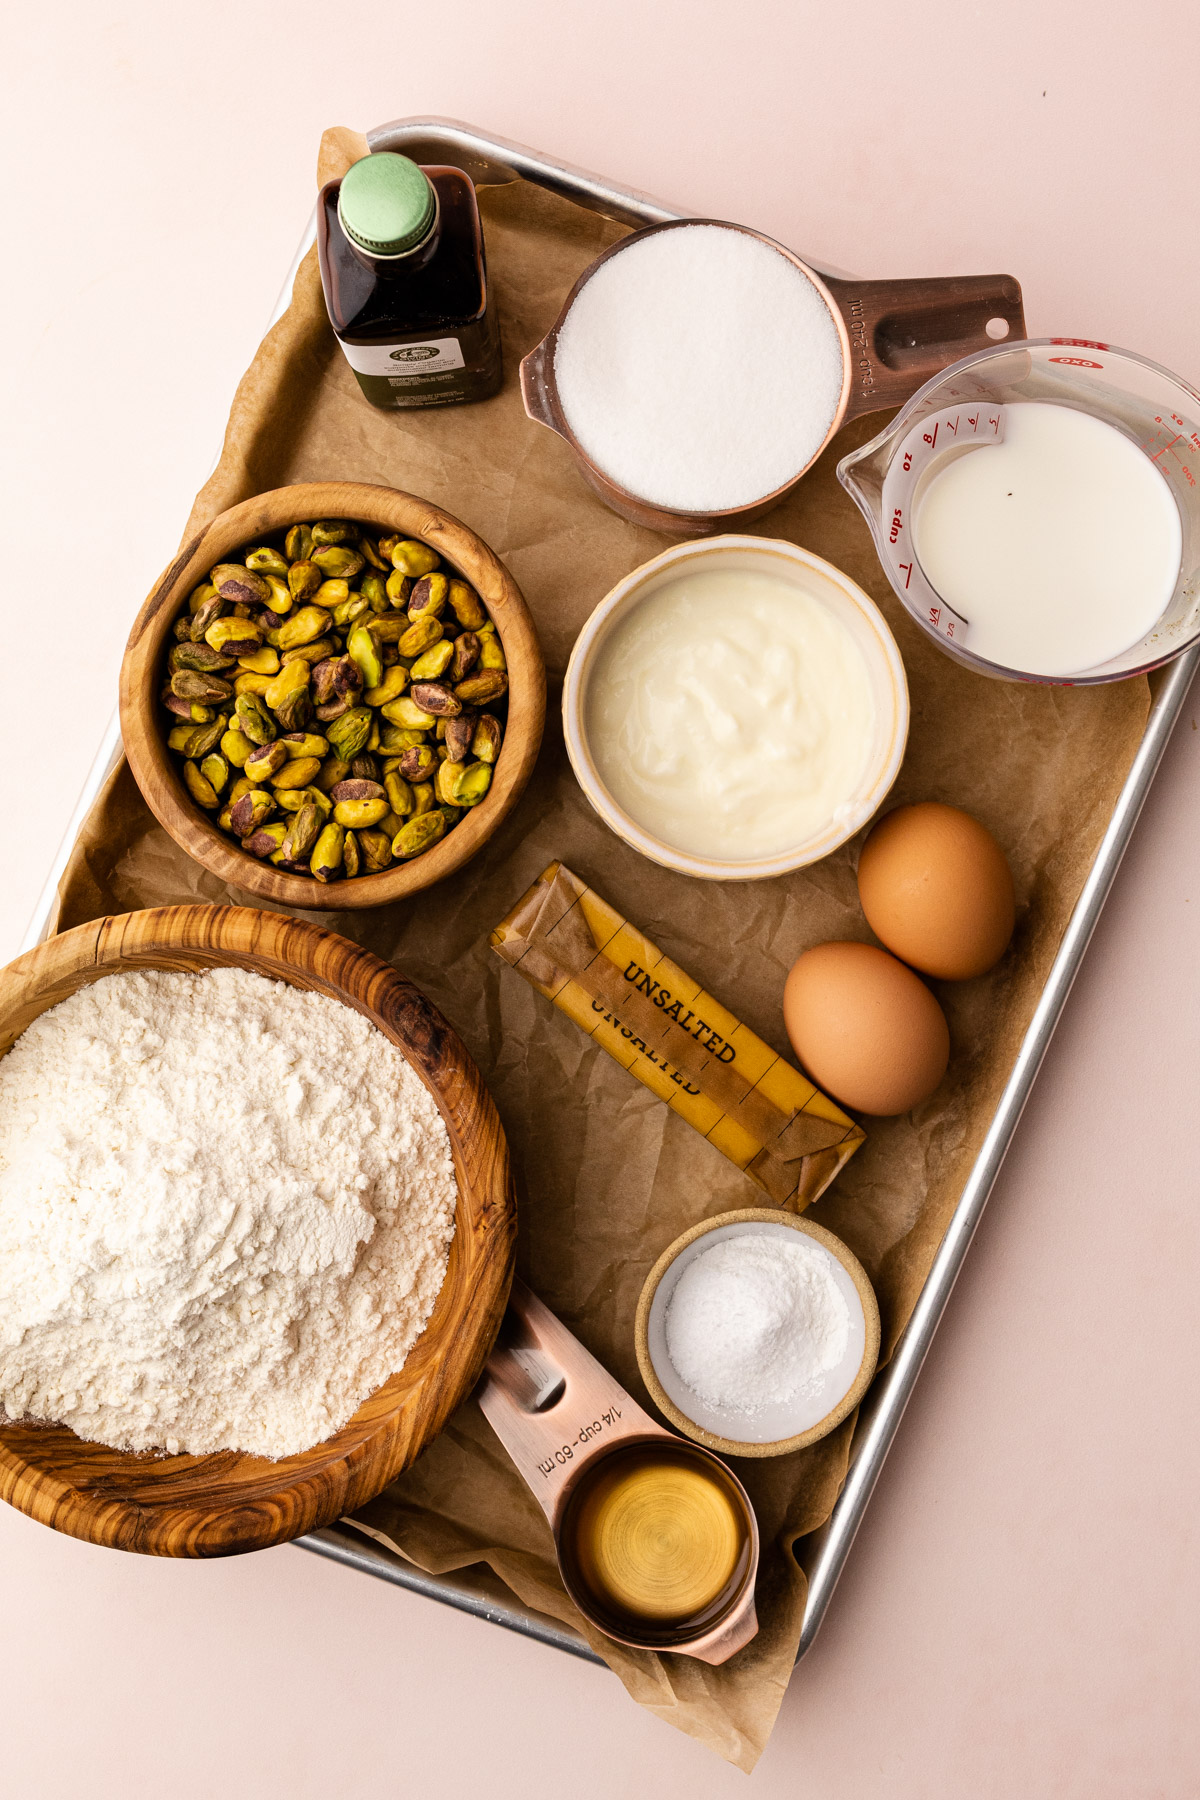
Pistachios Specifics
This recipe calls for shelled raw pistachios. Using anything other than raw unsalted pistachios will alter the final result.


How to Make the Muffins
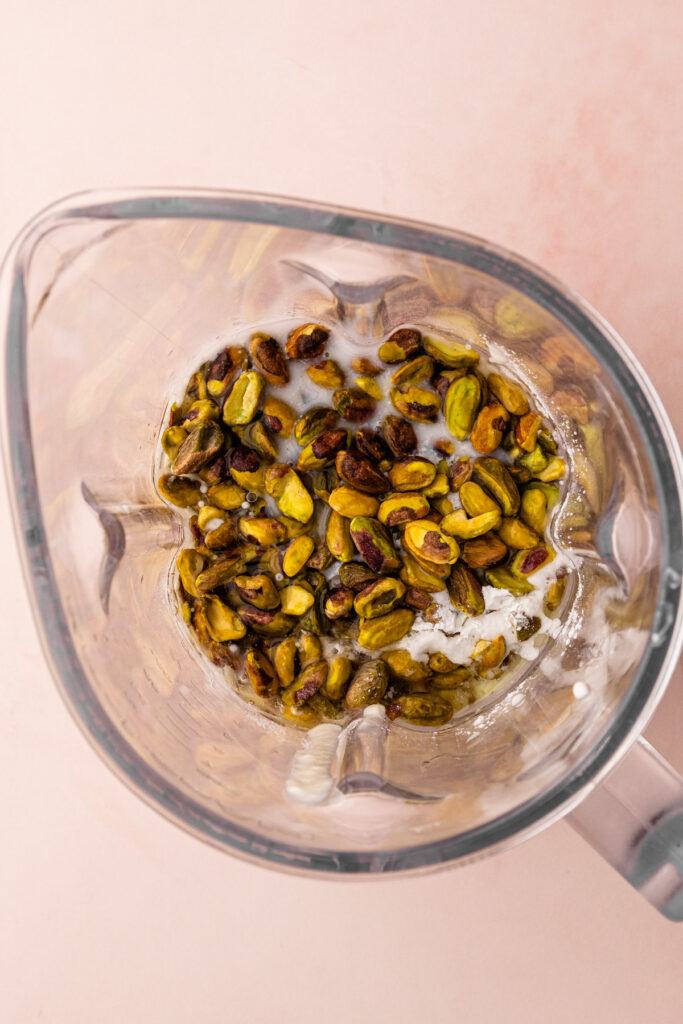
It's a relatively straightforward process of making the batter. Because the recipe calls for whole pistachios they need to be ground up. The easist way to do this is to blend them in a blender along side the rest of the wet ingredients. However, it must be done in stages so as to not work too much air into the muffins.
Here are the steps in making it (the full recipe is at the end of this article):
- Add the oil, dairy products, sugar, and pistachios to a blender. Blend until the pistachios are largely pureed.
- Add the eggs and blend until just combined. You don't want to blend them too much or the eggs will get whipped up.
- While the blender is running, add in the cooled and melted butter.
I'm very specific about the order of ingredients added and the order of operations in the muffins to ensure the best possible outcome for the muffin.
The reason just some of the wet ingredients are added into the blender with the pistachios and not all (and in a specific order) is to aid the pistachios in pureeing. This is less of a problem if you have a high-speed blender like a vitamix...but I don't so my standard blender needs some help in pureeing harder items like pistachios.
The second reason the eggs are not added in when blending the pistachios is top prevent them from getting an air whipped into them.
The butter is added in at the end while the machine is running because it is melted butter and I wanted to avoid calling for room temperature ingredients, which means that the dairy and eggs might be cold. For this reason, it's added in slowly at the end in a way to temper the butter so that it doesn't resolidify when it's added into the blender.
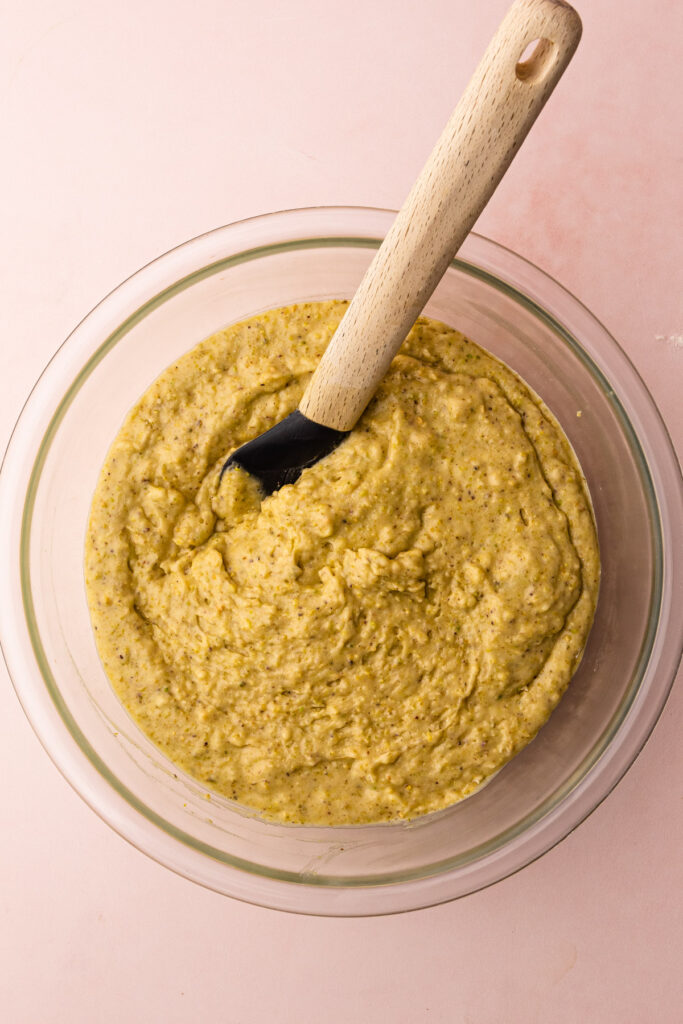
Once the wet mixture is put together in the blender, mix it with the dry ingredients until it's just combined. Do not over mix the batter as that makes for tough muffins.
How to Make Extra Tall Muffins
This recipe calls for an extra step you probably aren't used to in muffins, but it makes total sense. The batter chills in the refrigerator for at least 1 hour, or more if you want.
This "rest" does a few things. First, it allows the starch (flour) time to fully hydrate. It makes for a better texture in the muffin. But it also increases the height of the baked muffin.
This happens as a result of the more even hydration in the flour (due to some gluten formation, but not in a sense that it will make a tough muffin) and because of action of the chemical leaveners.
This recipe uses both baking soda (which reacts to the acid in the yogurt in the recipe) and baking powder, which reacts after combining with the liquid (and again when it hits the heat of the oven). While the batter rests in the fridge, those chemical reactions will occur in the batter, naturally giving a bit of lift. This works to give lift in the final baked muffin.
Just be sure not to mix the batter again after it has rested, as that will pop any bubbles that have formed.
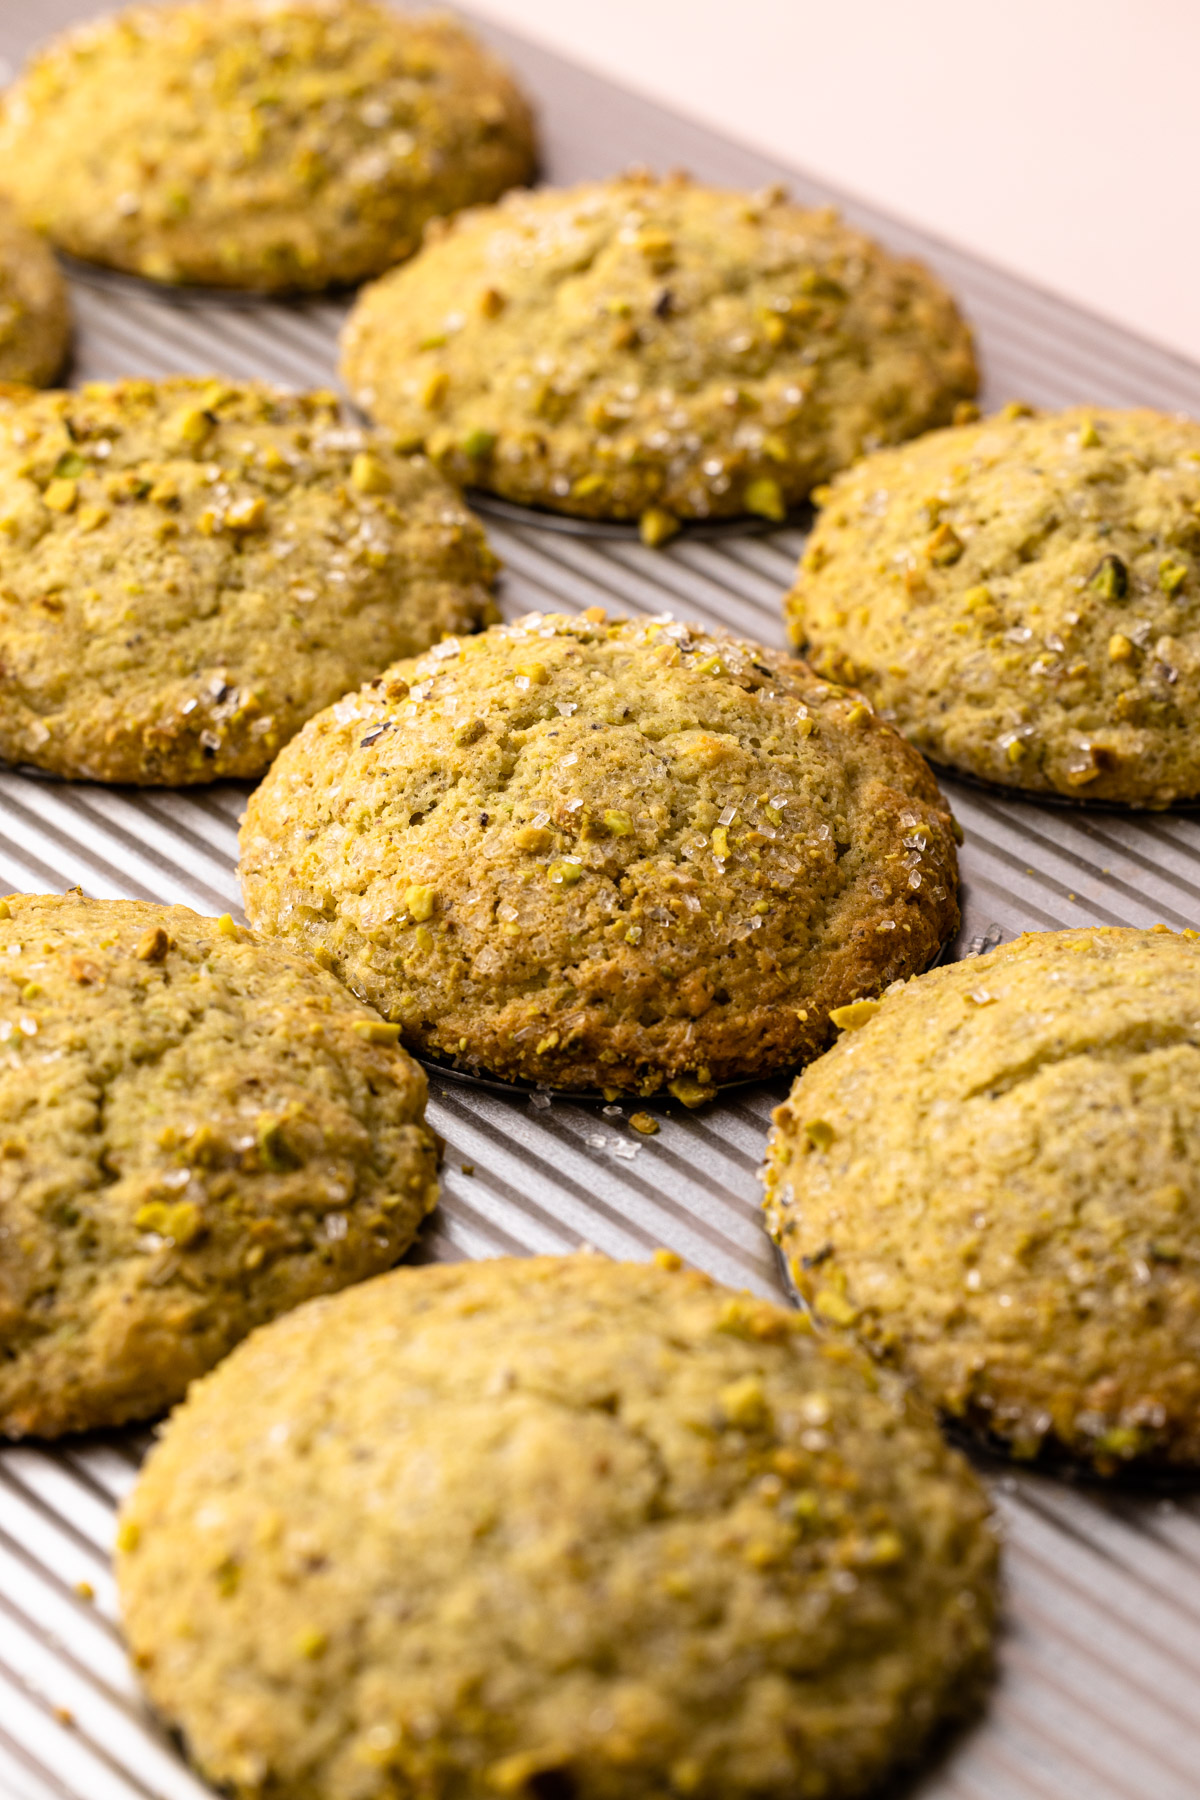
One additional trick to create tall muffins is to space out the muffins. You can do this either by using two muffins tins and baking at the same time (with six muffins in each tray) or baking them in batches.
The extra space around the muffins let the heat better circulate and they truly bake up taller.
But, it's also an extra annoyance when it comes to baking to have to deal with two muffin tins or baking in batches. So this is totally optional.
Storing Muffins
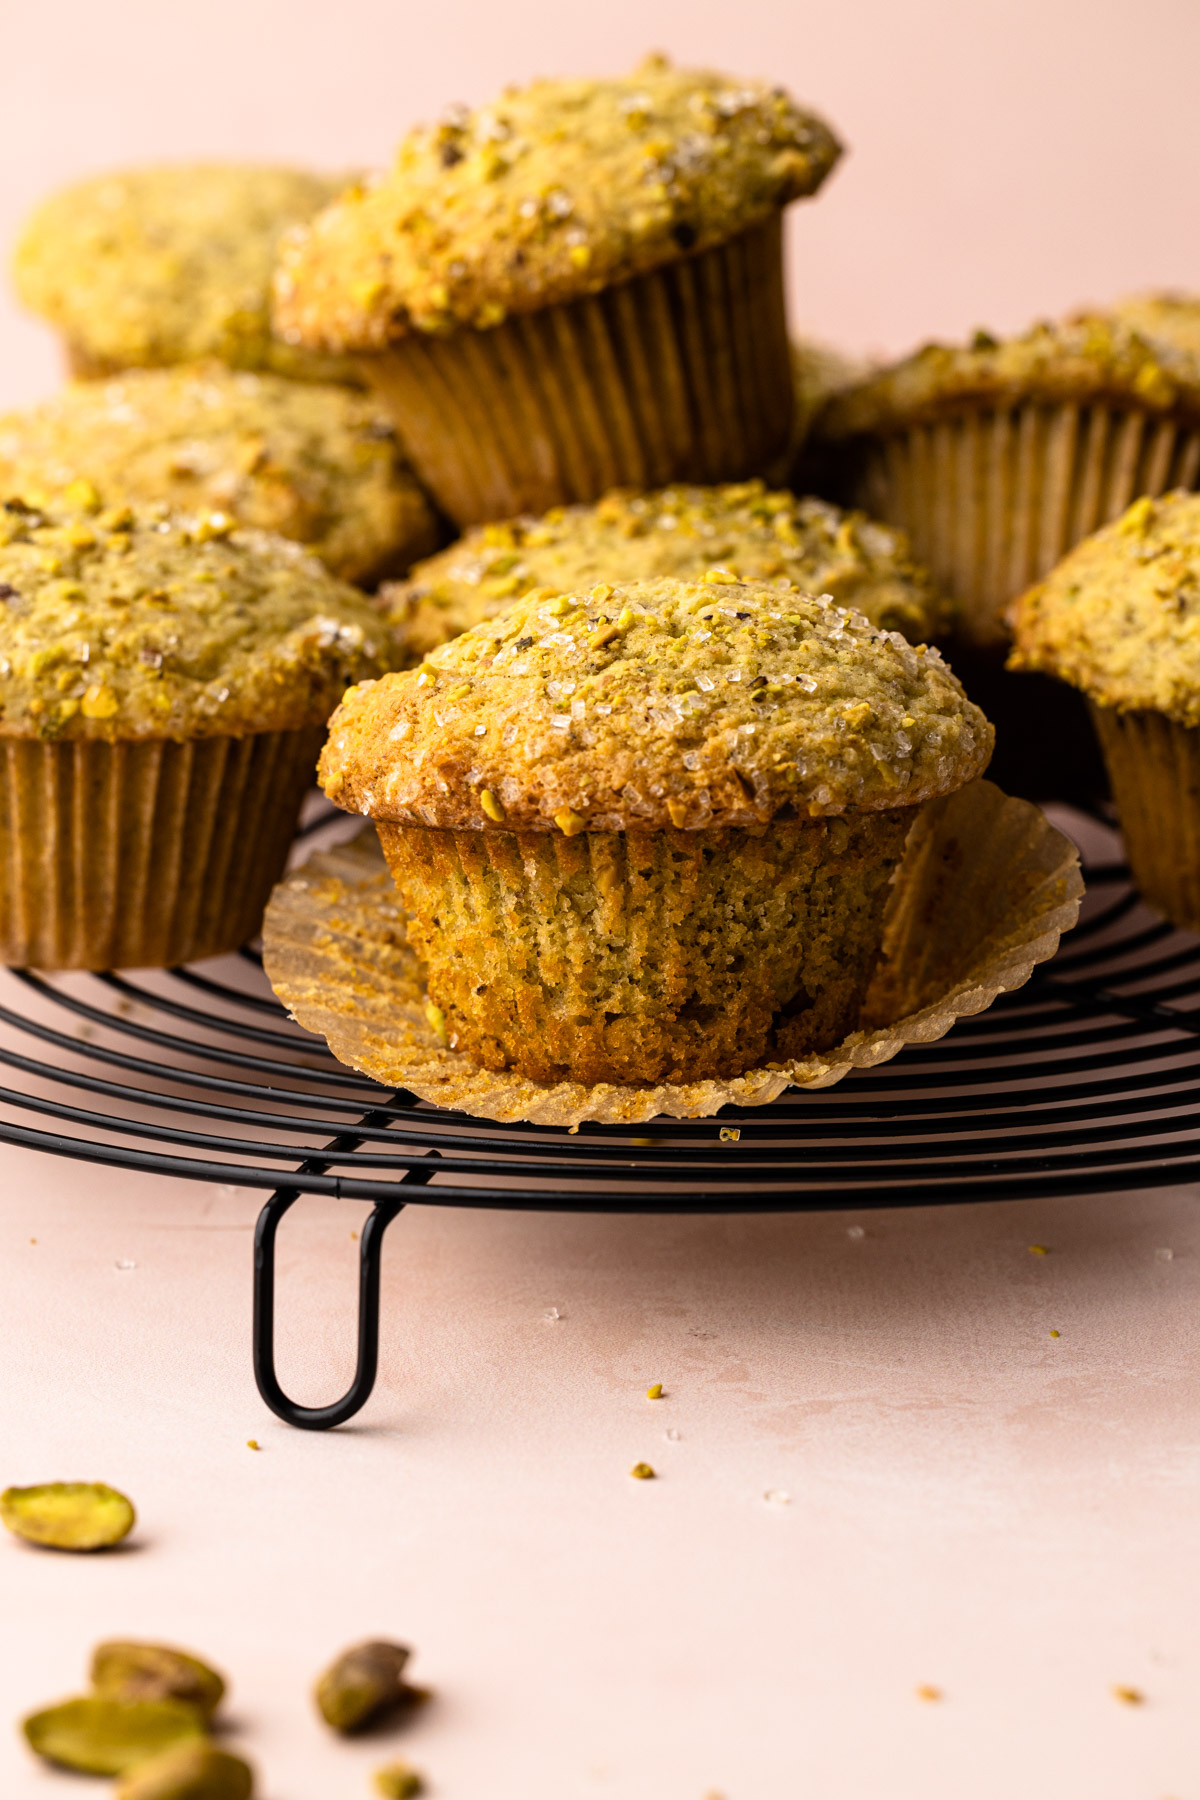
These muffins will keep well, covered in an air-tight container for a 1-2 days at room temperature, depending on the temperature in your home. As the days go on, they will become more moist.
They also freeze extremely well, which is the preferred storage method. Store in an airtight container or plastic bag in the freezer for up to 3 months. When ready to eat, let it defrost at room temperature for a few hours.
More Muffin Recipes
- Buttermilk Strawberry Muffins
- Whole Wheat Banana Muffins
- Stuffed Carrot Cake Muffins
- Greek Yogurt Wild Blueberry Muffins
Making the recipe? Be sure to leave a comment with a star review on your experience! Have a question? Leave a comment below and I'll get back to you as quickly as I can!
Full Recipe
From-Scratch Pistachio Muffins
- Prep Time: 00:10
- Chill Time: 01:00
- Cook Time: 00:25
- Total Time: 1 hour 35 minutes
- Yield: 12 Muffins 1x
- Category: Muffins
Description
These real deal Homemade Pistachio Muffins, made without any packaged mix, have a nutty and tender crumb and a sweet pistachio flavor.
Ingredients
- 2 tablespoons light olive oil or other neutral oil
- ½ cup (130 grams) plain yogurt
- ½ cup (115 grams) whole milk
- 1 cup (200 grams) granulated sugar
- 1 teaspoon almond extract
- 1 cup (140 grams) raw unsalted shelled pistachios
- 2 large eggs
- ½ cup unsalted butter, melted and slightly cooled (see note)
- Pinch kosher salt
- 2 teaspoons baking powder
- ½ teaspoon baking soda
- 2-¼ cups (270 grams) all-purpose flour
Instructions
- Add the olive oil, yogurt, milk, sugar, almond extract and pistachios (in that order) into the basin of a blender. Blend until the pistachios are mostly pureed.
- Add in the eggs and blend on low until combined.
- With the blender running, pour in the slightly cooled melted butter until combined and then stop.
- Add the flour, baking powder, baking soda and salt to a large bowl. Whisk together until combined.
- Pour the pistachio mixture over the flour and fold it in until just mixed together. Do not overmix.
- Cover the bowl and chill in the refrigerator for 1 hour.
- Preheat the oven to 425ºF and place parchment paper liners in a 12-cup muffin tin (see note for extra big and tall muffins).
- Scoop about ⅓ cup batter (an overfilled ¼ cup cookie scoop works) into each paper muffin liner.
- Sprinkle each with about 2 teaspoons of coarse sugar and crushed pistachios.
- Turn the heat down to 350 immediately before putting the muffins in the oven.
- Bake in the preheated oven until the muffins are set and a toothpick inserted in the middle comes out clean, about 25-28 minutes. If the muffin edges are browning unevenly, rotate the pan halfway through baking.
- Let cool slightly before serving.
Notes
Weighing your flour is the most accurate way to measure. If you aren’t going to weigh it, make sure to spoon it into the cup, and then level it off. If you scoop the flour out with the measuring cup and then level, it could change the outcome of the final product.
The muffin batter should be chilled for 1 hour, but it can be chilled for longer, if desired, even overnight.
If you are using a muffin scooper, use a 2-ounce portion and overfill it to get ⅓ cup.
These muffins have an extended baking time compared to muffins that aren’t chilled (with the obvious reason being that the batter is cold and so it takes more time to bake through).
Want extra big and tall muffins? Check out the paragraph written above about scooping the muffins with extra batter and spacing them out on two muffin trays.










Sue
Good morning! I’m definitely going to make these but wanted to ask a question…. Should I toast and cool the pistachios before using in this recipe? Thanks. Sue
Kelli Avila
Hi Sue! You can toast them if you want to, but it might slightly change the color. I suggested to use raw (not roasted/toasted) nuts to keep a brighter green color. If you are using high quality nuts (which most raw pistachios are) than it should result in a good flavor despite not being roasted to wake it up. But you can give it some heat to bring out the oil if you want.
Solly
Found this recipe so wonderfully easy to make. It was well written and my muffins turned out perfect after following the recipe exactly, including weighing ingredients. I had never had a muffin batter sit for an hour and was amazed at the change in texture. I appreciate the amount of time and effort to create such a good and solid recipe that it can be recreated by someone like myself who’s never eaten a pistachio muffin before!
Sofia
Hello! I was wondering if we could use pistachio butter instead of blending up the pistachios? I only have an immersion blender so i don’t think it’s very viable 🙁
Chantal
I will keep coming back for recipes as long as Kelli has a website. These came out so well. They're delightful and my toddler eats them which is the really picky judge in this house. I learned about spacing the muffins from another of Kelli's recipes and it's my favorite way to make muffins now. Highly recommend doing that for this recipe too!
Alice
This recipe is fantastic! I used lightly salted, roasted pistachios in the batter and it was still phenomenal. They rose beautifully and look and taste better than a fancy bakery. I didn’t have course sugar so I just added crushed pistachios to top. Also, I ran out of muffin liners, so I just buttered the tin well. I also added a small dab of green gel food coloring to make them look more appealing. These are just fabulous. I don’t have enough words in my vocabulary to express how good these taste!!!