


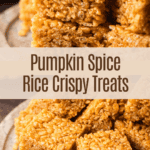
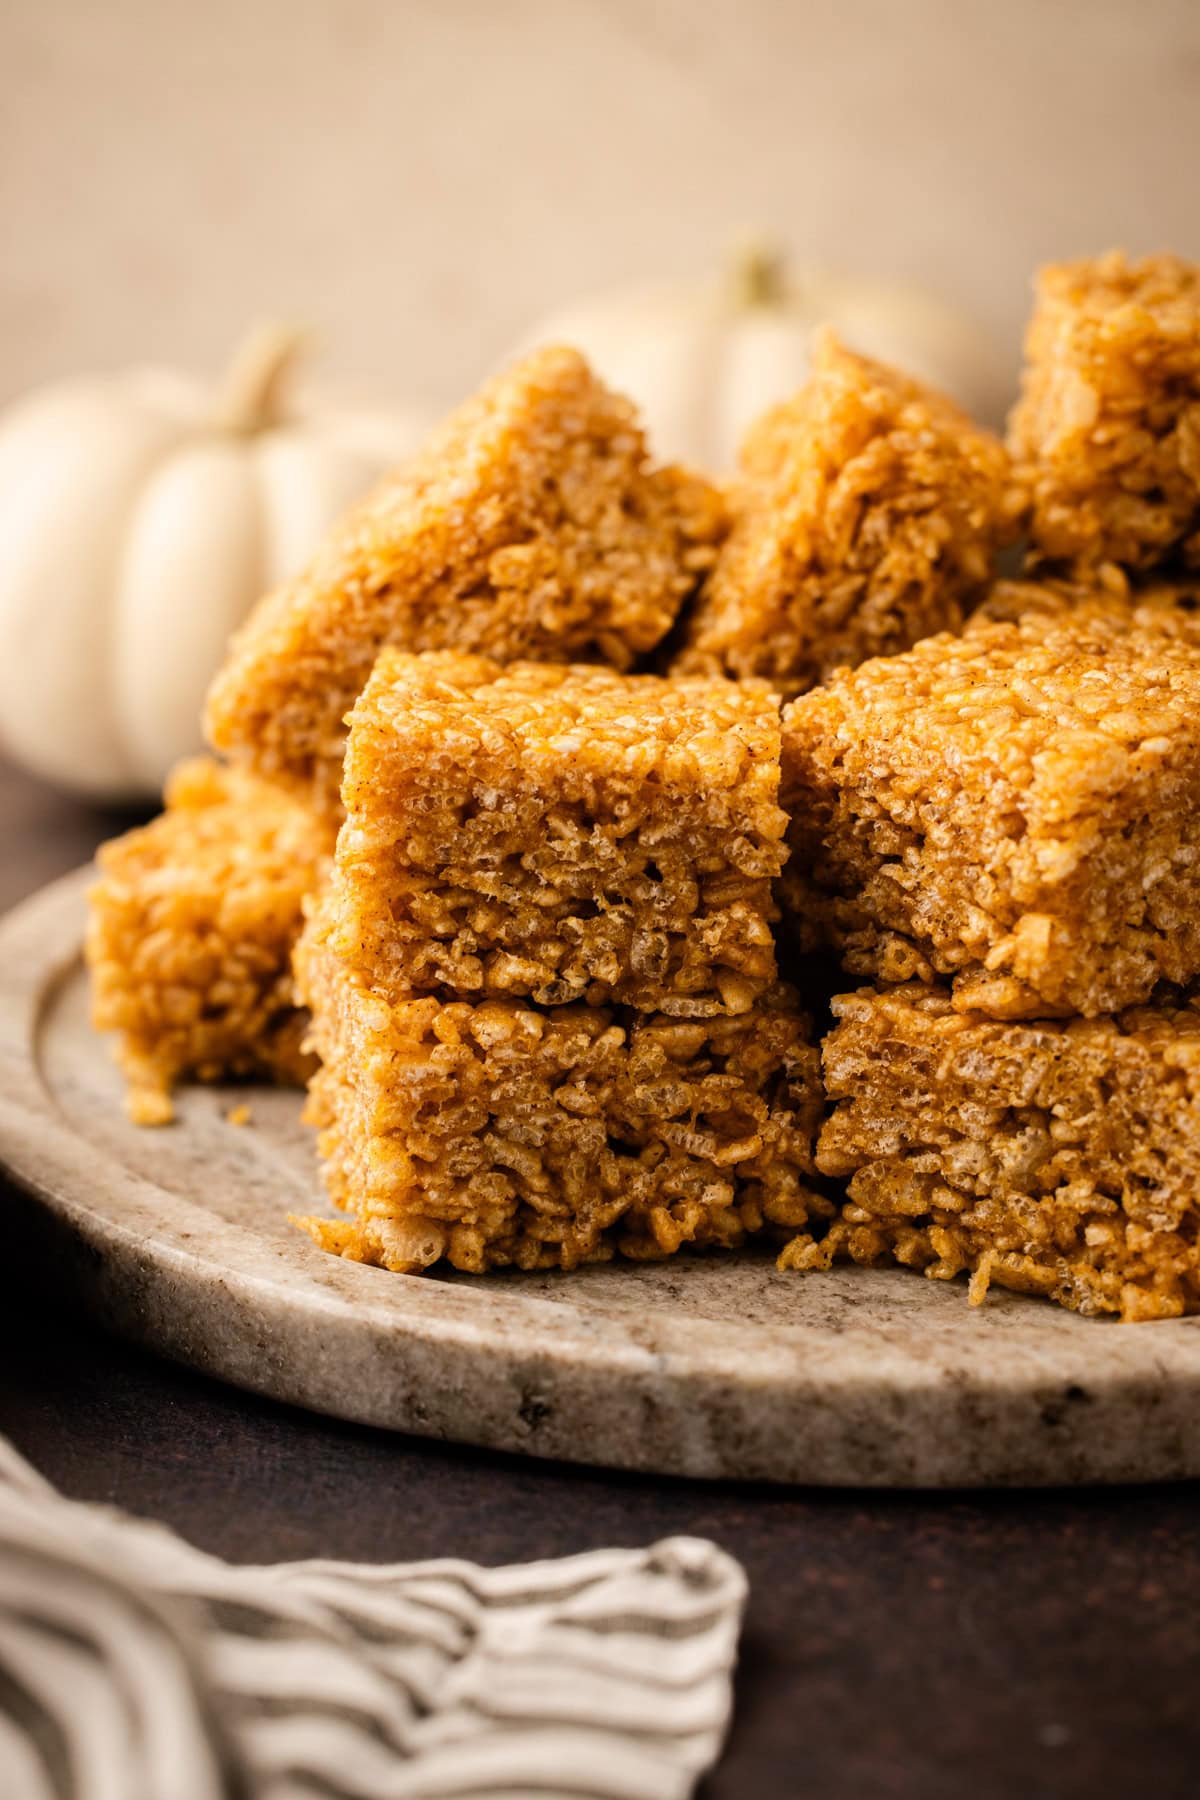
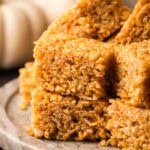
A twist on the classic, these Pumpkin Rice Krispies Treats are made with browned butter, pumpkin, and warm spices.

Every year around Halloween, my kids love to remind me about the time I stole their Rice Krispies treats from their trick-or-treat haul. And not just one of them, but all three. The part they really love to point out is that when they got those treats on Halloween night, the woman handing them out actually offered some to the grown-ups, and I turned her down. A few days later, when they were at school, I helped myself to a treat (or three).
In my defense, I honestly didn’t think they’d notice. They were young, and it was a big haul. How could they possibly spot a few missing blue-wrapped squares in a mountain of candy? But they sure did notice.
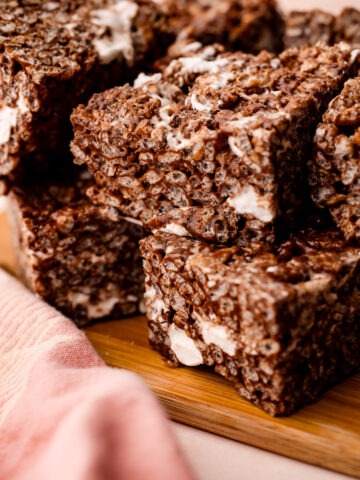
Also, in my defense, Rice Krispies treats are one of those things I just can’t be trusted around. I’ve written about my love for them before, in my recipes for chocolate and strawberry versions, and about how much I adore Smitten Kitchen's best-ever salted brown butter Rice Crispy treat recipe. This year, as part of my annual peace offering for my participation in the great Rice Krispies treat heist of '21, I decided to switch things up and make these pumpkin-spiced versions, complete with the upgrade of brown butter and salt. They're especially festive in the late October months, but delicious anytime you crave a pumpkin-y sweet treat.
Ingredients Needed and Substitutions
Here is a brief overview of the ingredients needed for this recipe. The recipe card lists the full recipe with quantities below this text.
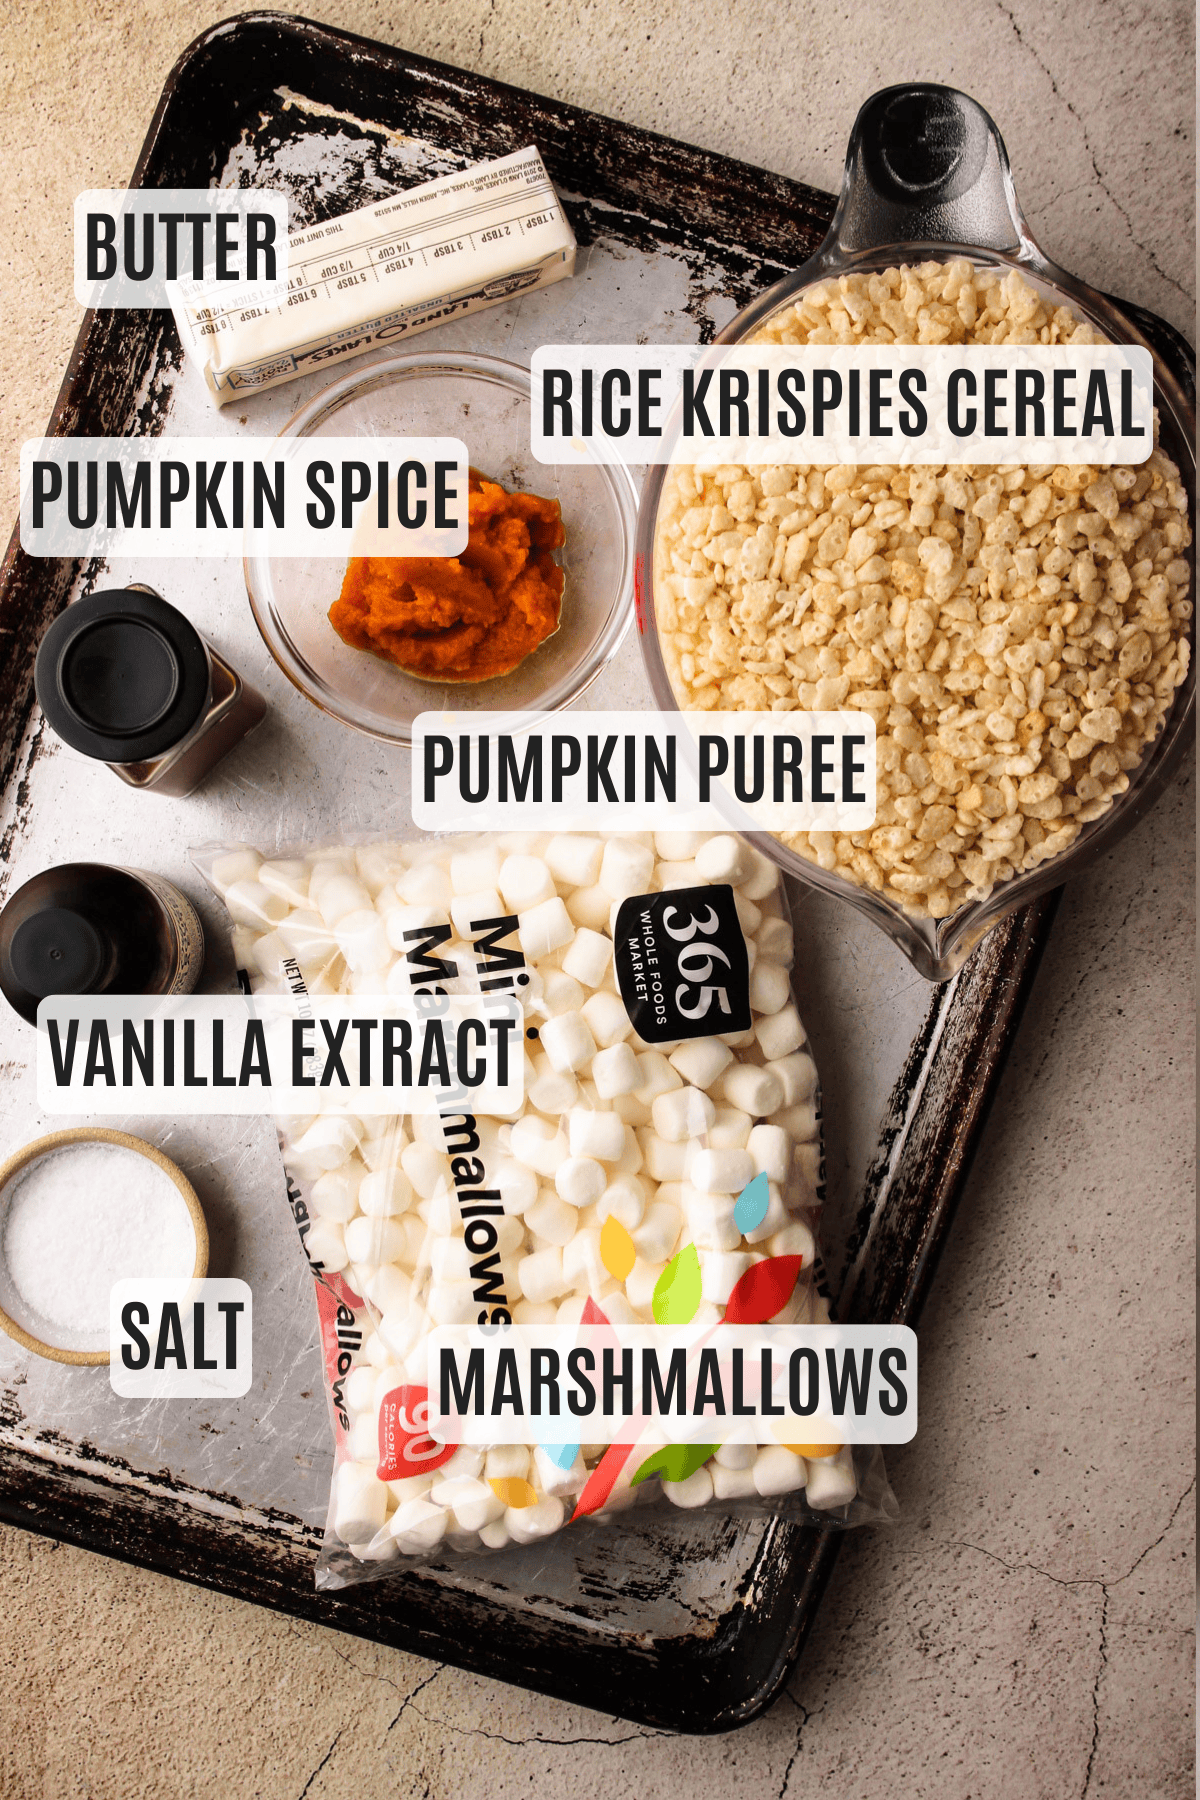
- crispy rice cereal (we all know the OG is from Kellogg's and is great, but the store-brand version is fine too!---just avoid the "puffed rice" organic healthier-for-you cereal unless you are okay with an altered texture from the traditional)
- pumpkin puree (another vote for avoiding the organic brand..I've worked a lot with pumpkin puree from all different brands (and homemade) and the traditional non-organic pumpkin pie is going to give you the best result here, due to the lower moisture content...I'll dive more into this below)
- marshmallows (despite the fact that I've got mini marshmallows pictured in this tutorial, I've recently found that the larger marshmallows actually work better for this recipe as they have less surface area coated in starch from the cutting process, which allows them to be just a bit more soft and gooey--though not a game changer, so use what is available to you)
- pumpkin pie spice (if you don't have this, use ground cinnamon, ground nutmeg, and ground cloves in a 3:1:1 ratio.
- unsalted butter (salted butter can be used, but the amount of added salt should be cut in half, a high-fat European butter like Kerrygold is great here, but not required)
- coarse kosher salt (this recipe was tested using Diamond Crystal coarse kosher salt. If you use Morton's kosher salt or fine salt, decrease by about half for volume, or use the same amount by weight.)
- vanilla extract
How to Make Them
Here is a visual overview of how to make them! Keep scrolling for the full recipe.
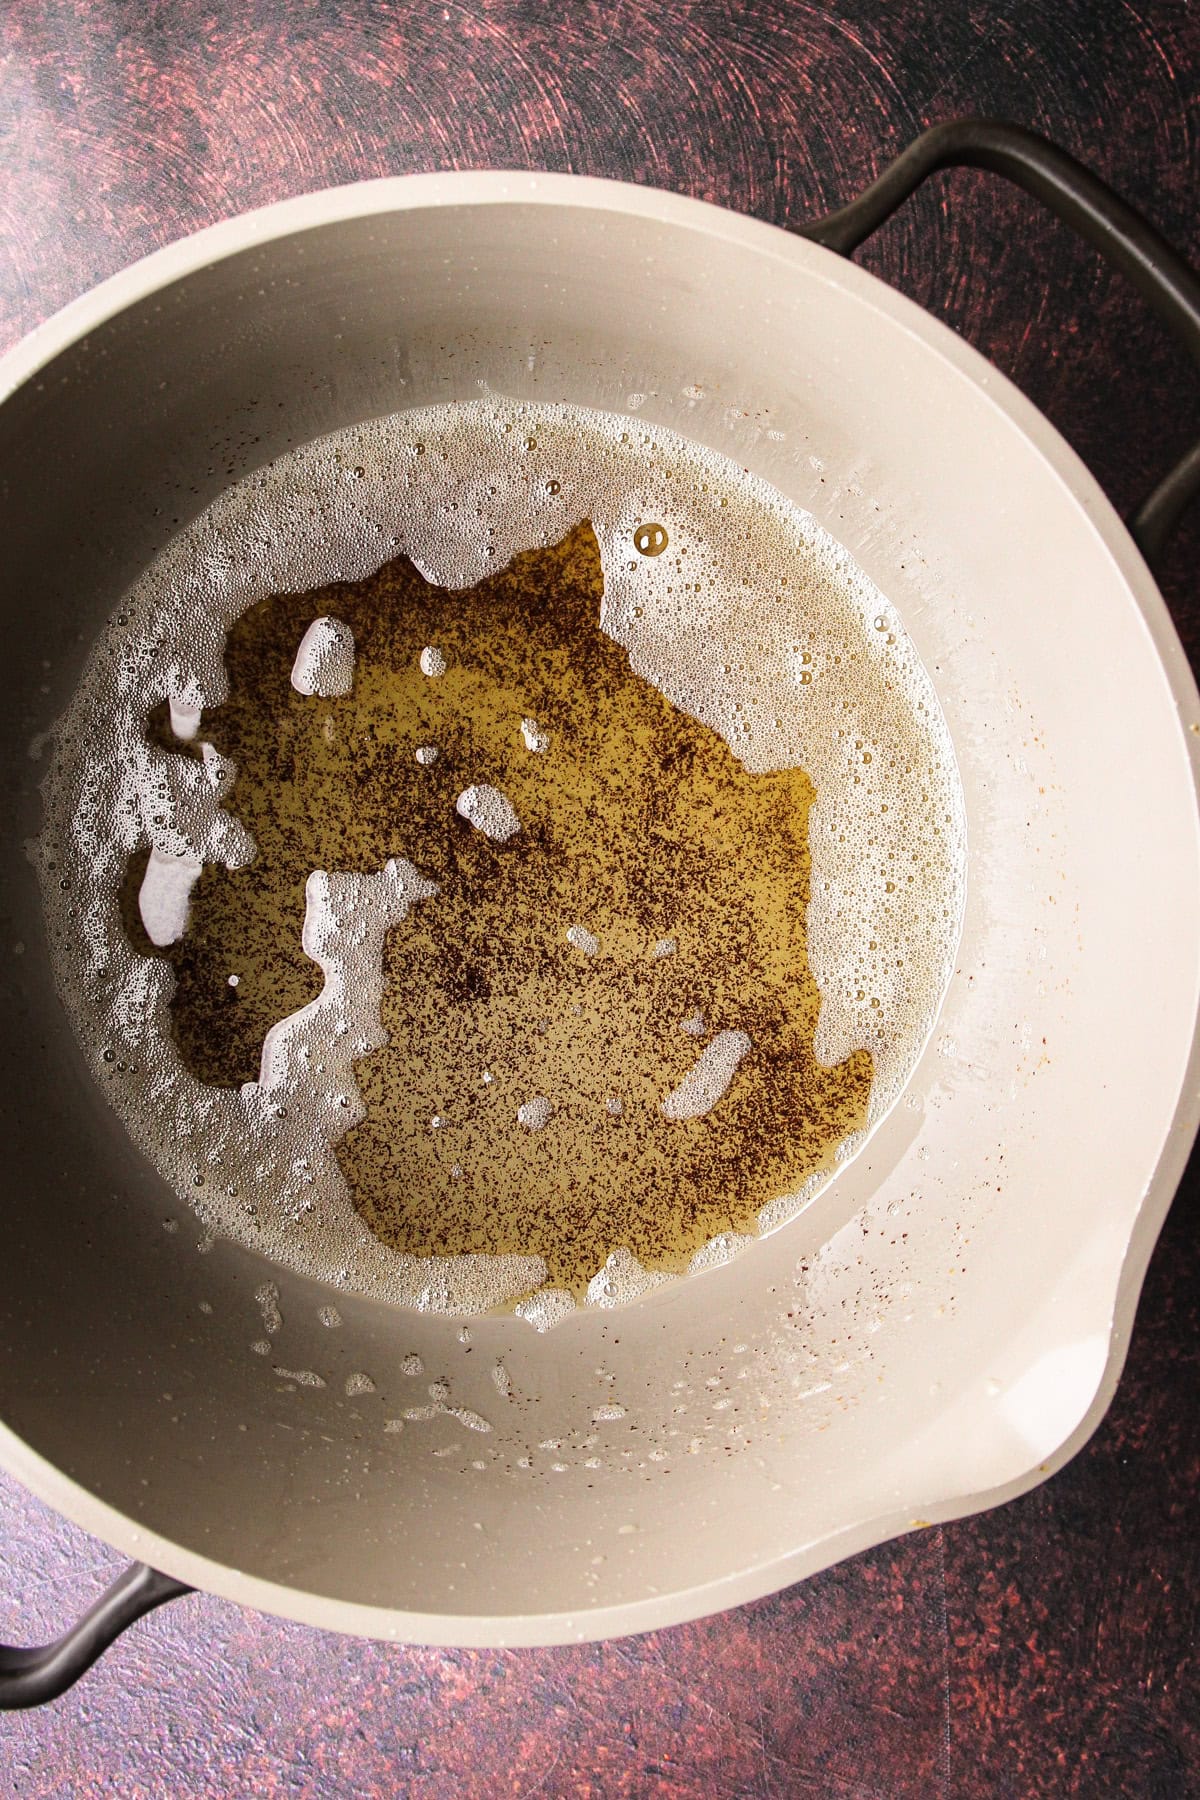
Step 1: Brown the butter, and don't be afraid to take it right to the edge of dark here for a great flavor — just don't burn it!
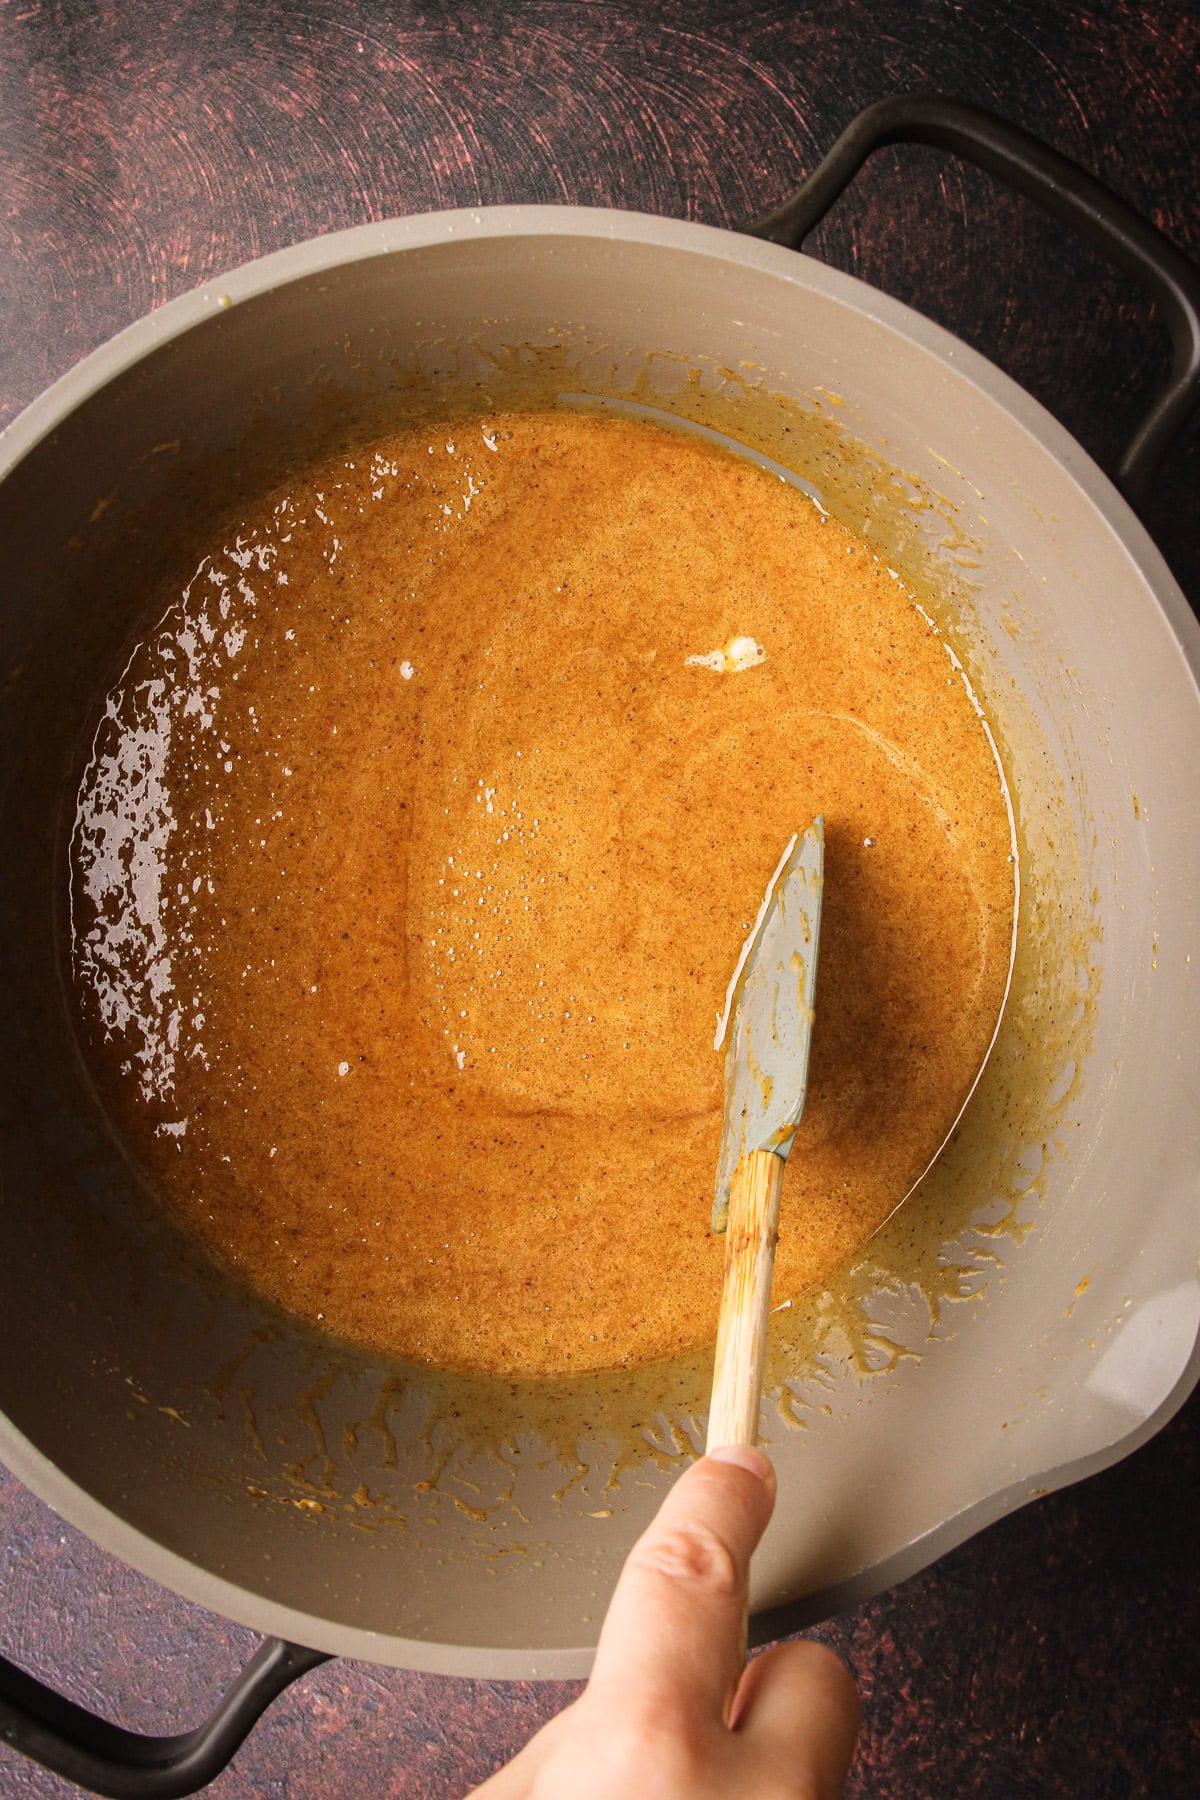
Step 2: Shut off the heat and carefully add the pumpkin puree. The butter will be hot, so it may sputter at first. Cook the pumpkin down until it has started to thicken, about 5 minutes total.
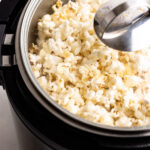
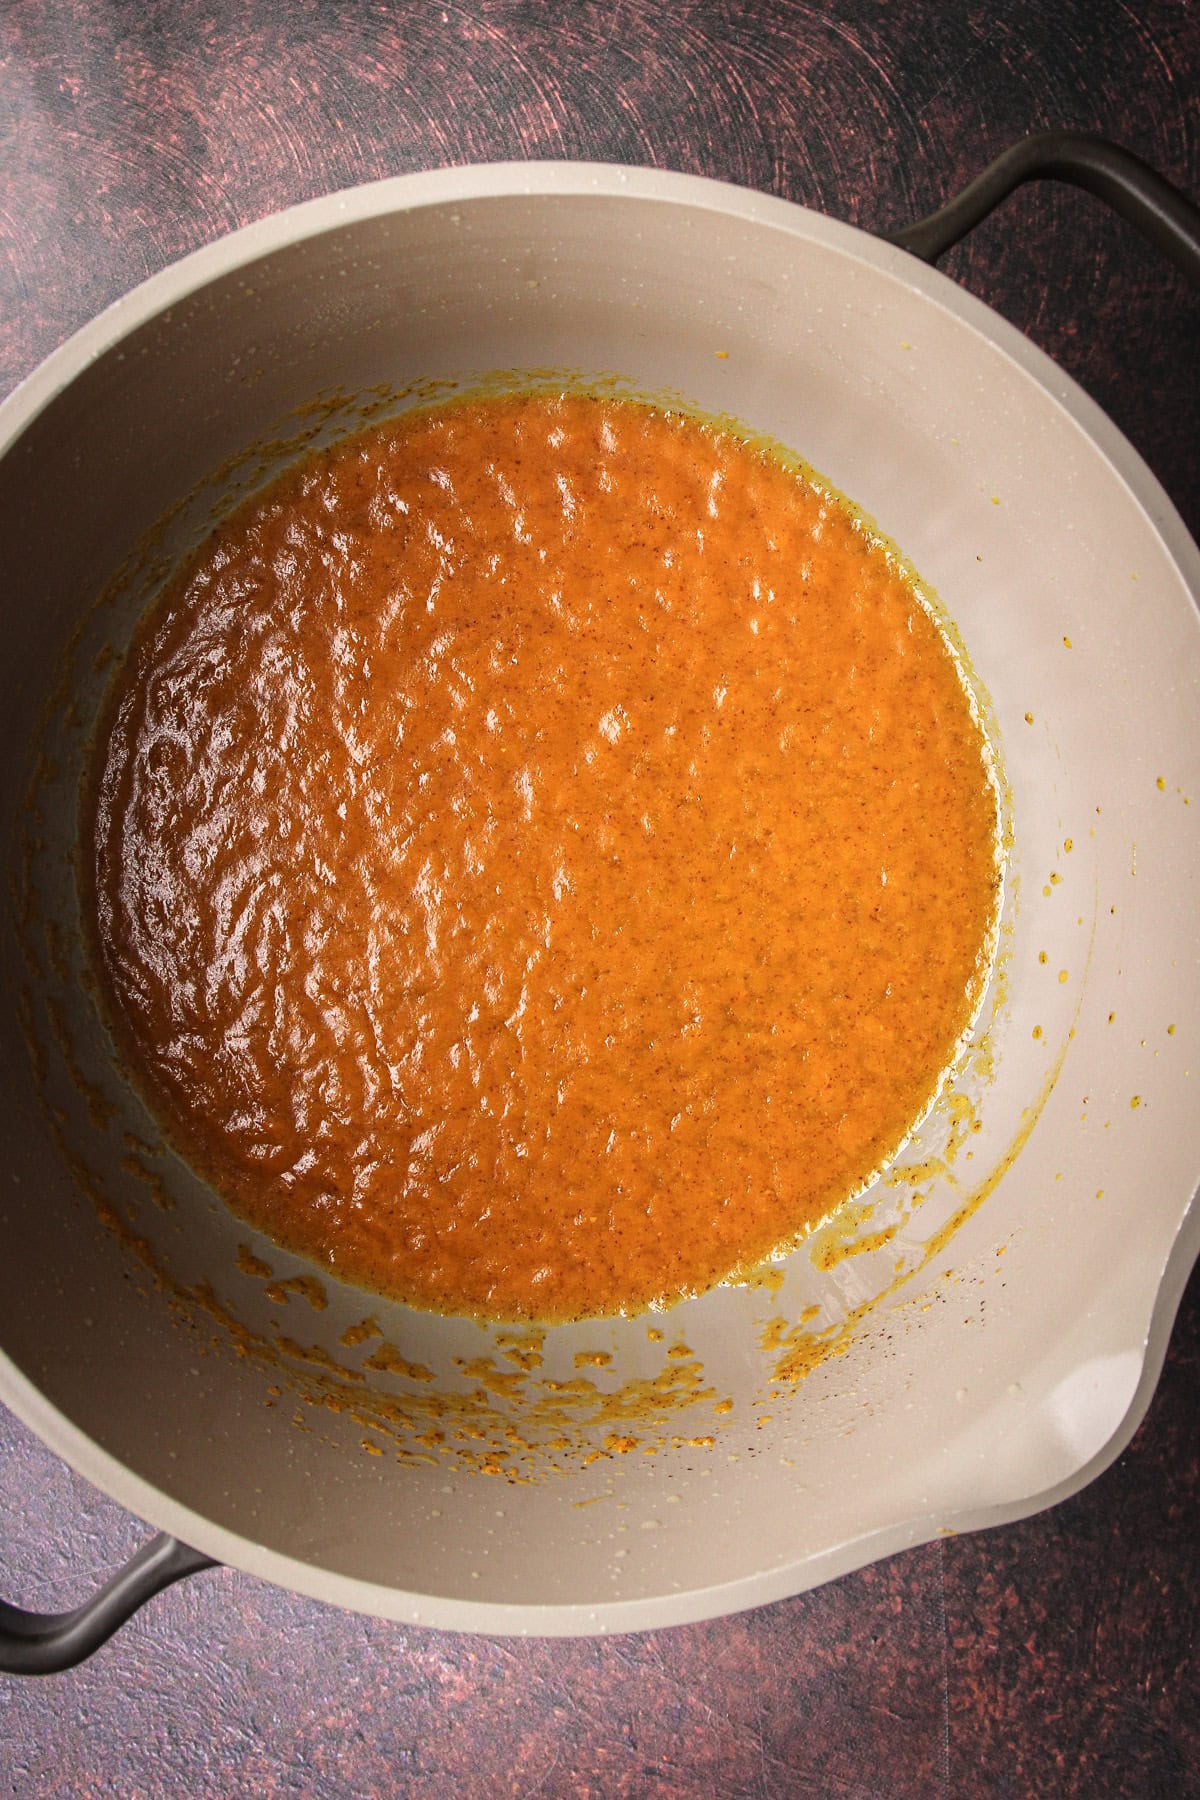
Step 3: Stir in the marshmallows, pumpkin pie spice, salt, and vanilla extract.
Step 4: Cook until the mixture is melted and completely homogenized.
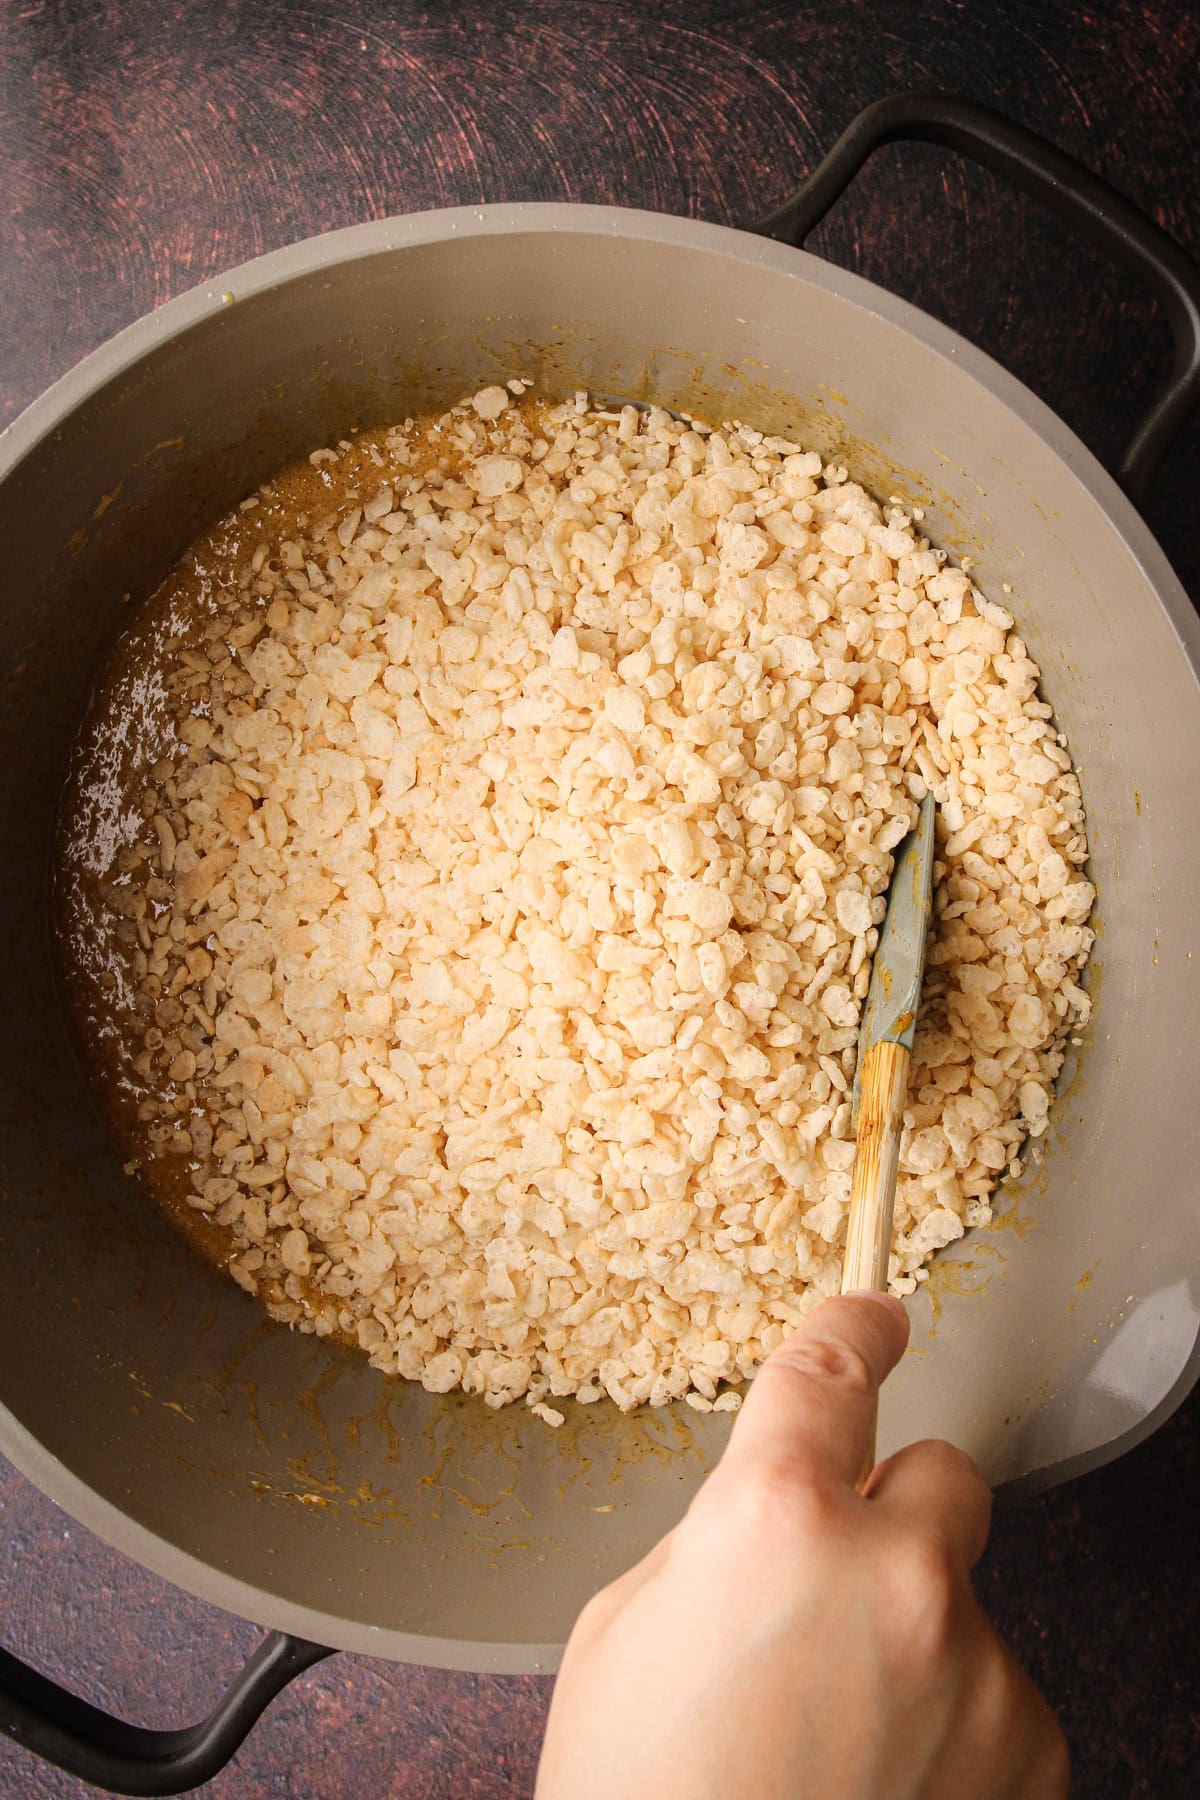
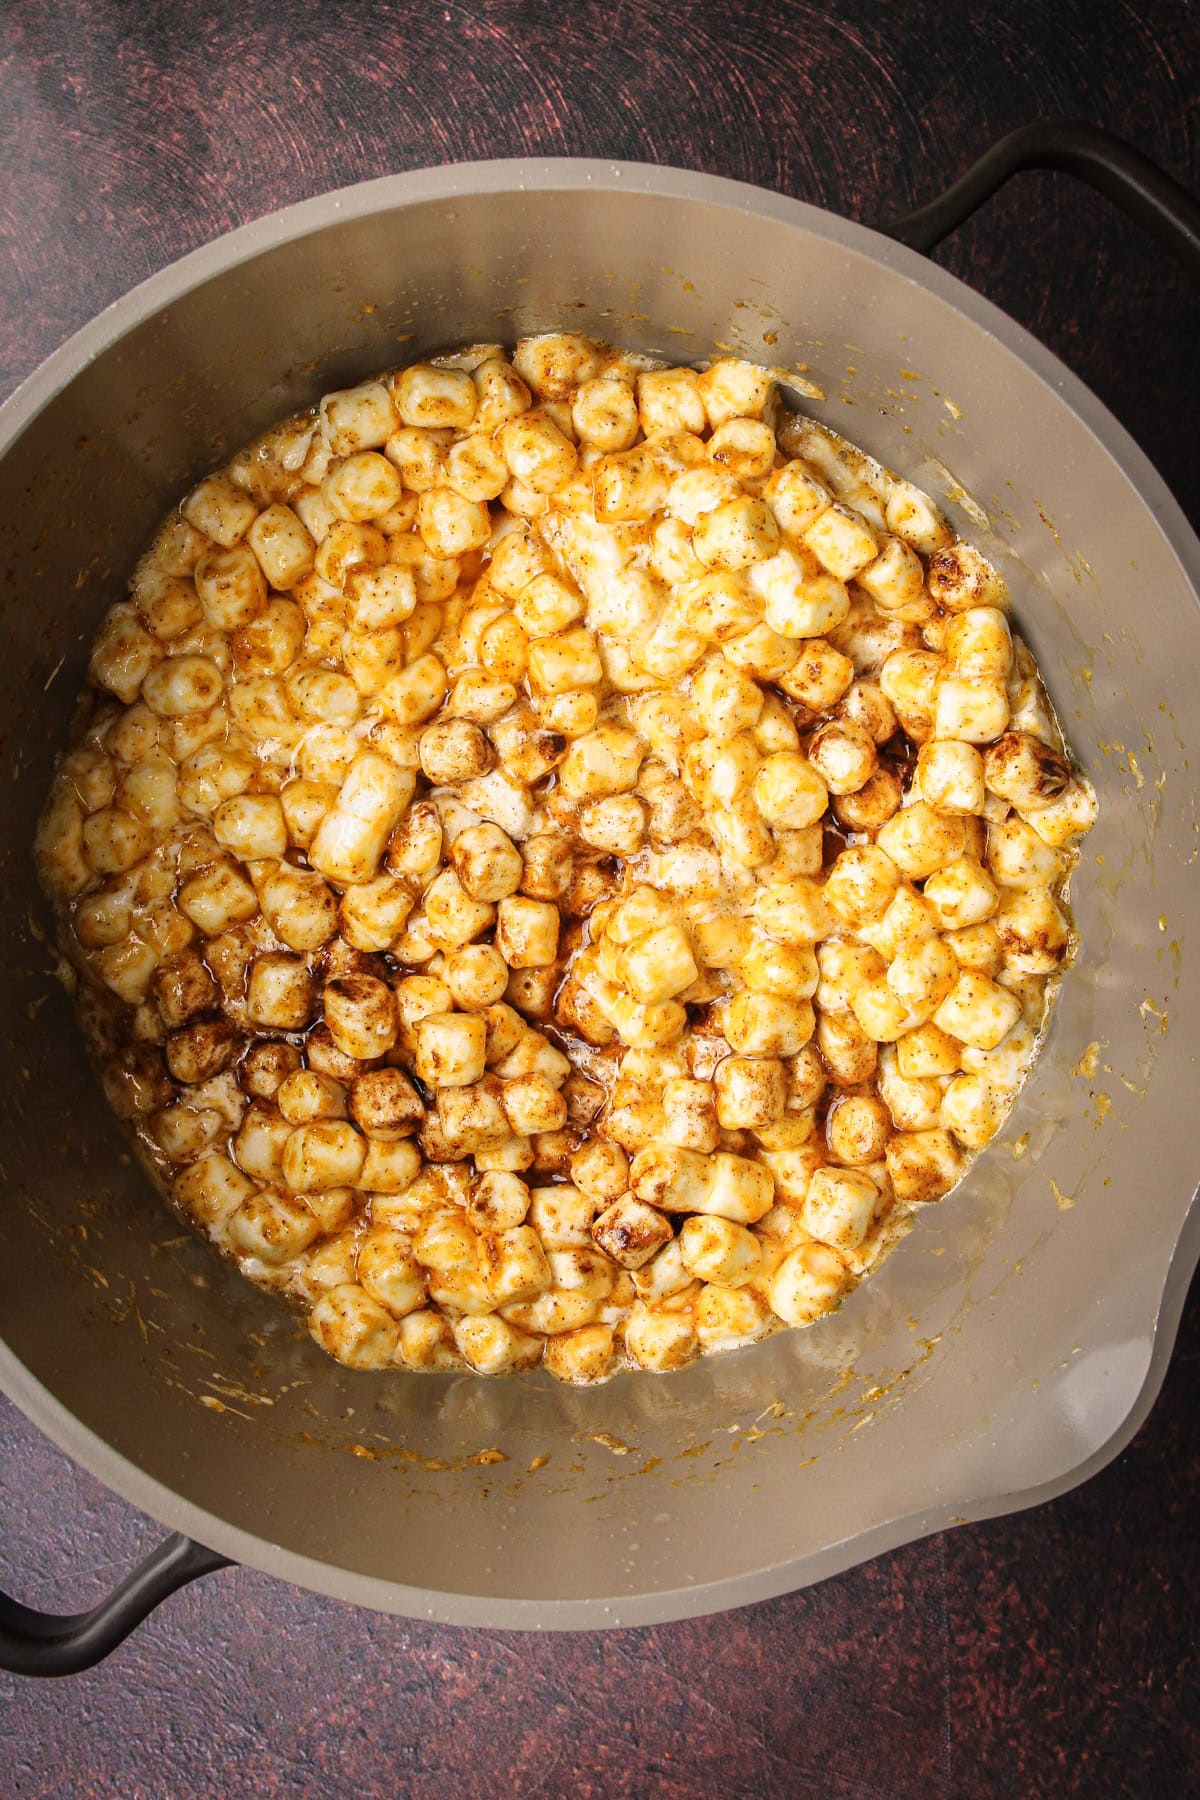
Step 5: Add in the cereal.
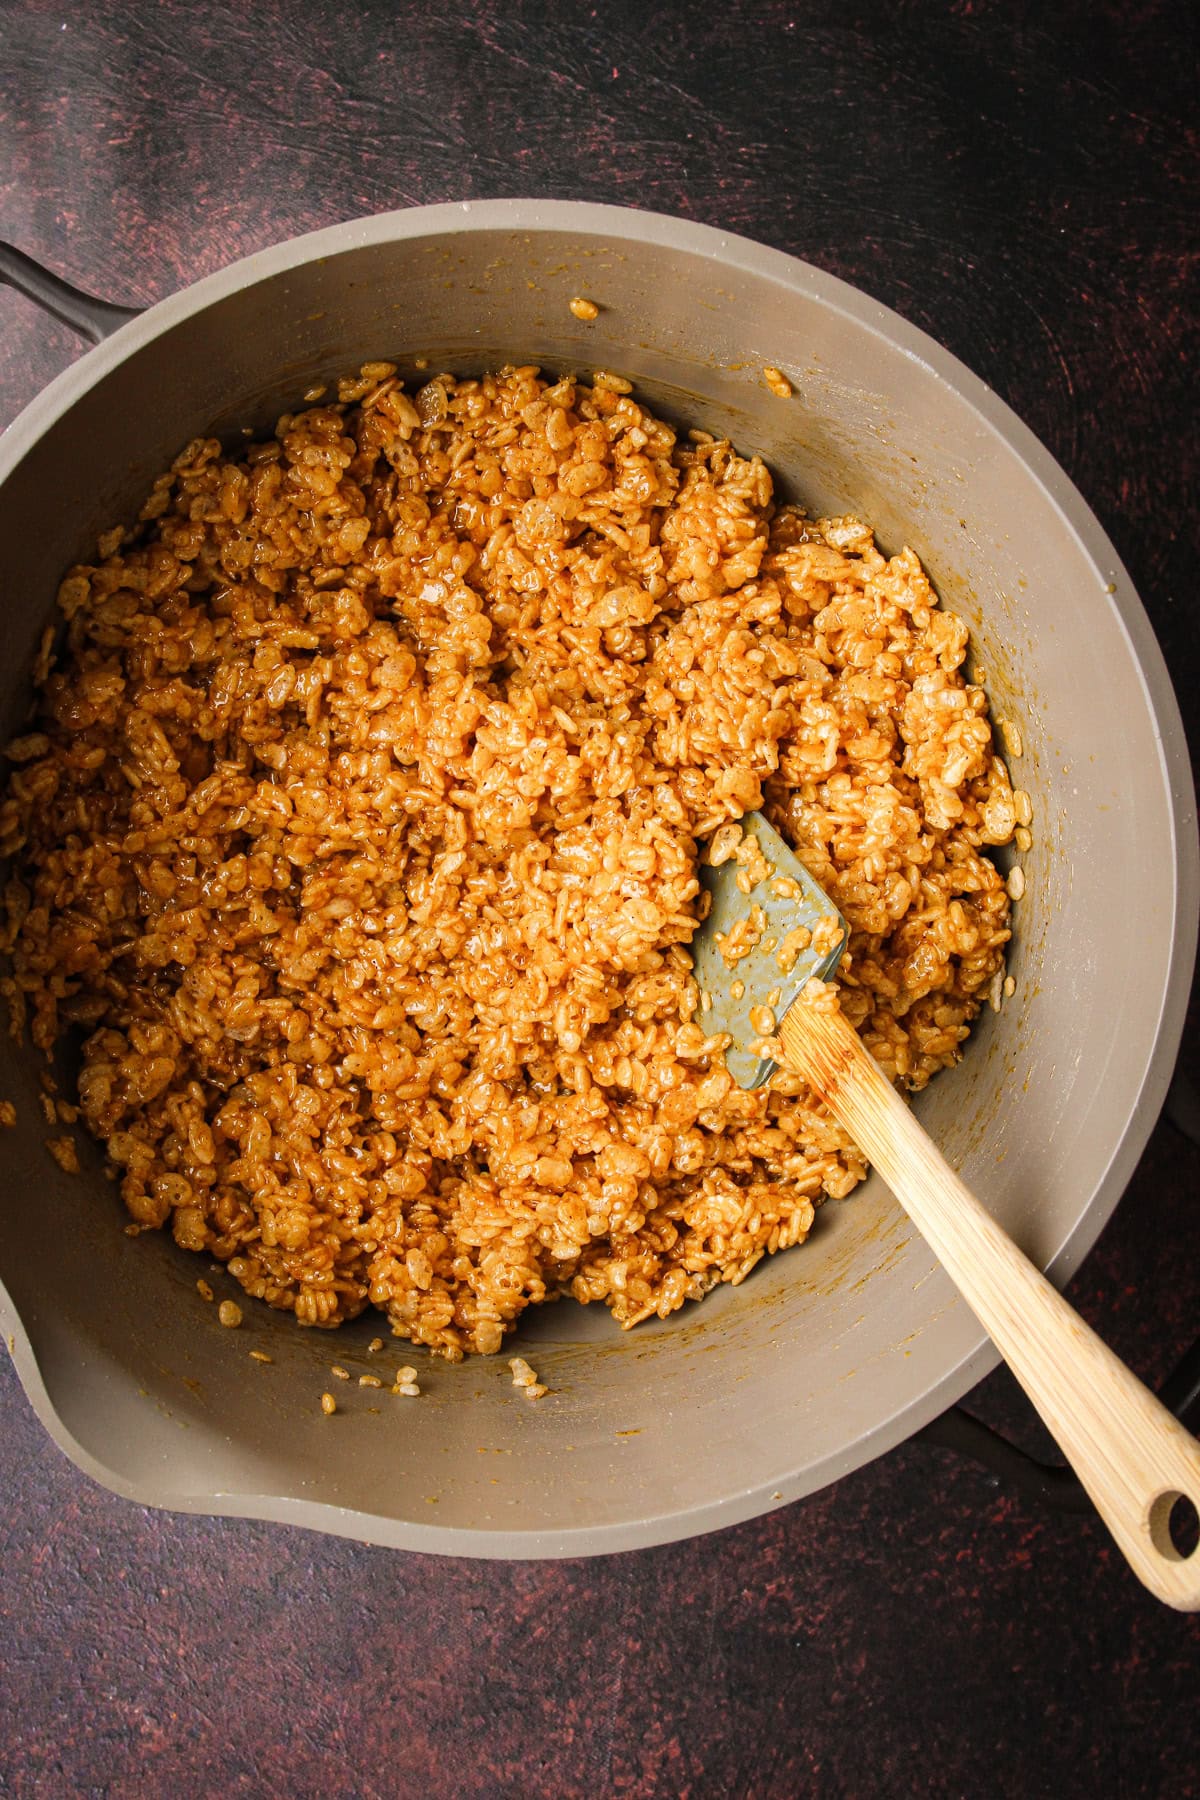
Step 6: Stir together until fully combined.
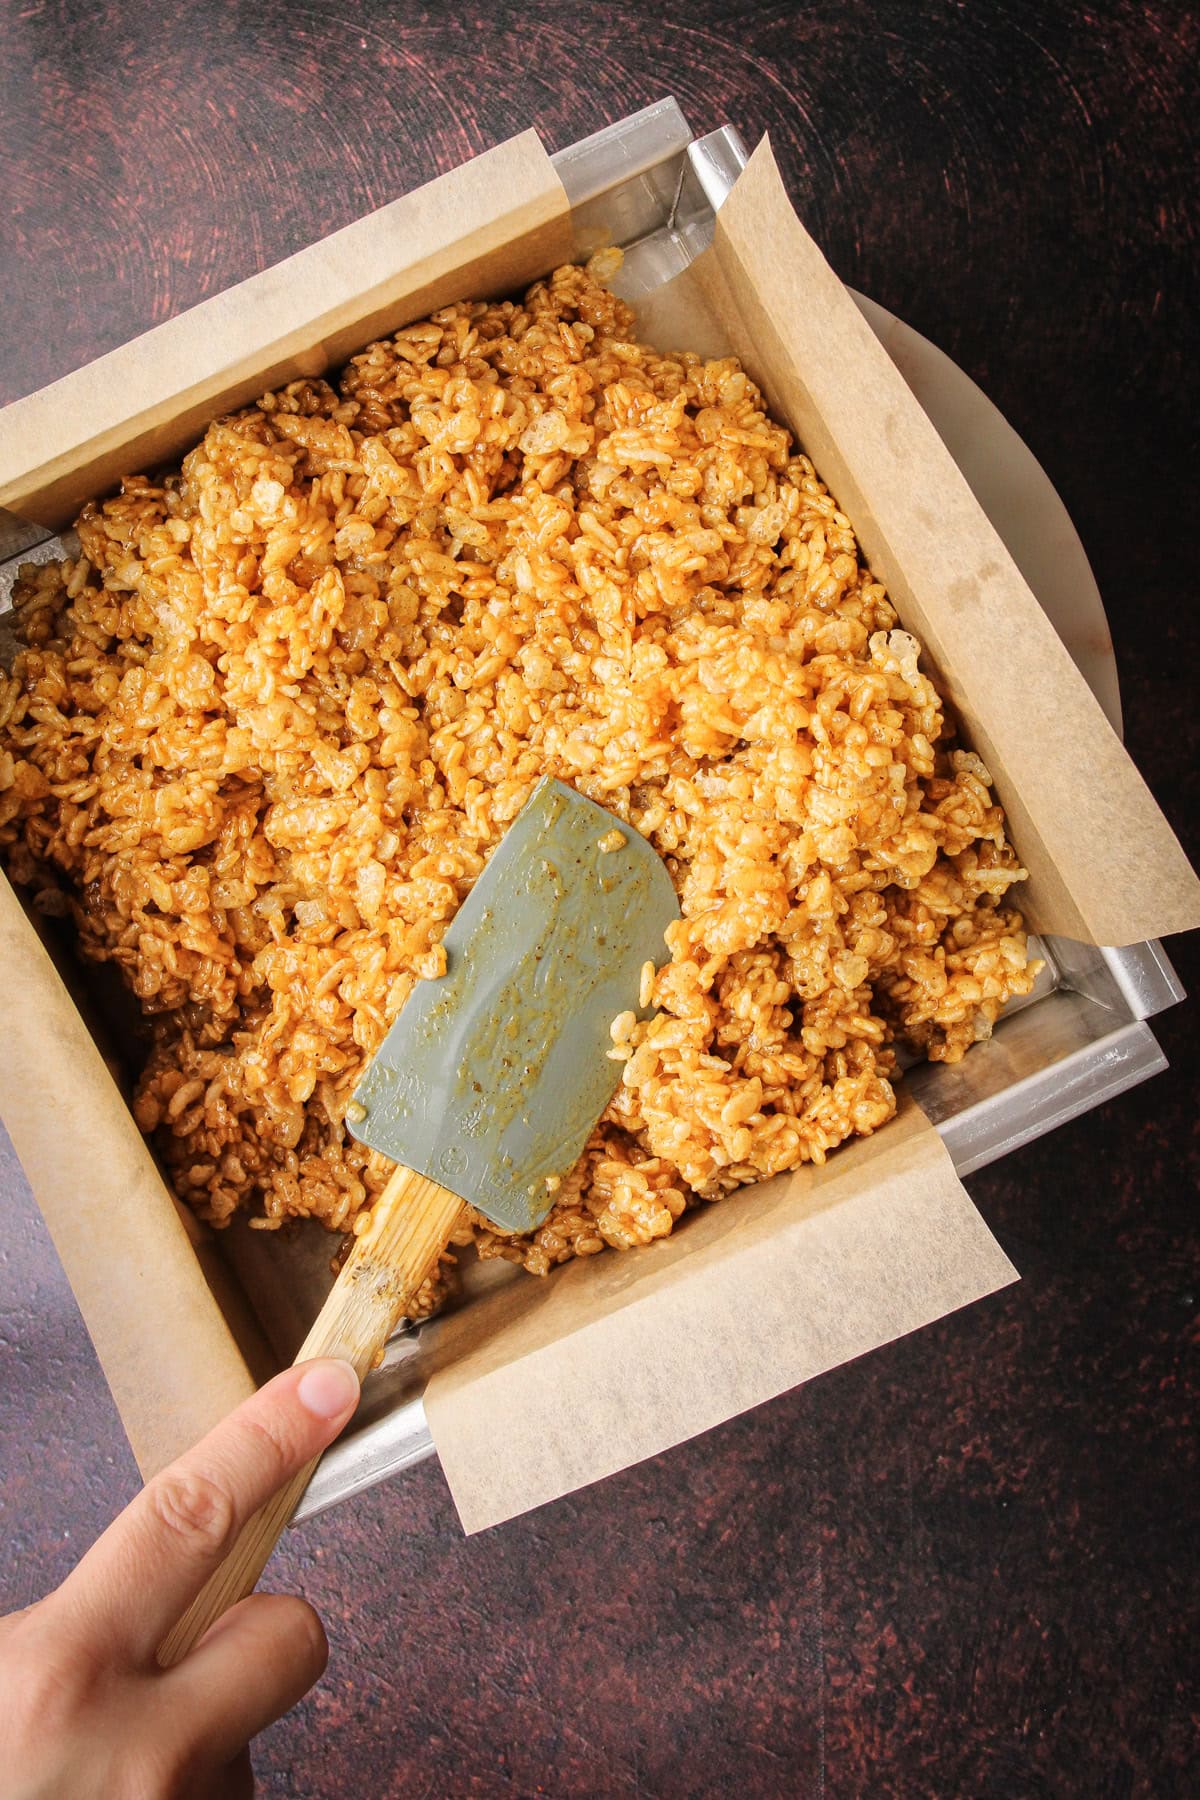
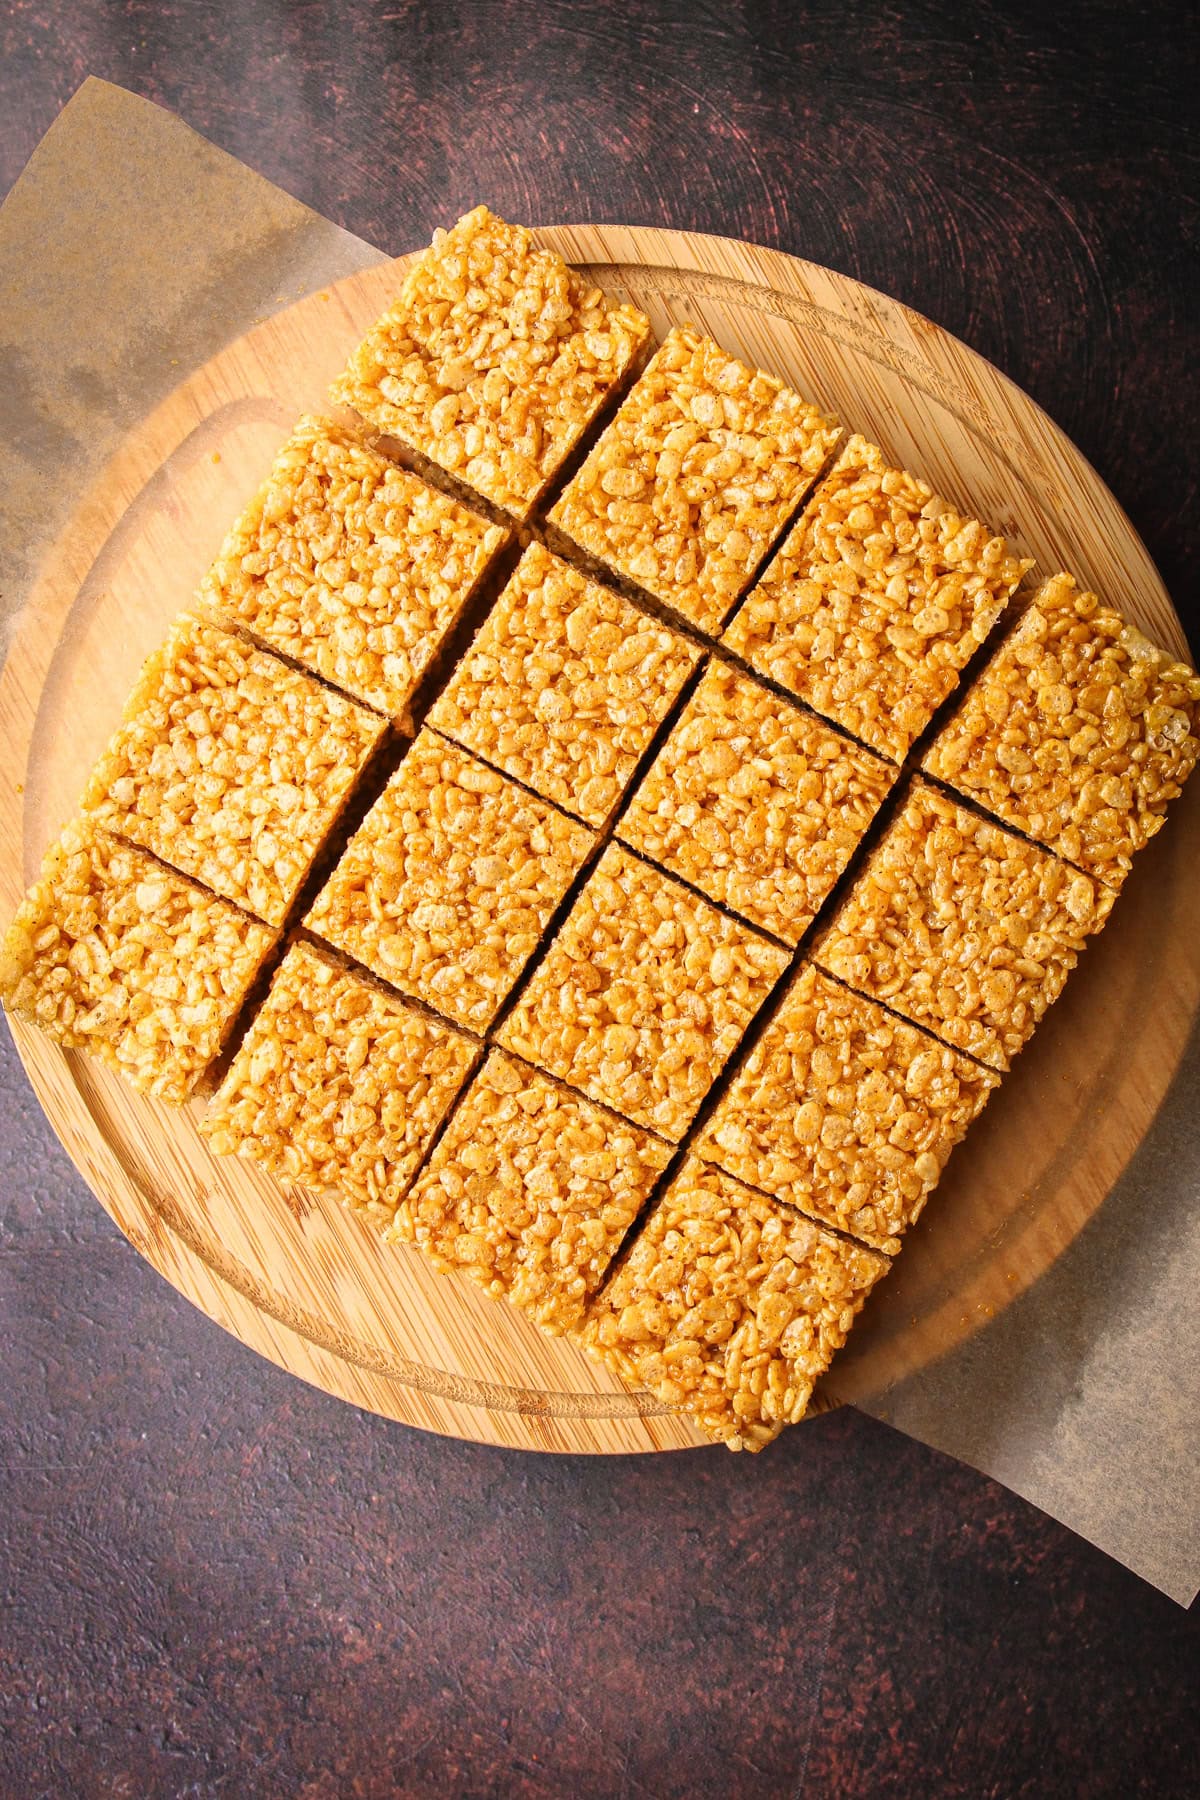
Step 5: Transfer the mixture to the prepared pan.
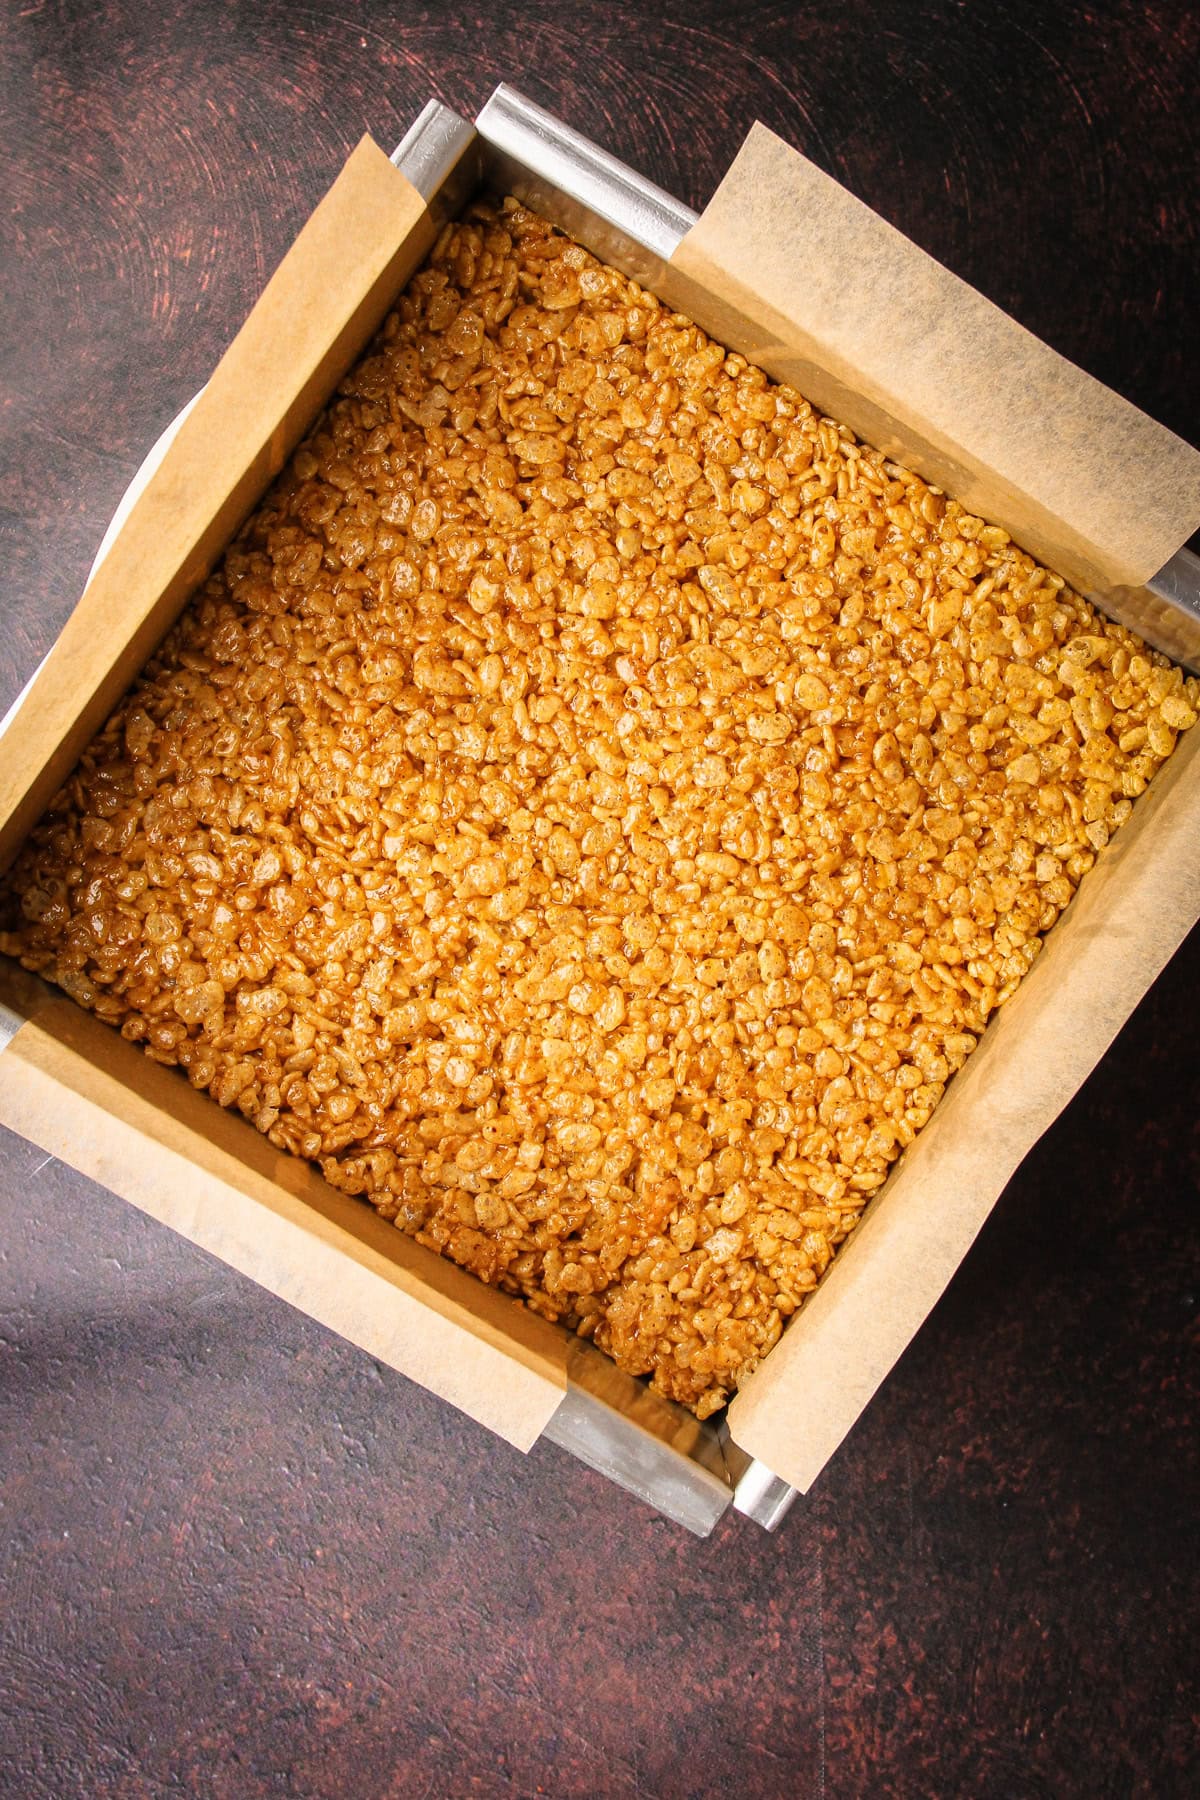
Step 6: Use an oiled spatula or flat-bottom cup to press the cereal treat into an even layer.
Tips for Success
The very first time I tested this recipe, it came out perfect. Of course, that means it was in the stage when I had nothing written down and was just cooking out of my head. The next time, when I actually wrote down what I thought I did, it failed miserably. And so did the next six attempts after that. It took me a while to realize what I had done differently that first time. I had cooked the pumpkin much longer than I thought.
So I learned this lesson the hard way. The pumpkin must be cooked down until most of the moisture is gone. Otherwise, the rice crispy treats end up too wet, and the texture does not hold together the way it should and it's just all wrong.
Because every stove and pot is different, it is hard to pinpoint an exact cooking time. Generally, it takes about five minutes from the moment you add the pumpkin into the pot with the hot brown butter. Be cautious when doing this, as adding a wet ingredient to hot fat can cause it to splatter. Step back as you add in the pumpkin and stir carefully in the beginning.
Another note about cooking down the pumpkin: brands vary in moisture content. If your pumpkin puree looks more like a loose soup than a thick paste, it will need a few extra minutes on the stove. You will know it is ready when the bubbling starts to slow around the edges of the pan and the pumpkin looks thickened and slightly darker in color.
Due to the added moisture in the pumpkin, these treats do not last as long as the classic version. Storing them in an airtight container can make them soften, so I usually leave them loosely covered on the counter for about a day. After that, they can be refrigerated, but they are best eaten soon after making to preserve that crisp, chewy texture.
More Sweet Treats
Making these Pumpkin Rice Crispy Treats? Be sure to leave a comment with a star ⭐️⭐️⭐️⭐️⭐️ review on your experience! Have a question? Leave a comment below and I’ll get back to you as quickly as I can!
Full Recipe
Pumkin Brown Butter Rice Crispy Treats
- Prep Time: 00:15
- Total Time: 15 minutes
- Yield: 16 2-inch treats 1x
- Category: Sweets
Description
These rice crispy treats get a seasonal upgrade with pumpkin, warm spice and browned butter. The butter adds a nutty richness that balances the sweetness, while the pumpkin brings a subtle savory warmth and depth. The key step is cooking the pumpkin to remove excess moisture before adding it to the mixture. Without it, the treats will have too much moisture and be soft. When done properly, they set up cleanly, with a crisp bite and just the right amount of gooey pull.
Ingredients
- 8 tablespoons (½ cup) unsalted butter, more for pan (or use cooking spray)
- ⅓ cup pumpkin puree
- 1 (10-ounce) bag marshmallows (buy the large ones, if possible)
- ½ teaspoon coarse kosher salt
- ½ teaspoon vanilla extract
- ½ teaspoon pumpkin pie spice
- 6 ½ cups crispy rice cereal
Instructions
- Butter or spray a 9-inch square baking pan and line with two pieces of parchment paper long enough to hang over the sides inside. This will make the treats easier to remove.
- In a large pot, melt the butter over medium-low heat. Continue to cook, stirring often, until the butter solids turn a golden brown. Shut off the heat and carefully add the pumpkin puree. It may sputter. Stir together the pumpkin into the butter. Return the pot to the heat on medium-low. It will continue to look separated for a minute or two, but then the mixture should come together. Cook until the pumpkin has reduced slightly and thickened, for an additional 2-3 minutes, to cook off the moisture from the pumpkin.
- Add in the marshmallows, salt, vanilla, and pumpkin pie spice. Cook, stirring often, until the marshmallows are melted and evenly combined with pumpkin. Turn off the heat.
- Working quickly, add in the cereal and stir together until completely combined.
- Immediately transfer the mixture to the prepared baking dish. Use a lightly oiled spatula to press into an even layer.
- Let cool completely, then cut into squares and serve.
Notes
The classic Kellogg’s crispy rice cereal works best, but store-brand versions are fine too. Just avoid “puffed rice” organic “healthier” cereals, which create a different texture than the traditional kind.
For the pumpkin puree, stick with the standard non-organic version. It has a lower moisture content than organic or homemade pumpkin, which is necessary for the treats to have the correct texture.
I’ve found that larger marshmallows work best for this recipe. With less starch coating than the mini ones, they melt more smoothly, creating a softer, gooier texture. The mini ones will still work just fine, but if you have the option, go with the larger ones.
This recipe was tested using Diamond Crystal coarse kosher salt. If you use Morton's kosher salt or fine salt, decrease the volume by half.
Store them loosely covered at room temperature for up to a day, or refrigerate them for longer storage. For the best texture, enjoy them soon after they are made.
Leave a Reply