


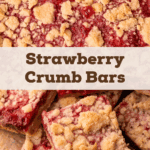
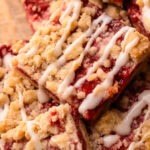
Sweet, jammy strawberries and a buttery crumble topping make these Strawberry Crumble Bars taste just like a pie, but with the simplicity of a quick portable dessert.
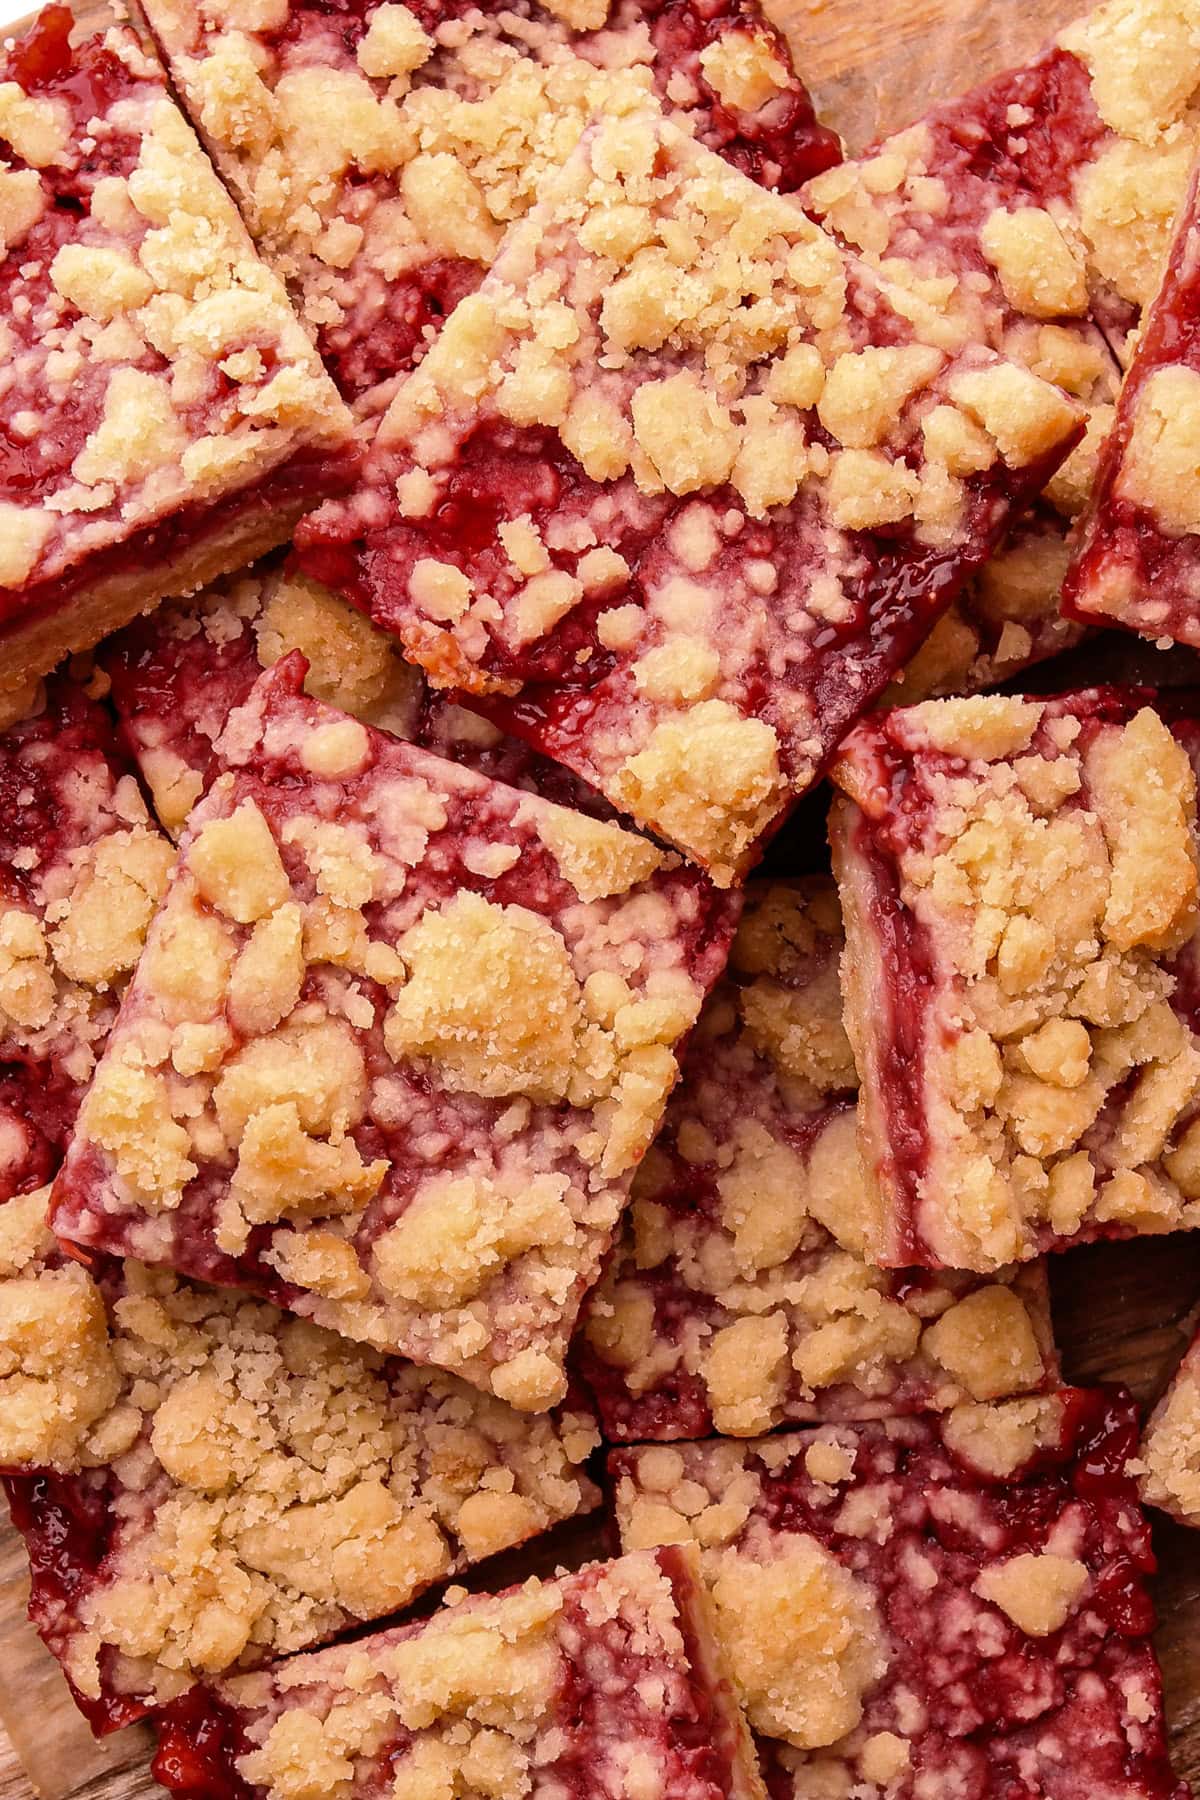
In my house, my kids call these "strawberry things" and I don't know why, but I know they go crazy when I make them. Strawberry Crumb Bars are like a strawberry pie, but made simpler and easier to share. These bars have a buttery shortbread base, a jammy strawberry filling that’s not overly sweet, and a tender crumble topping made without oats for a more pie-like feel.
The strawberries are precooked on the stovetop with just enough thickener to create the perfect consistency, and the shortbread base and topping are made from the same base. An optional glaze can be added if you want to truly gild the lily, but it’s entirely up to you. This shareable dessert comes together quickly and works just as well for a casual weeknight treat as it does as the finishing touch to a special meal.
How to Make It
With a jammy fruit filling and both a top and bottom crust, these Strawberry Crumb Bars are like an easier version of strawberry pie and a more portable version of a crisp. Plus, if you love crumble topping, you get twice as much with an abundant layer on both the top and bottom
Here is a quick visual overview of the steps needed to make this recipe. If you are looking for the full recipe, keep scrolling!
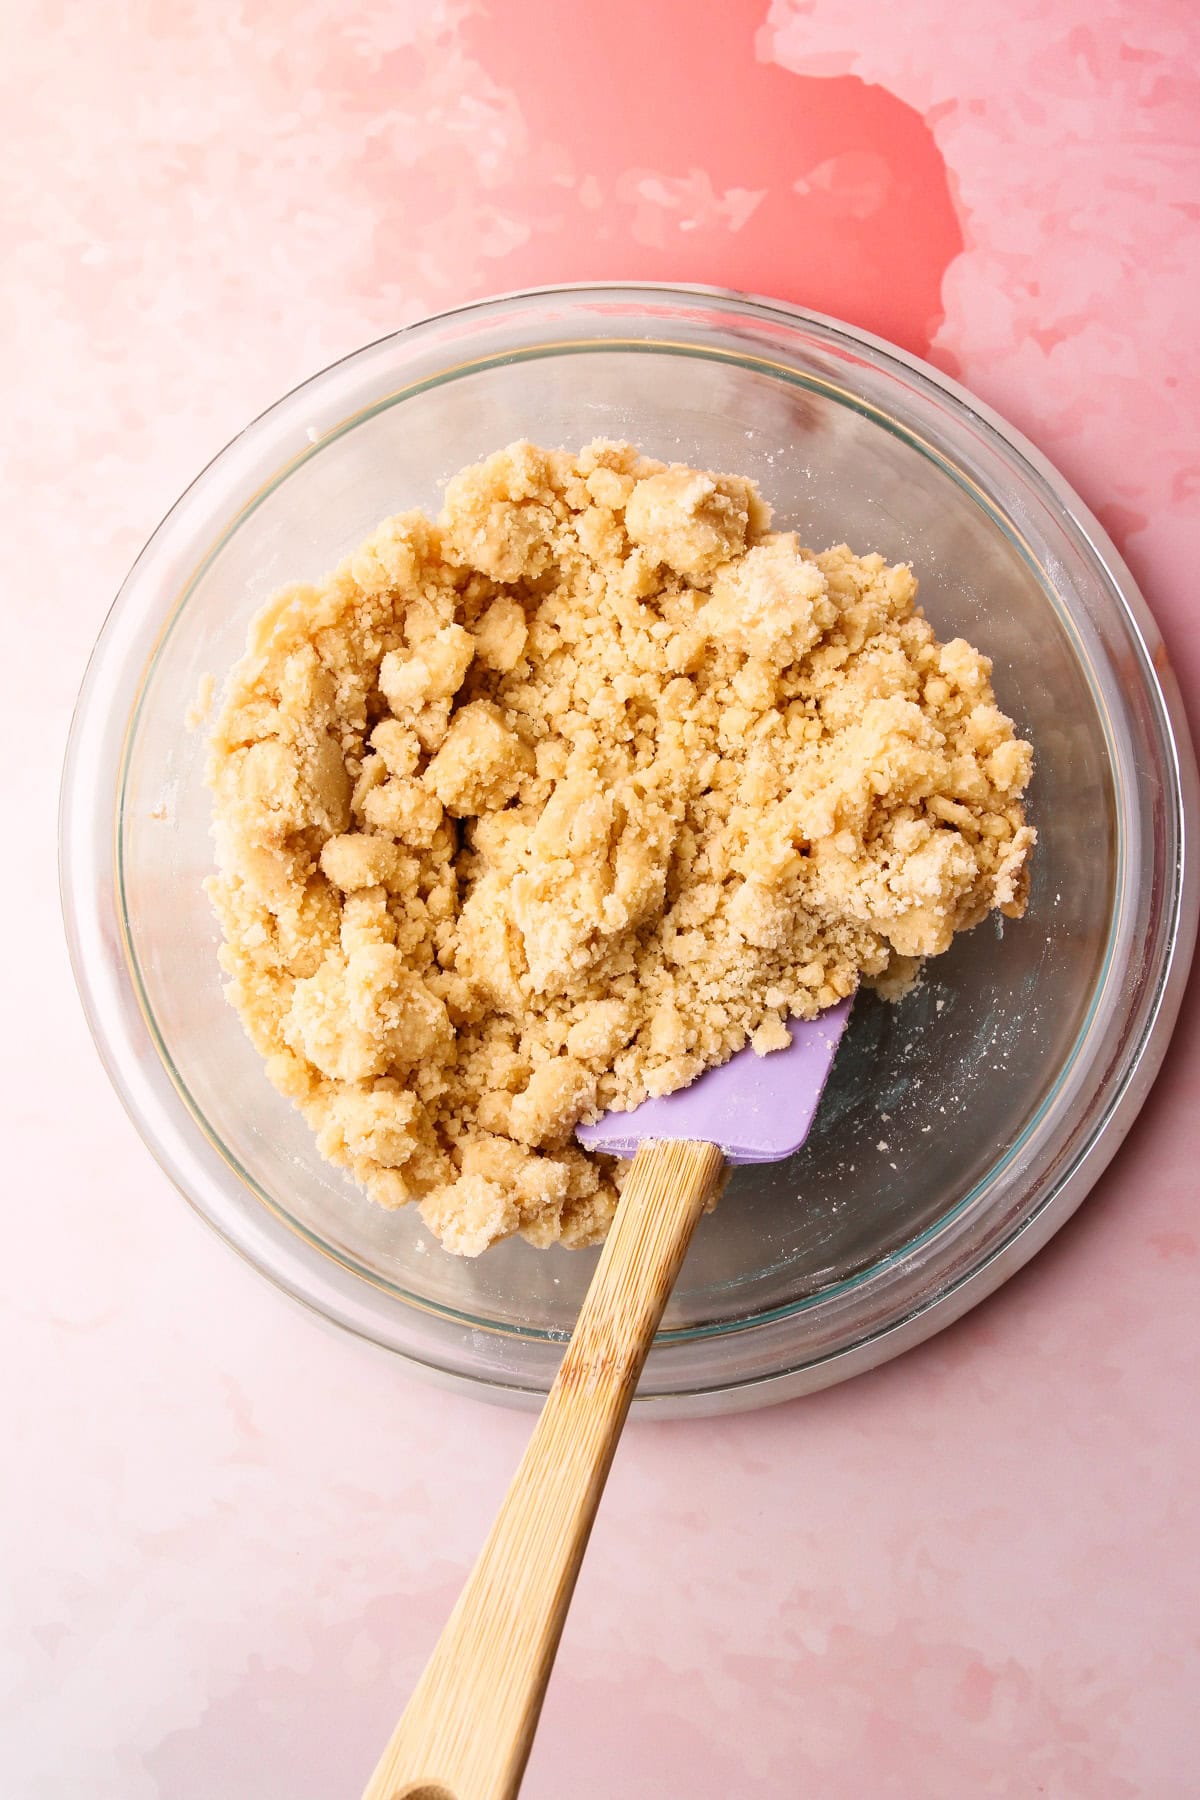
Step 1: Whisk together the butter, sugars, baking powder, vanilla, and salt. Stir in the flour until just combined.
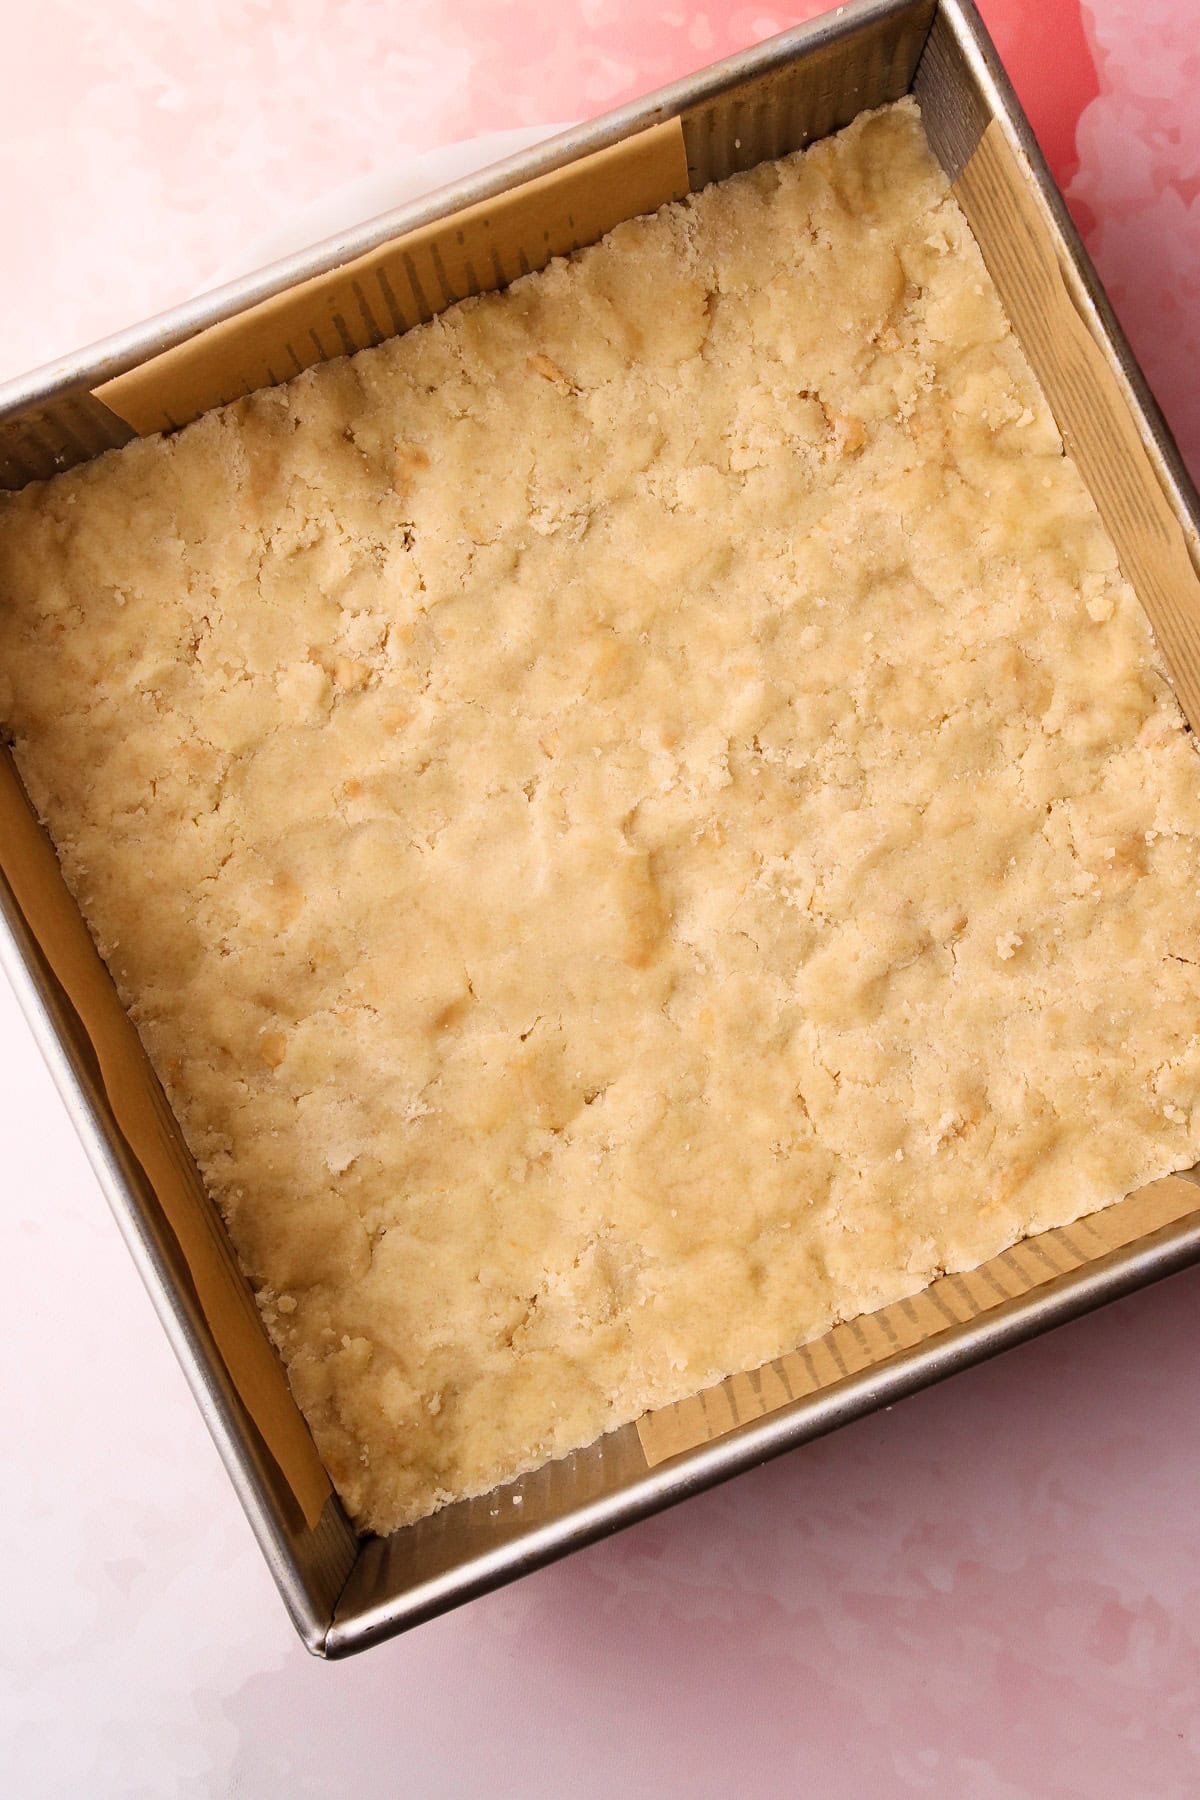
Step 2: Sprinkle ⅔ of the crumb mixture into a prepared baking dish, then press the mixture into an even layer.
Step 3: Bake until it’s lightly golden along the edges with a matte appearance in the middle.
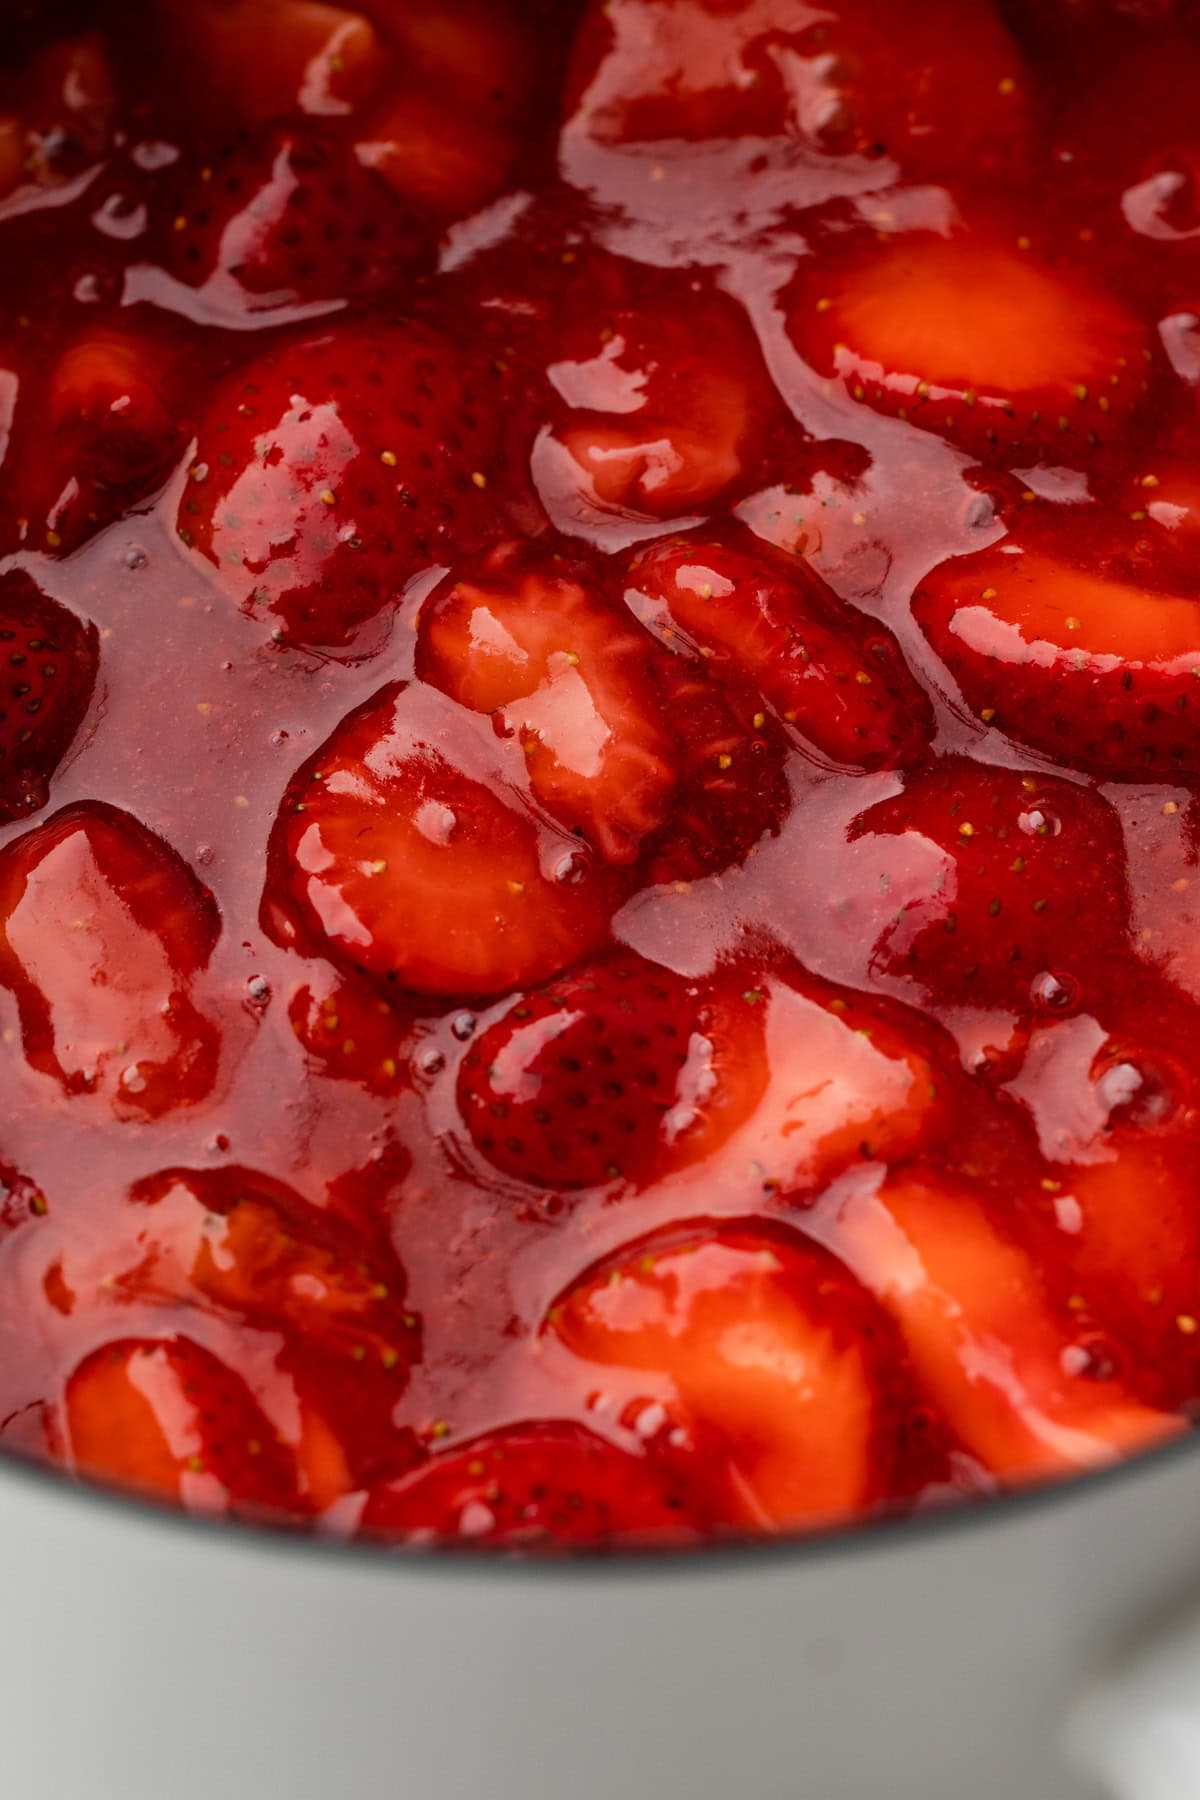
Step 4: While the base bakes, prepare and cook the strawberry filling.
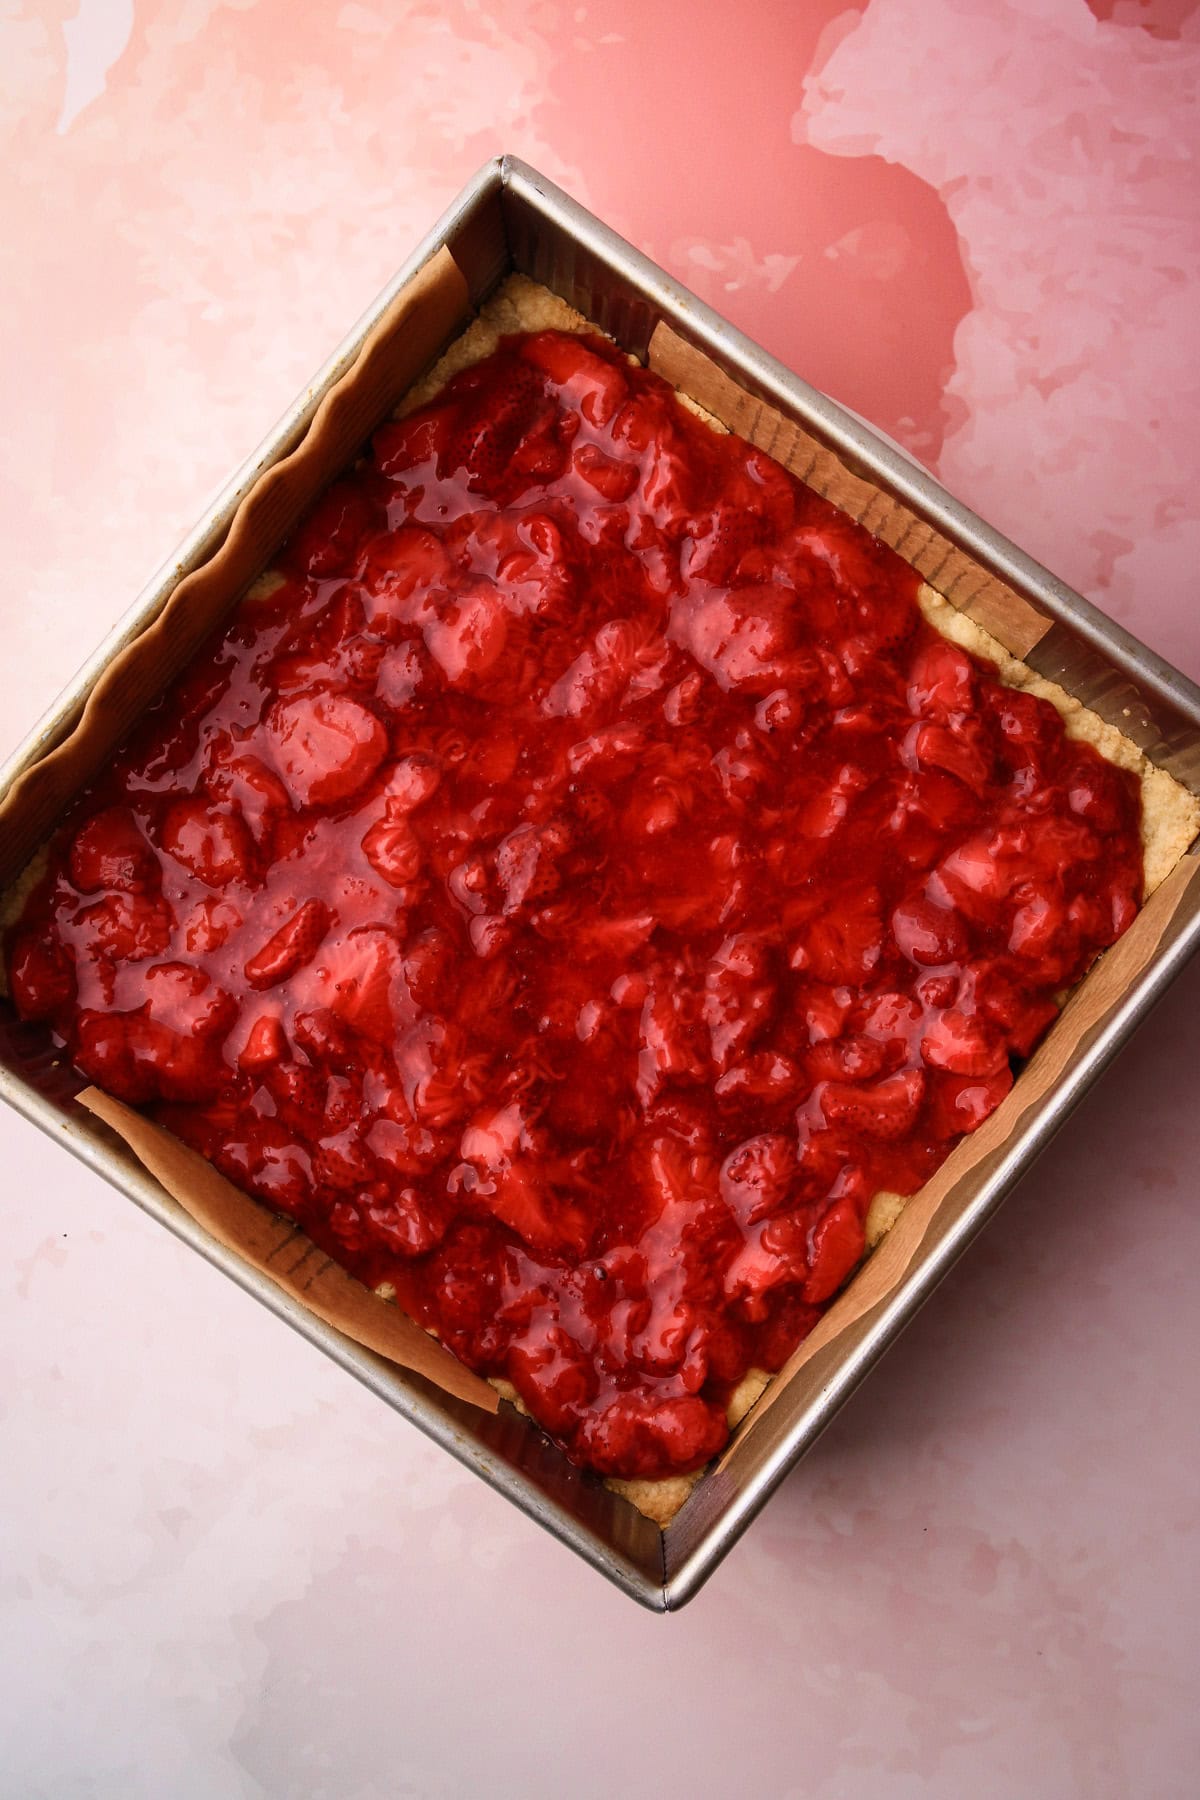
Step 5: Transfer the strawberry filling onto the par-baked crust and spread into an even layer.
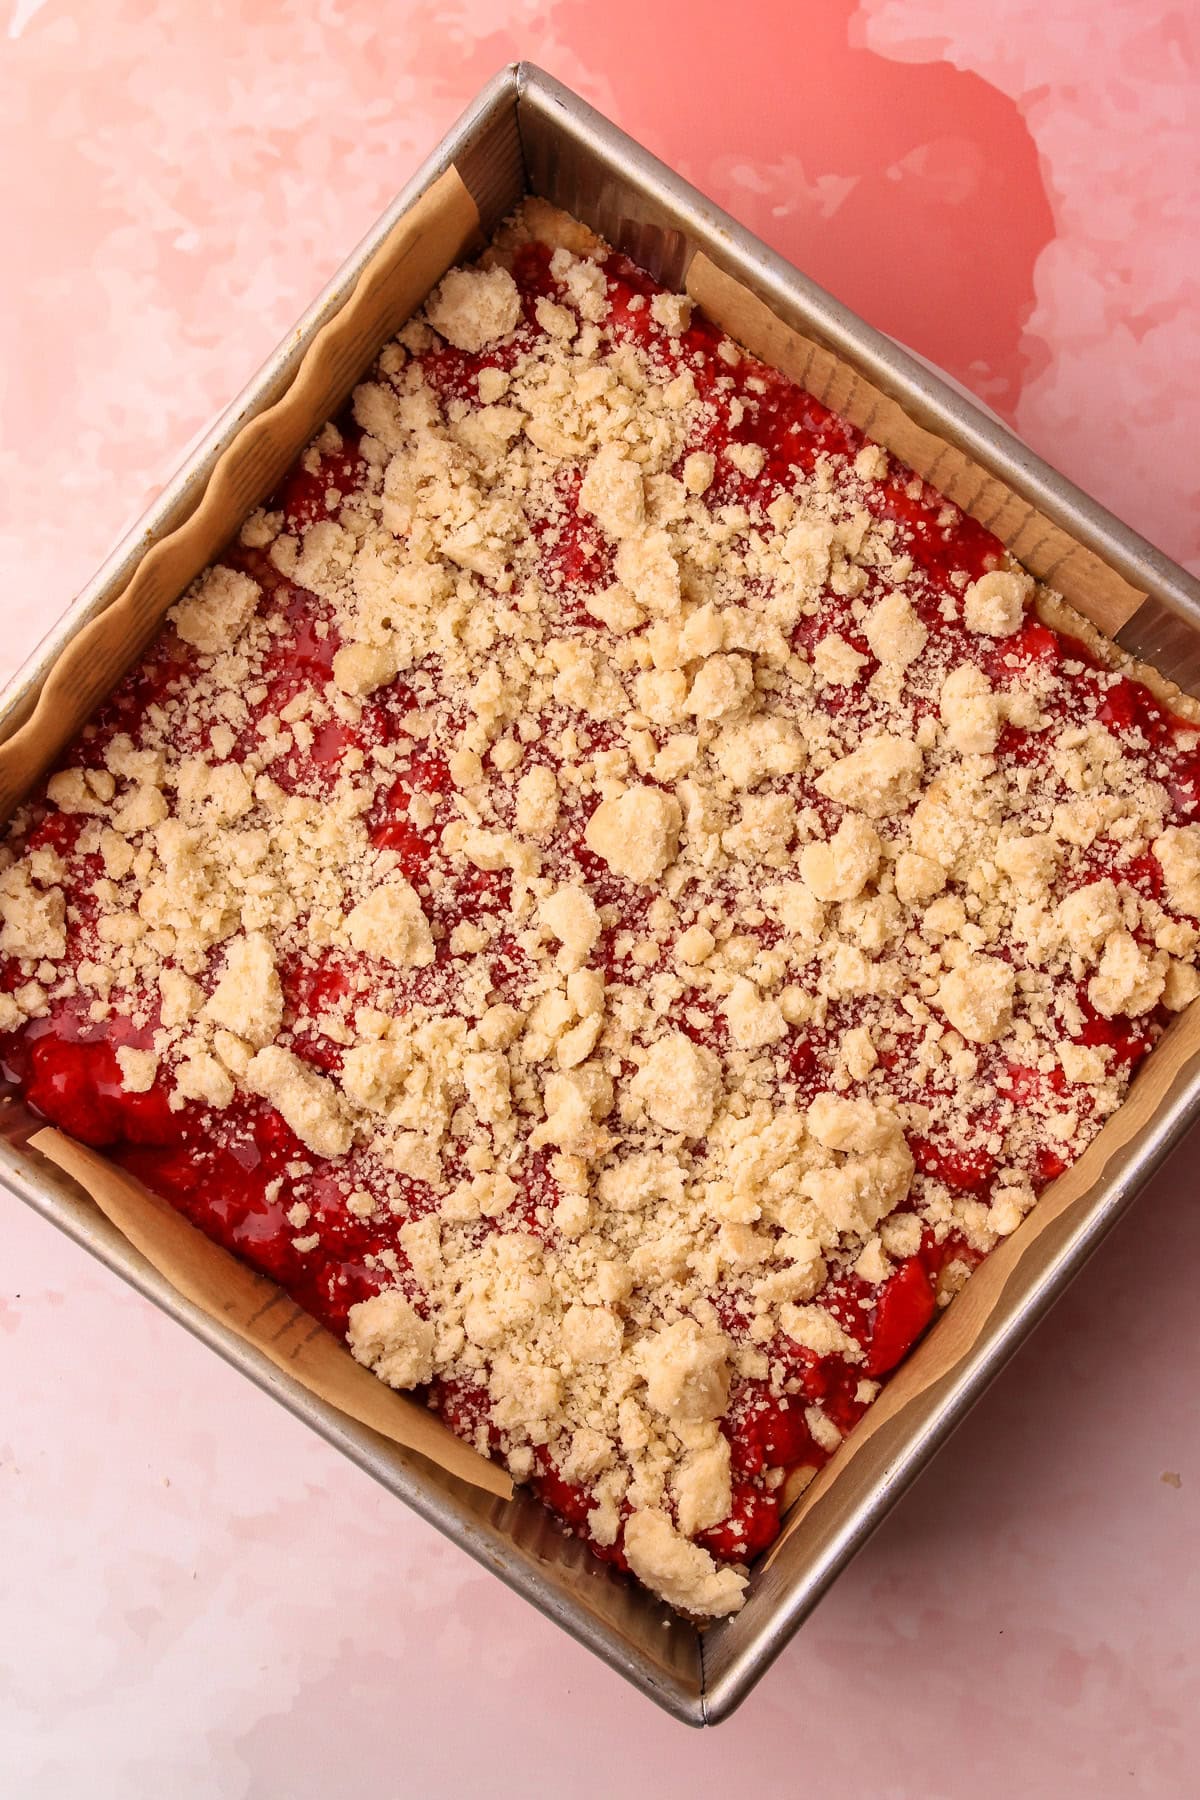
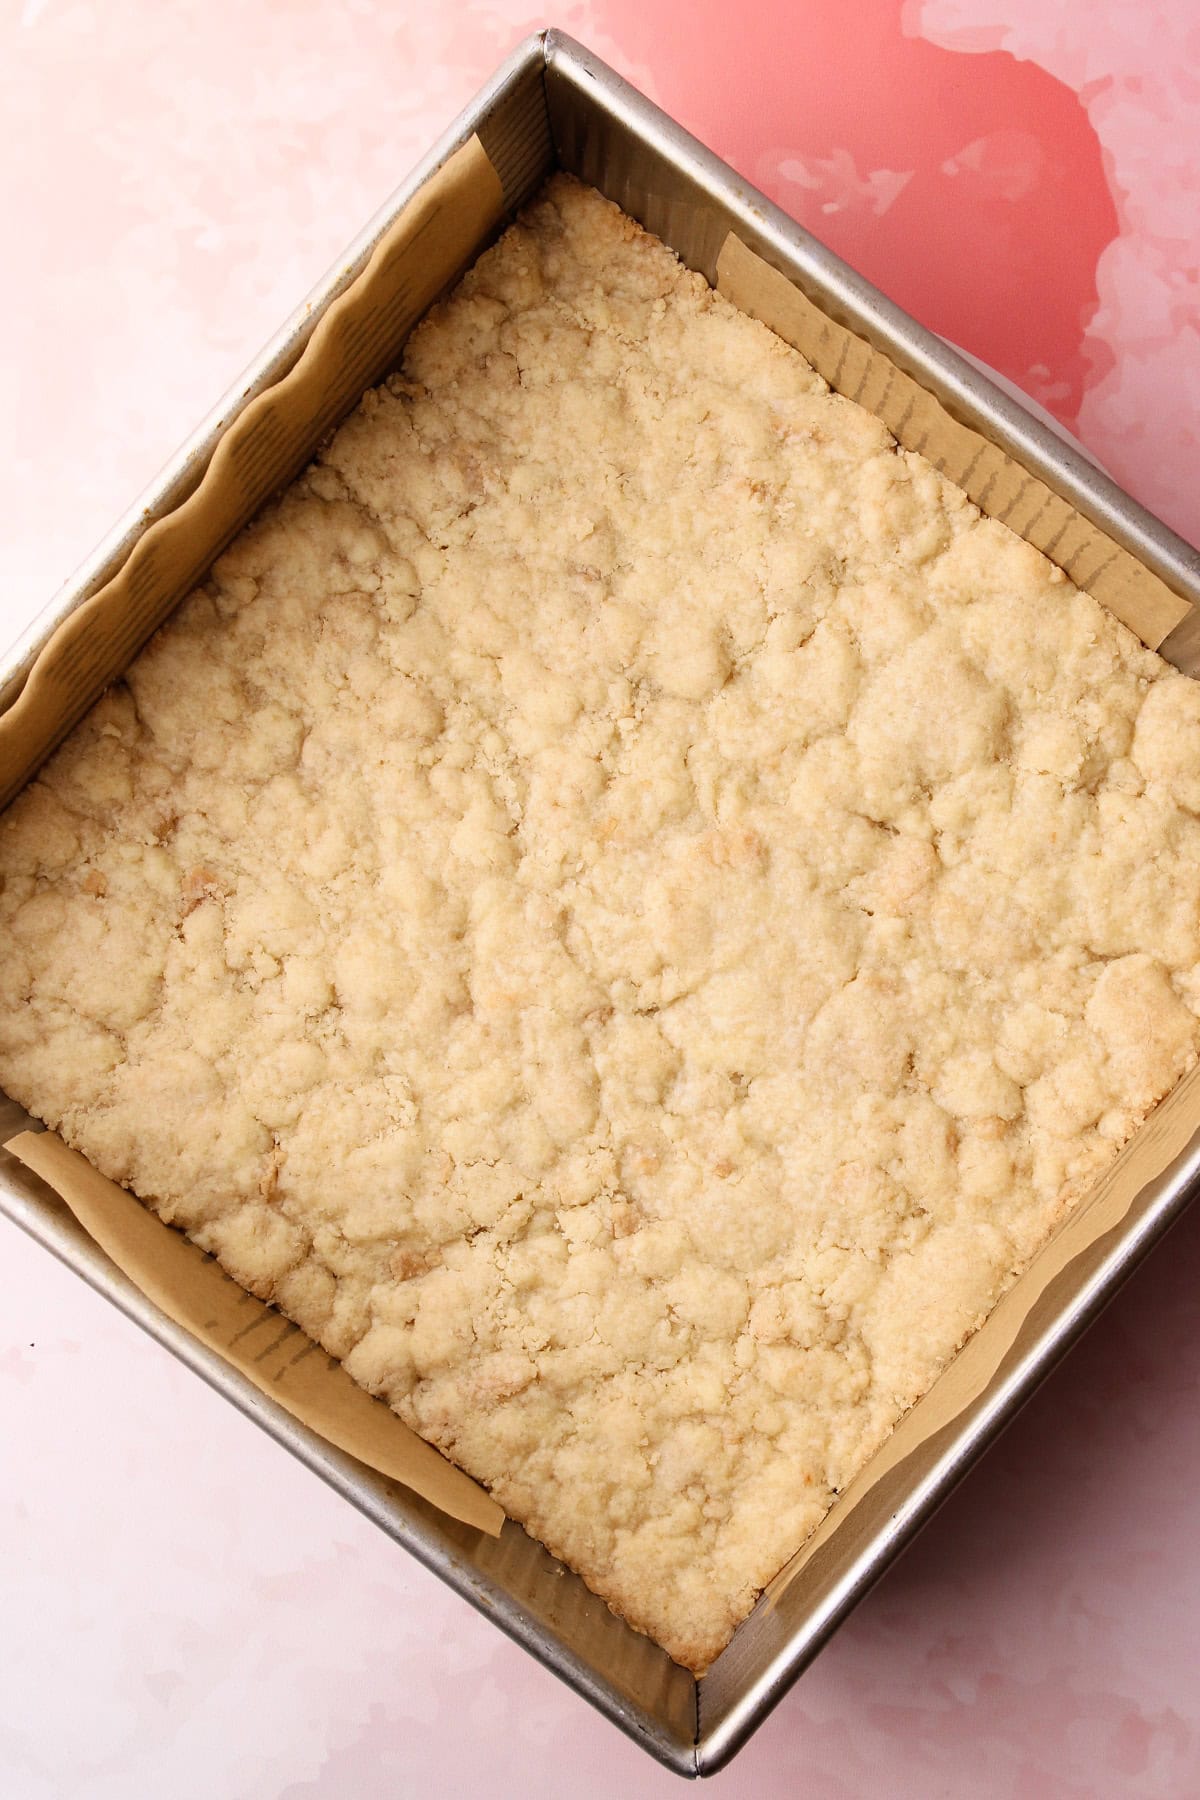
Step 6: Sprinkle the remaining crumb mixture evenly on the top.
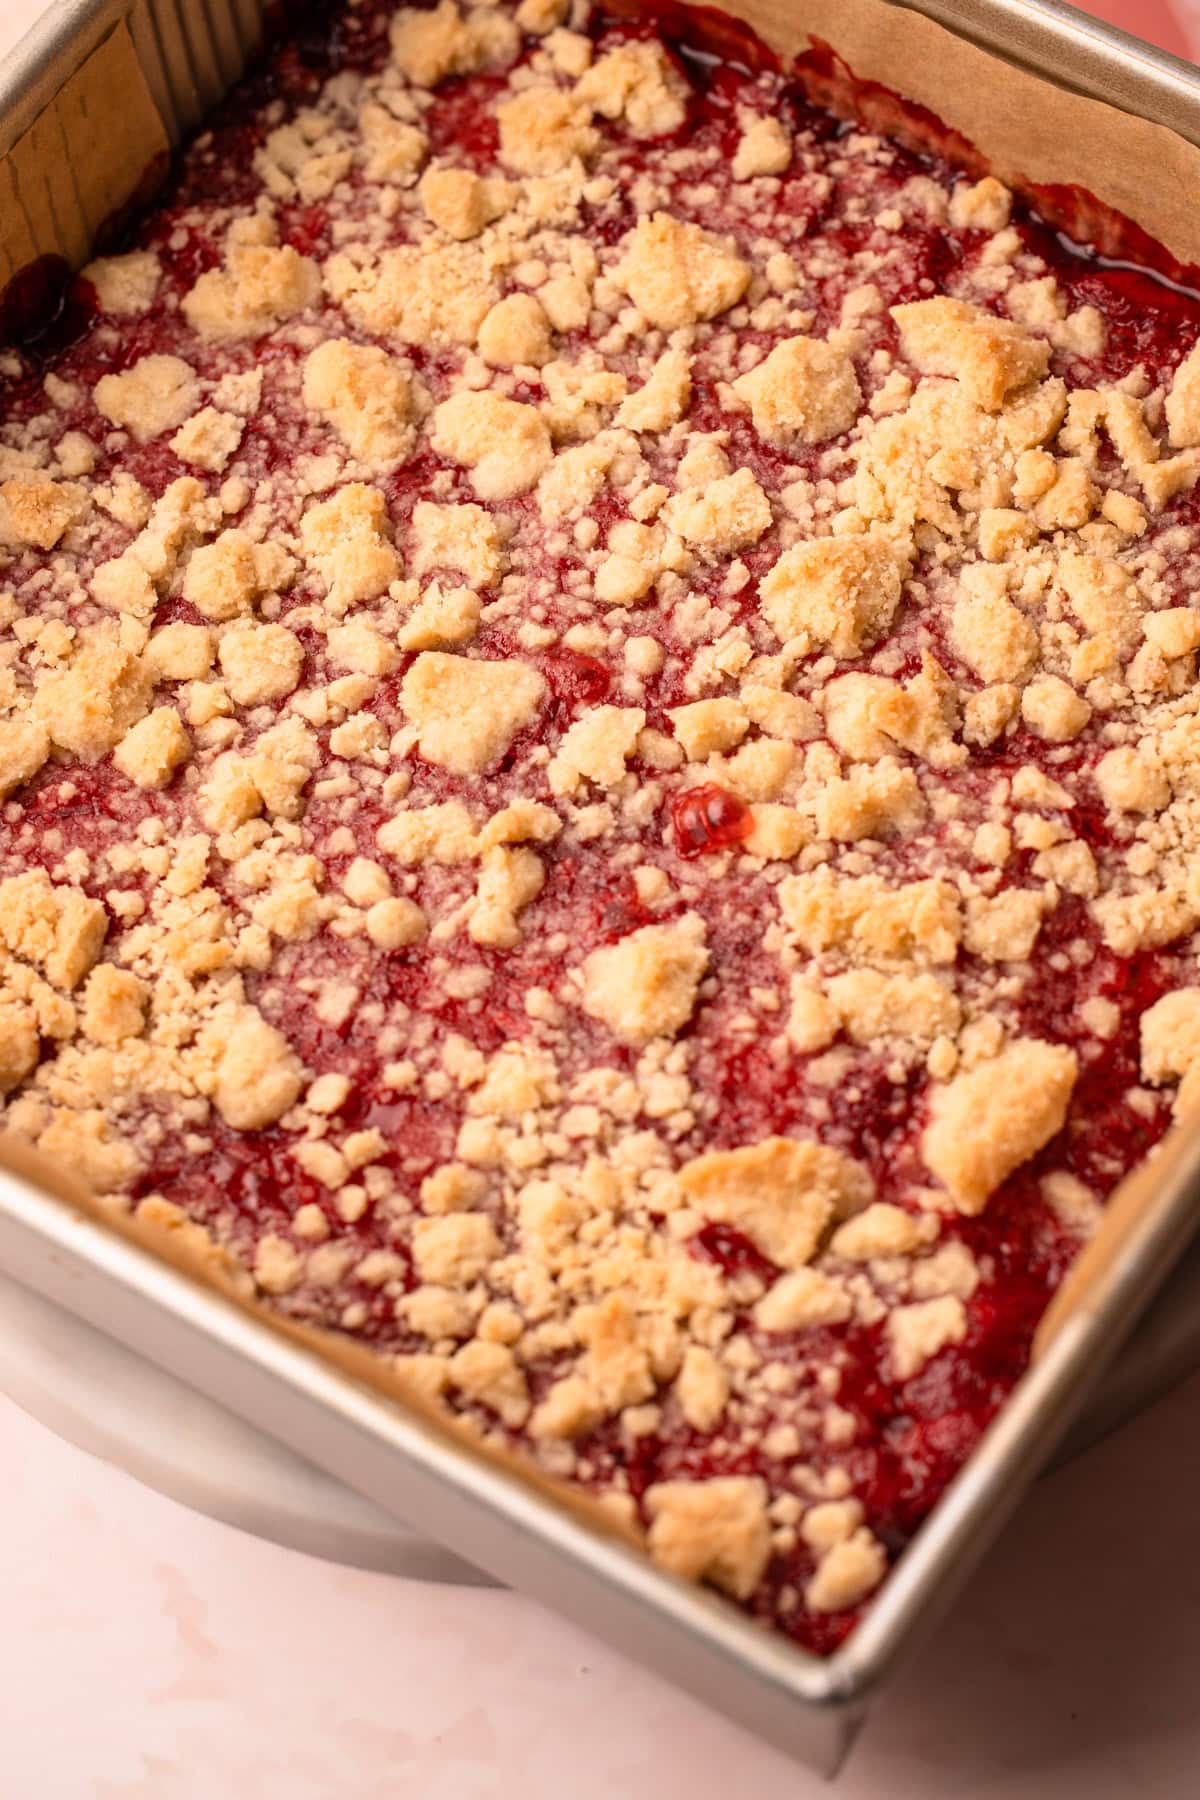
Step 7: Bake on the middle rack until the filling is slightly puffed up and the crumb mixture is a light golden color.
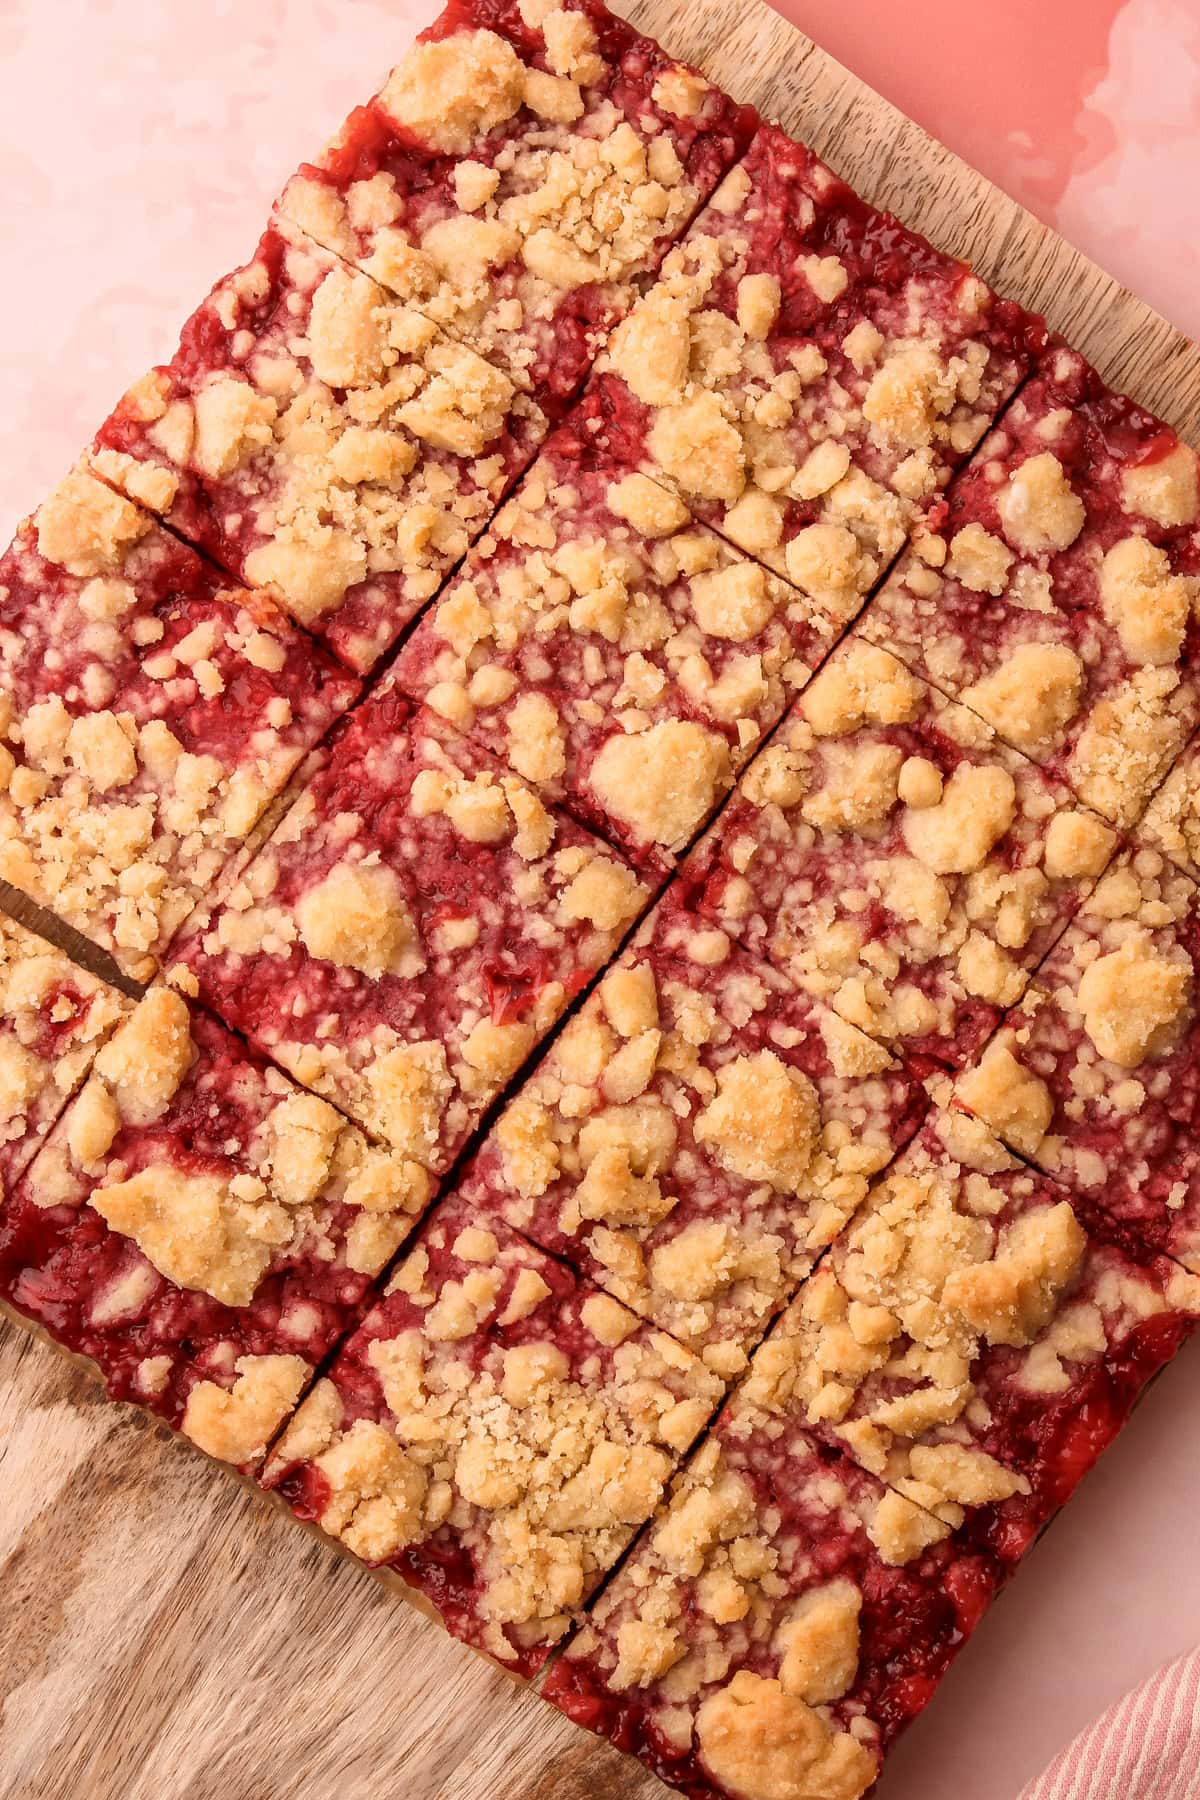
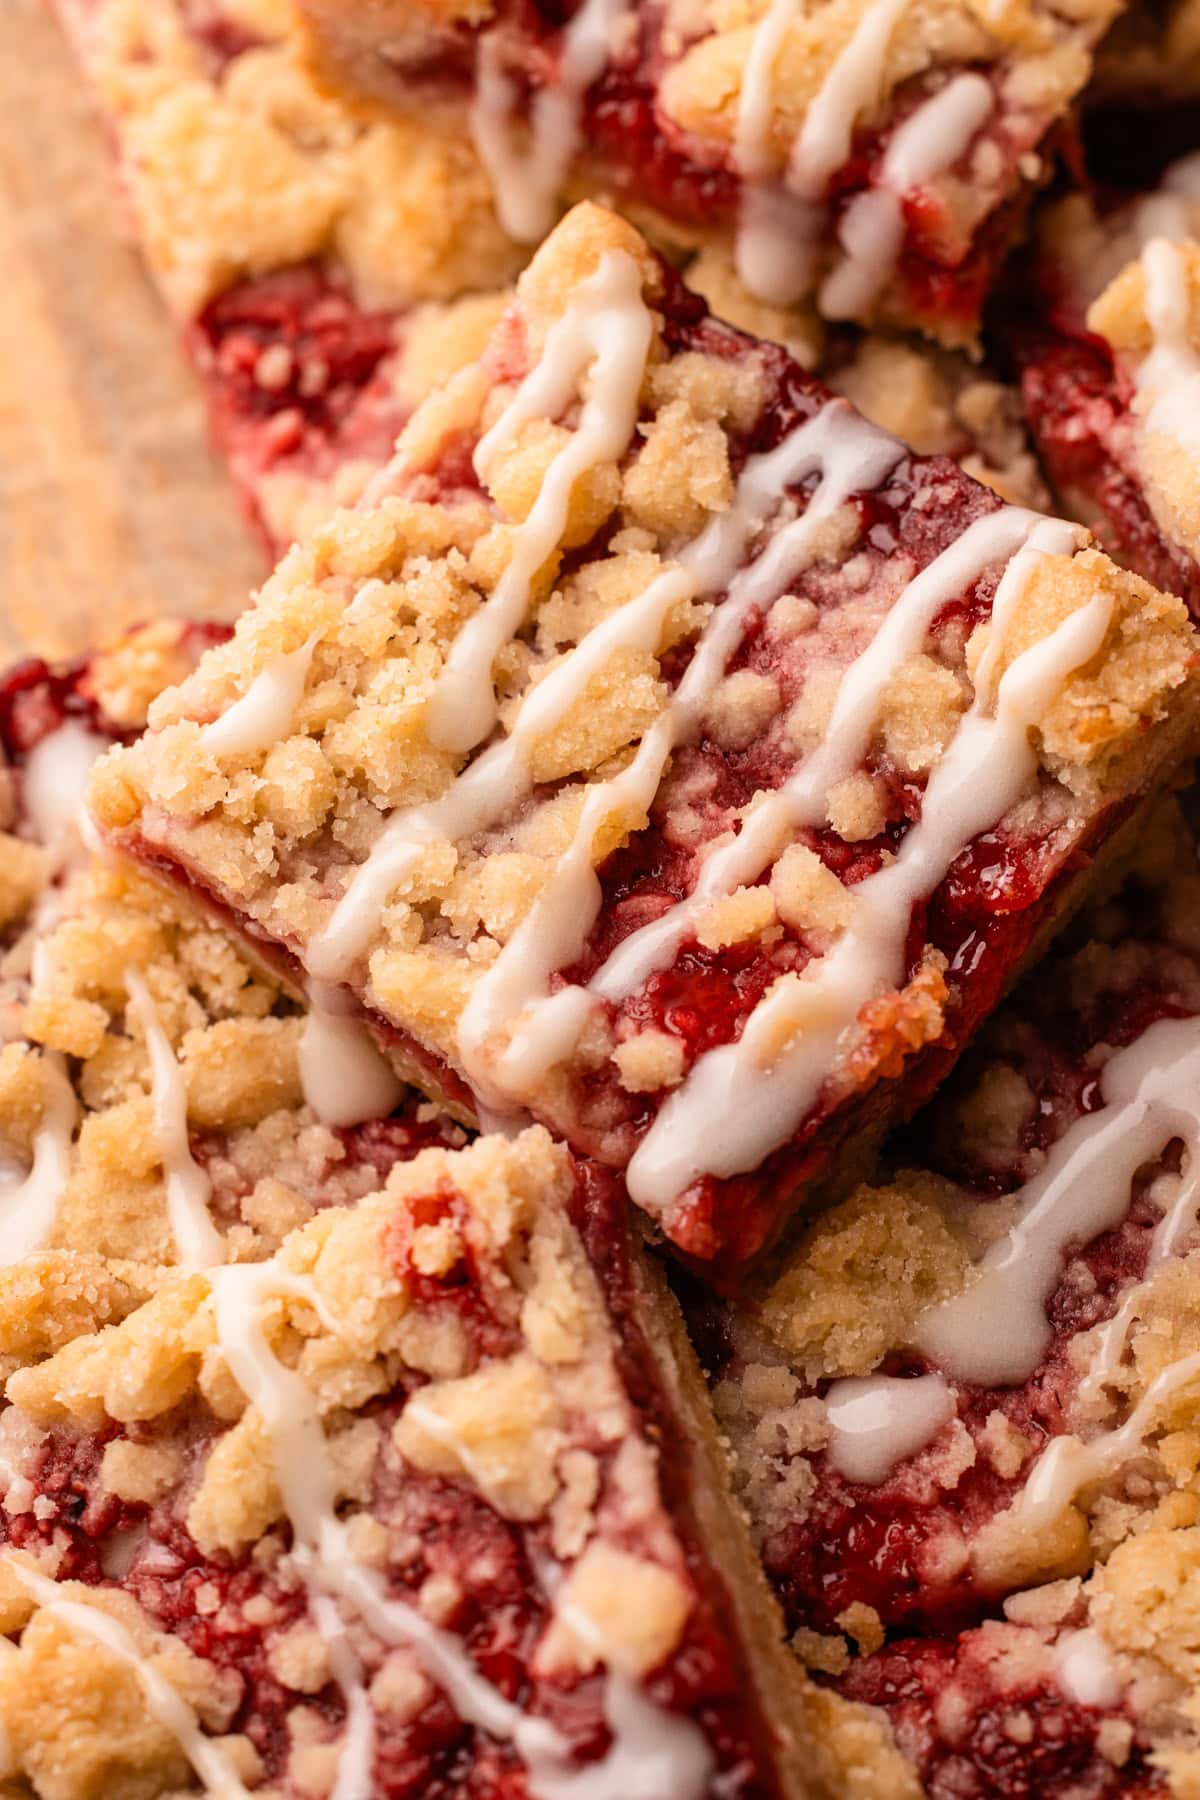
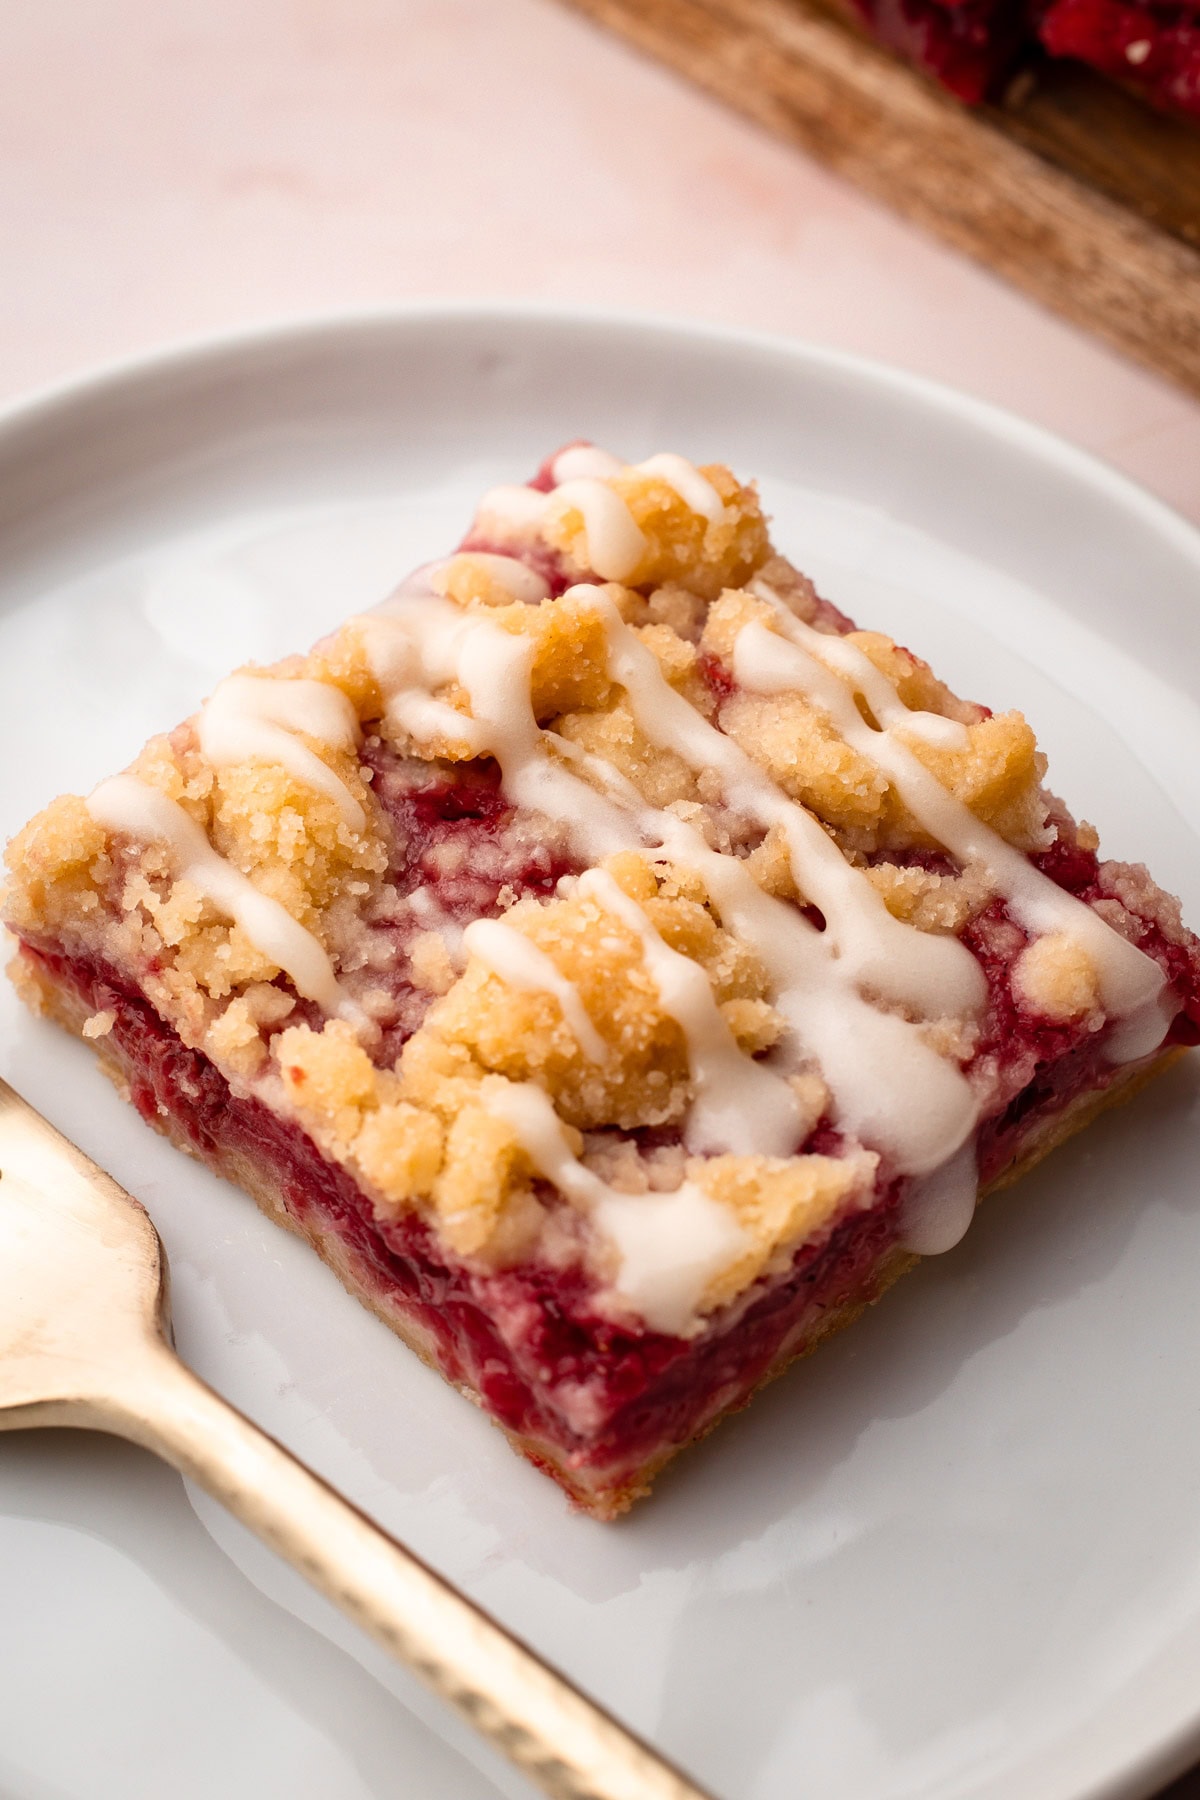
Step 8: Transfer to a wire rack and let cool completely, then slice and serve (add an optional glaze if desired)
Serving + Storing
Let the bars cool completely before slicing, as they’ll be quite soft straight from the oven. The glaze is optional, but a quick drizzle of powdered sugar icing adds a little something extra. Serve as is, or if you like, with a scoop of ice cream, which is how my husband loves to eat these!
Strawberry Crumb Bars are at their absolute best the day they are made, with a perfectly crisp yet tender shortbread base. Like most crumb bars, they get softer as they sit. They can be kept at room temperature for up to 1 day. Beyond that, store them in the refrigerator for up to 3 days.
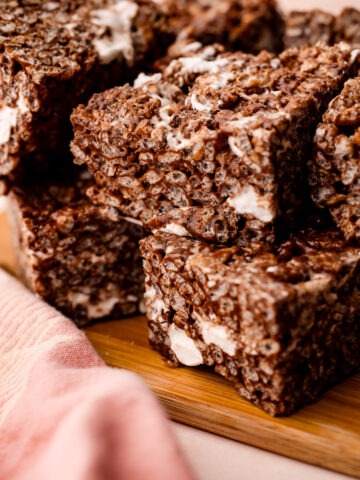
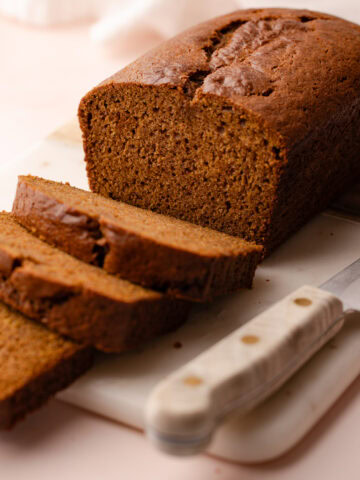
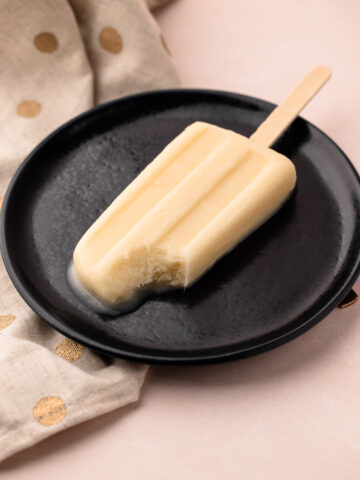
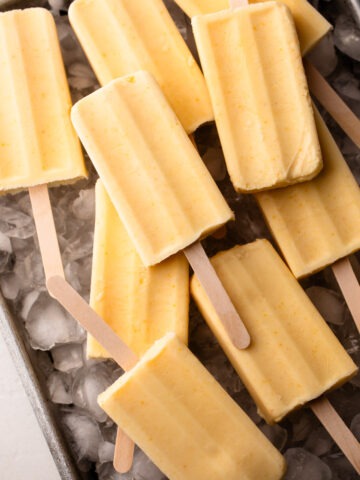
More Dessert Recipes
If you make this Strawberry Crumble Bar recipe, be sure to leave a comment with a star ⭐️⭐️⭐️⭐️⭐️ review on your experience! Have a question? Leave a comment below and I’ll get back to you as quickly as I can!
Full Recipe
Description
Sweet, jammy strawberries and a buttery crumble topping make these strawberry crumble bars taste like pie, but without any of the fuss of making a pie!
Ingredients
For Crumb Crust and Topping
- ¾ cup (170 grams) unsalted butter, melted, plus more for greasing pan
- ½ cup (100 grams) granulated sugar
- ¼ cup (50 grams) light brown sugar
- 1 teaspoon baking powder
- 1 teaspoon vanilla extract
- ½ teaspoon coarse kosher salt (see note)
- 2-¼ cups (270 grams) flour
For Strawberry Filling
- ⅓ cup (70 grams) granulated sugar
- 1 tablespoon (10 grams) tapioca starch (see note)
- Pinch coarse kosher salt
- 3 cups (450 grams) chopped strawberries
- ½ teaspoon almond extract (optional)
Glaze (optional)
- ½ cup (60 grams) powdered sugar
- 1 tablespoon heavy cream, more as needed
Instructions
Prepare the Crumb Crust and Topping:
- Preheat the oven to 375ºF and place oven racks in the lowest and middle parts of the oven. Butter or oil an 8-inch square (or similar size) baking dish. Cut a strip of parchment to fit inside the dish with ends long enough to hang over the edges. Line the baking dish with the parchment and set aside.
- In a medium bowl, whisk together the melted butter, granulated sugar, brown sugar, baking powder, vanilla, and salt . Stir in the flour until just combined.
- Sprinkle ⅔ of the crumb mixture into the prepared baking dish as evenly as possible. Using a flat-bottomed measuring cup or your hands, press the mixture into an even layer. Bake the crust in the preheated oven on the lowest rack until it’s lightly golden on the edges with a matte appearance in the middle, about 12 minutes. Remove and set aside until ready to use.
Make the Strawberry Filling:
- Meanwhile, in a medium pot, stir together the granulated sugar, tapioca starch, and salt. Add the chopped strawberries and almond extract and cook over medium heat, stirring frequently, until the mixture is bubbling throughout, about 5 minutes. Remove from the heat and let cool for at least 10 minutes.
- Transfer the strawberry filling onto the par-baked crust and spread into an even layer. Sprinkle the remaining crumb mixture evenly on the top.
- Bake on the middle rack until the filling is slightly puffed up and the crumb mixture is a light golden color, 30 to 35 minutes.
- Transfer to a wire rack and let cool completely.
- Make the glaze (optional): In a small bowl, whisk together the powdered sugar and heavy cream until smooth. Drizzle over the top of the bars. Cut into 16 pieces and serve.
Notes
This recipe was tested using Diamond Crystal coarse kosher salt. If you use Morton's kosher salt or fine salt, decrease the volume by half.
Tapioca starch can be found in the baking aisle at the grocery store, usually near the cornstarch. It’s a thickening agent that works similarly to cornstarch, but leaves the strawberry filling more clear. Cornstarch can be used in its place in the same quantity, if needed.
Store at room temperature in a covered container for up to 1 day or in the refrigerator for up to 2 to 3 days
Leave a Reply