


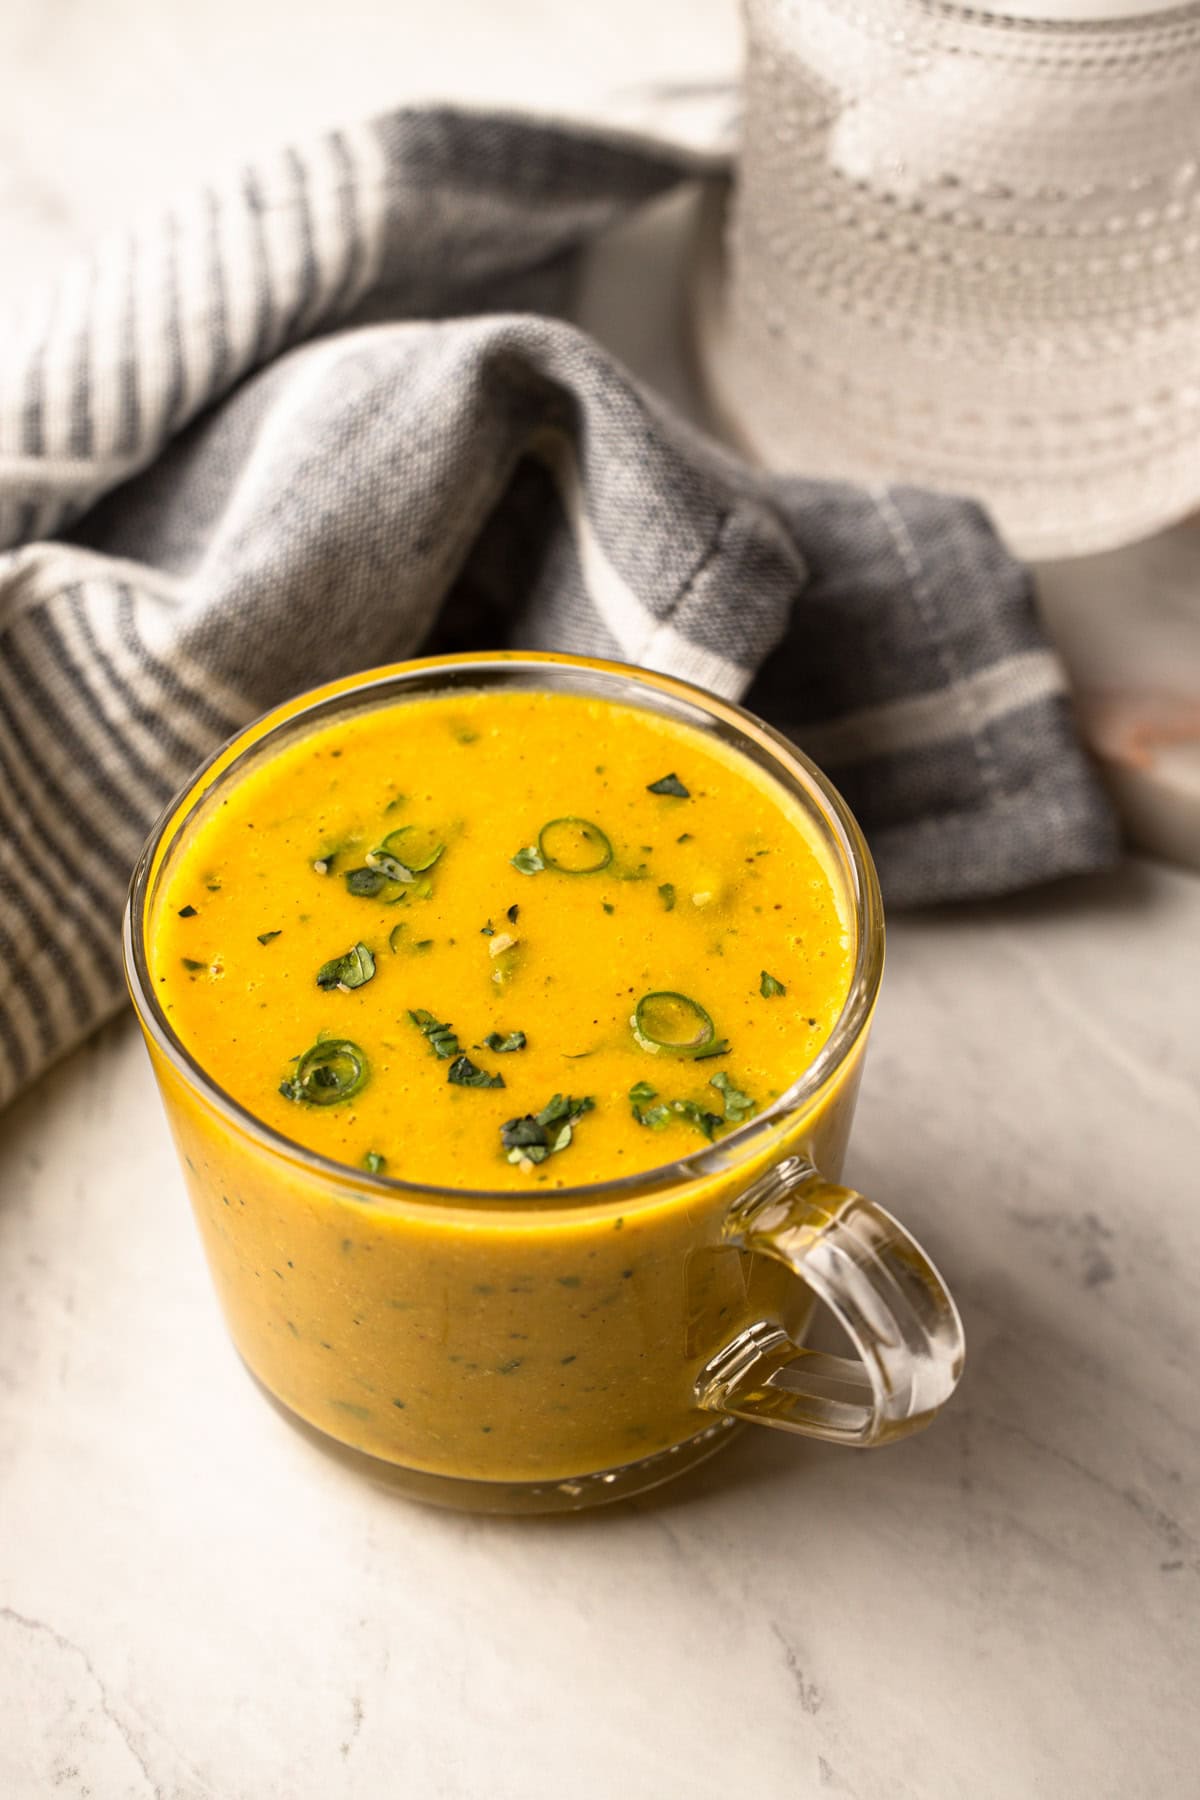
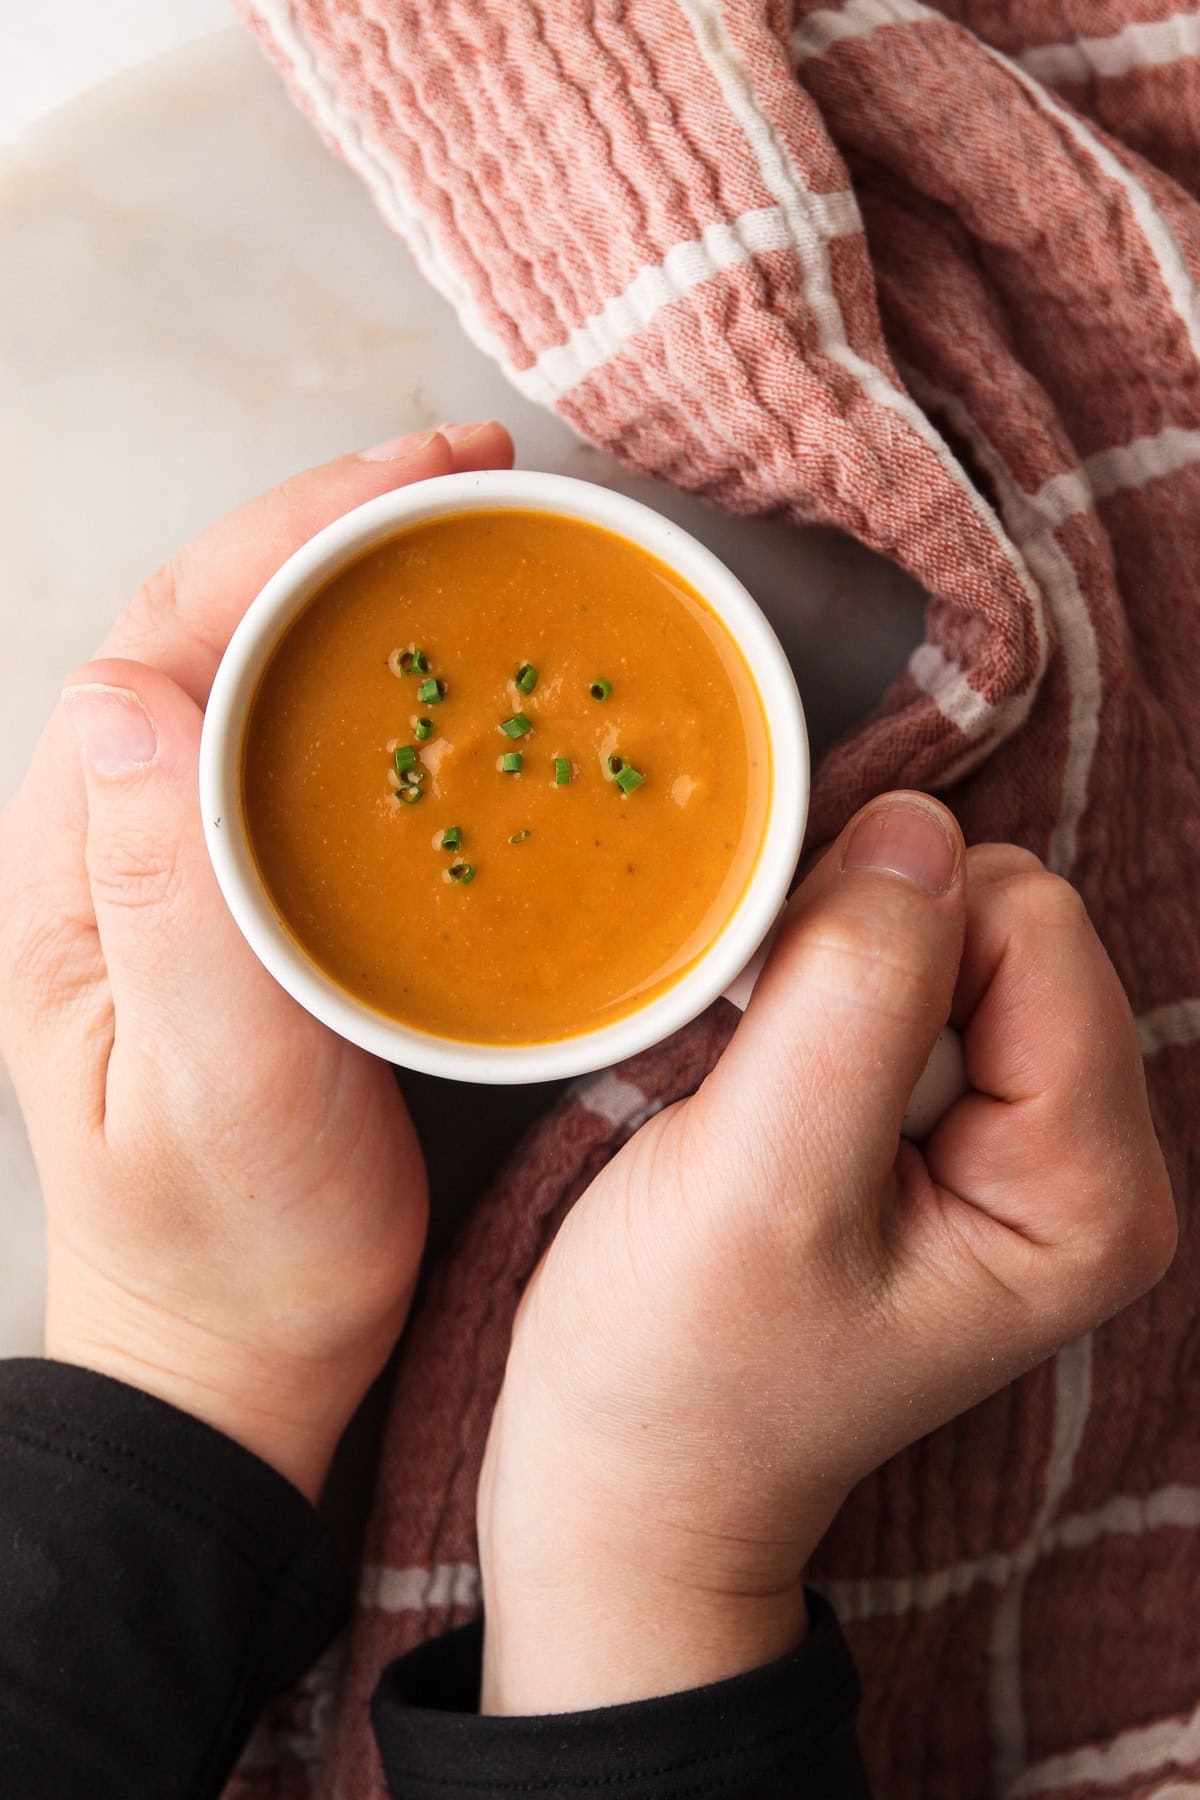
Girl Soup is a customizable, make-ahead blended soup made from veggies, legumes, and simple ingredients—a low-effort, nourishing lunch you can sip from a mug, designed for busy days when you can't slow down but still want to take care of yourself.
The idea for "girl soup" started the same way girl dinners did—out of pure necessity. Like girl dinners (social media famous low-effort, snack-style meals that women feed themselves when nobody else is around), girl soup is low-effort, still based entirely on your own tastes, but with a little more focus on nourishment. It’s not meant to be aesthetic. It’s not meant to impress anyone. It’s just an easy, satisfying, make-ahead meal that you can heat up, pour into a mug, and sip in between everything else going on in your day.
I started making girl soups sometime last year because I was struggling to eat during the day. I've never been very hungry in the first part of the day, and I never like to stop what I’m doing to cook something—especially during the workweek when there’s nobody else home and there isn't another mouth to feed except myself. But by 2pm, I’d be starving—and usually end up eating whatever was fastest, which wasn’t always the best choice. This pattern had been a bad habit I was stuck in for some time.
When I committed to taking a little better care of myself, I first turned to smoothies—for the obvious reasons: they’re quick, don’t require much thought, and can be consumed while still working. But after a while, I started to get tired of the sweetness and found myself wondering if there was a savory version that could work the same way. Was a savory smoothie even a thing?
And that’s when it hit me—soup! I know, not the most revolutionary thought, but reframing it as a form of meal prep—something I could make ahead in big batches, freeze, and reheat to sip straight from a mug—was a total game-changer for me. Especially thinking about prepping it just for myself, using only the ingredients I liked (as a mother cooking for a family, we know how rare this is).
So I made a simple soup using ingredients to only my preferences, plus a few things I thought could boost the protein. I blended it smooth and poured it into a mug. And honestly? I was hooked. It let me eat something real, with actual nutritional value, without having to fully stop what I was doing—and it was really good.
It’s been one of the most practical shifts I’ve made and truly feels like self care, while still being something simple to accomplish.
I don’t usually follow a recipe when I make these—just like a girl dinner, it’s more about what sounds good to me and what’s on hand than following strict rules. But after sharing about girl soup on social media, a lot of you asked me to write it down. So that’s what this "recipe" is: a flexible framework for how I build girl soups and some best practices I’ve learned along the way.
Spend about 30–40 minutes making a big batch, freeze it, and your future self will be so glad you did. It’s an easy way to have something nourishing ready to go—made entirely with your tastes in mind—especially on the busy days when all you have time for is a few sips from a mug.
How to Make It
Girl soups follow the same loose formula as girl dinners: no hard and fast rules, just a simple soup that you can blend up and drink from a mug. Most of mine are built around a simple veggie base, a plant protein, bone broth or stock, maybe a creamy element and then some flavor in the form of herbs, spices, an acidic element, and plenty of salt and pepper. You don’t need to overthink it.
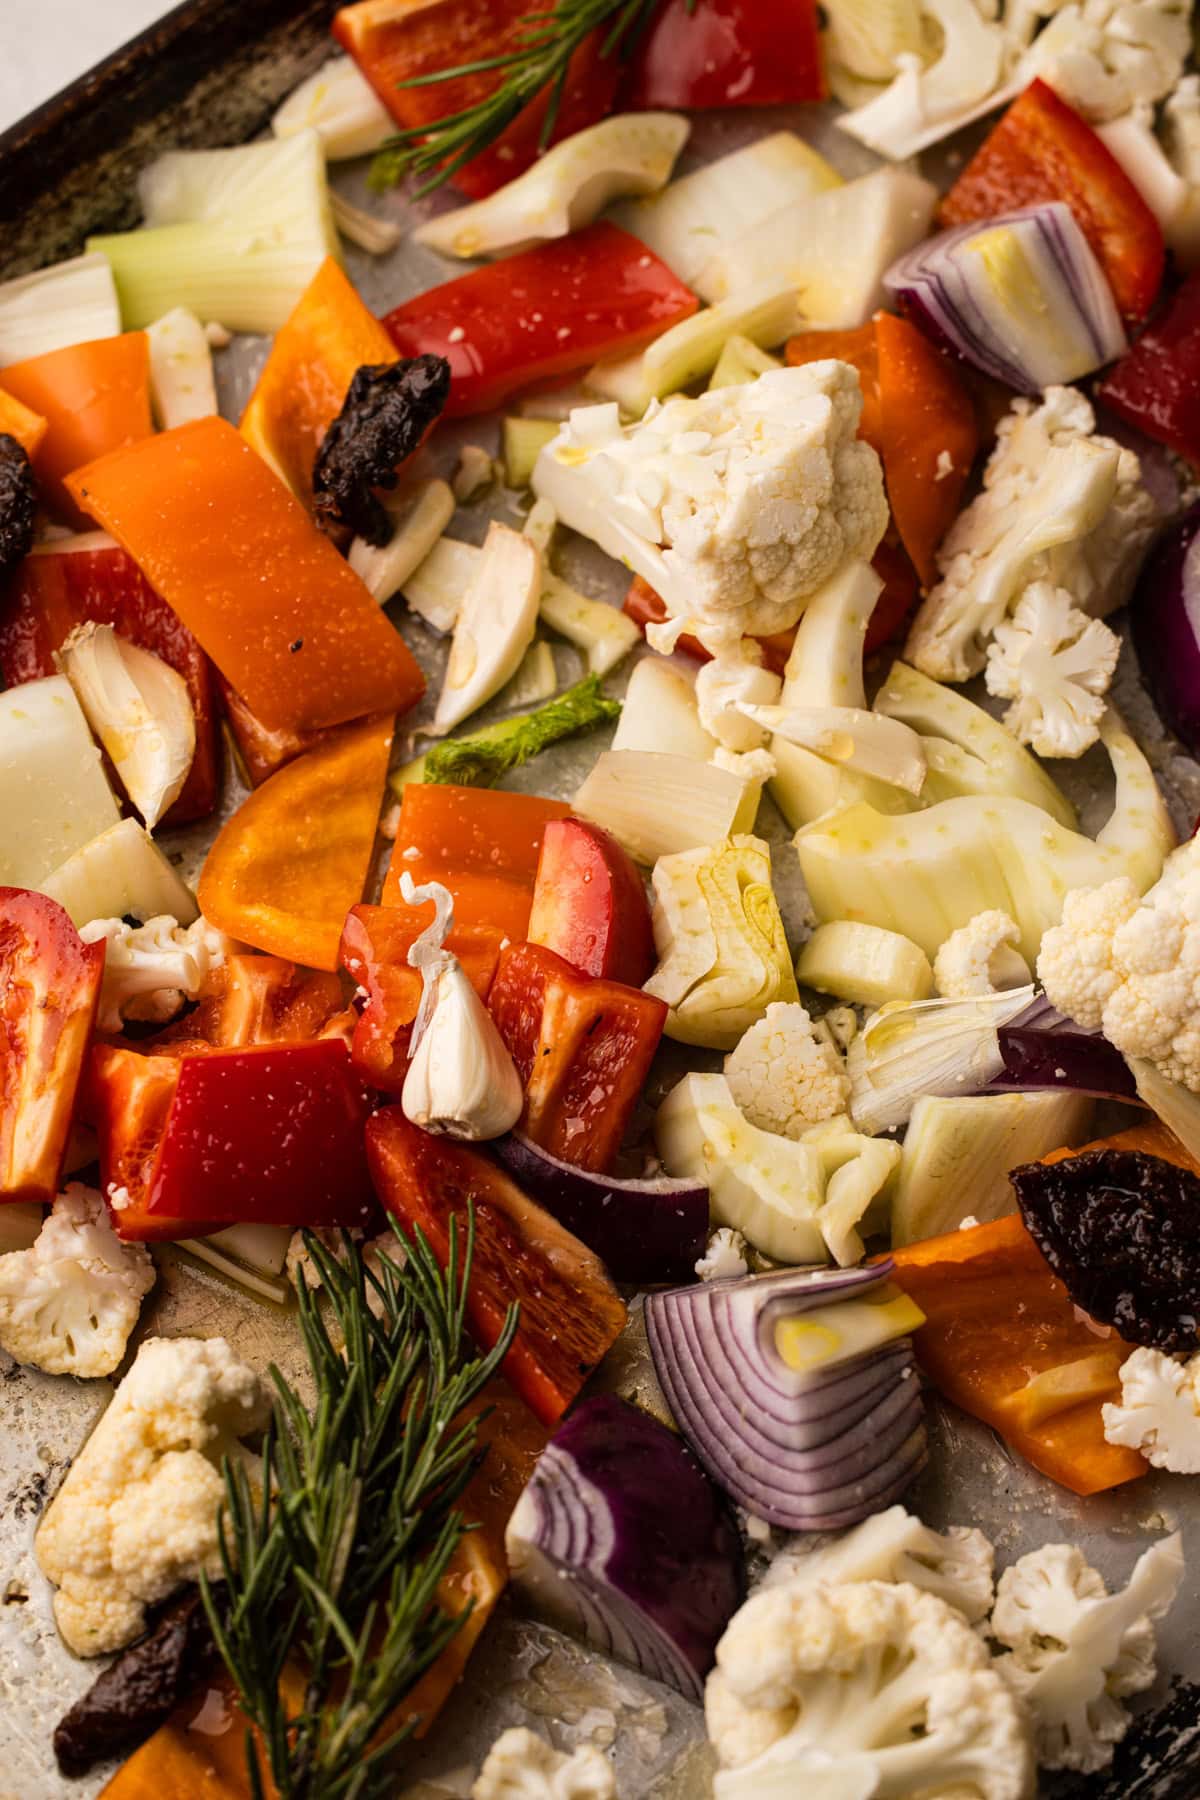
You can cook everything right on the stovetop, or roast some or all of the soup elements. When it comes time to blend it, you can use an immersion blender directly in the pot for a quick, one-dish cleanup (my favorite method). Or if you want a super smooth texture, a stand blender is the way to go.
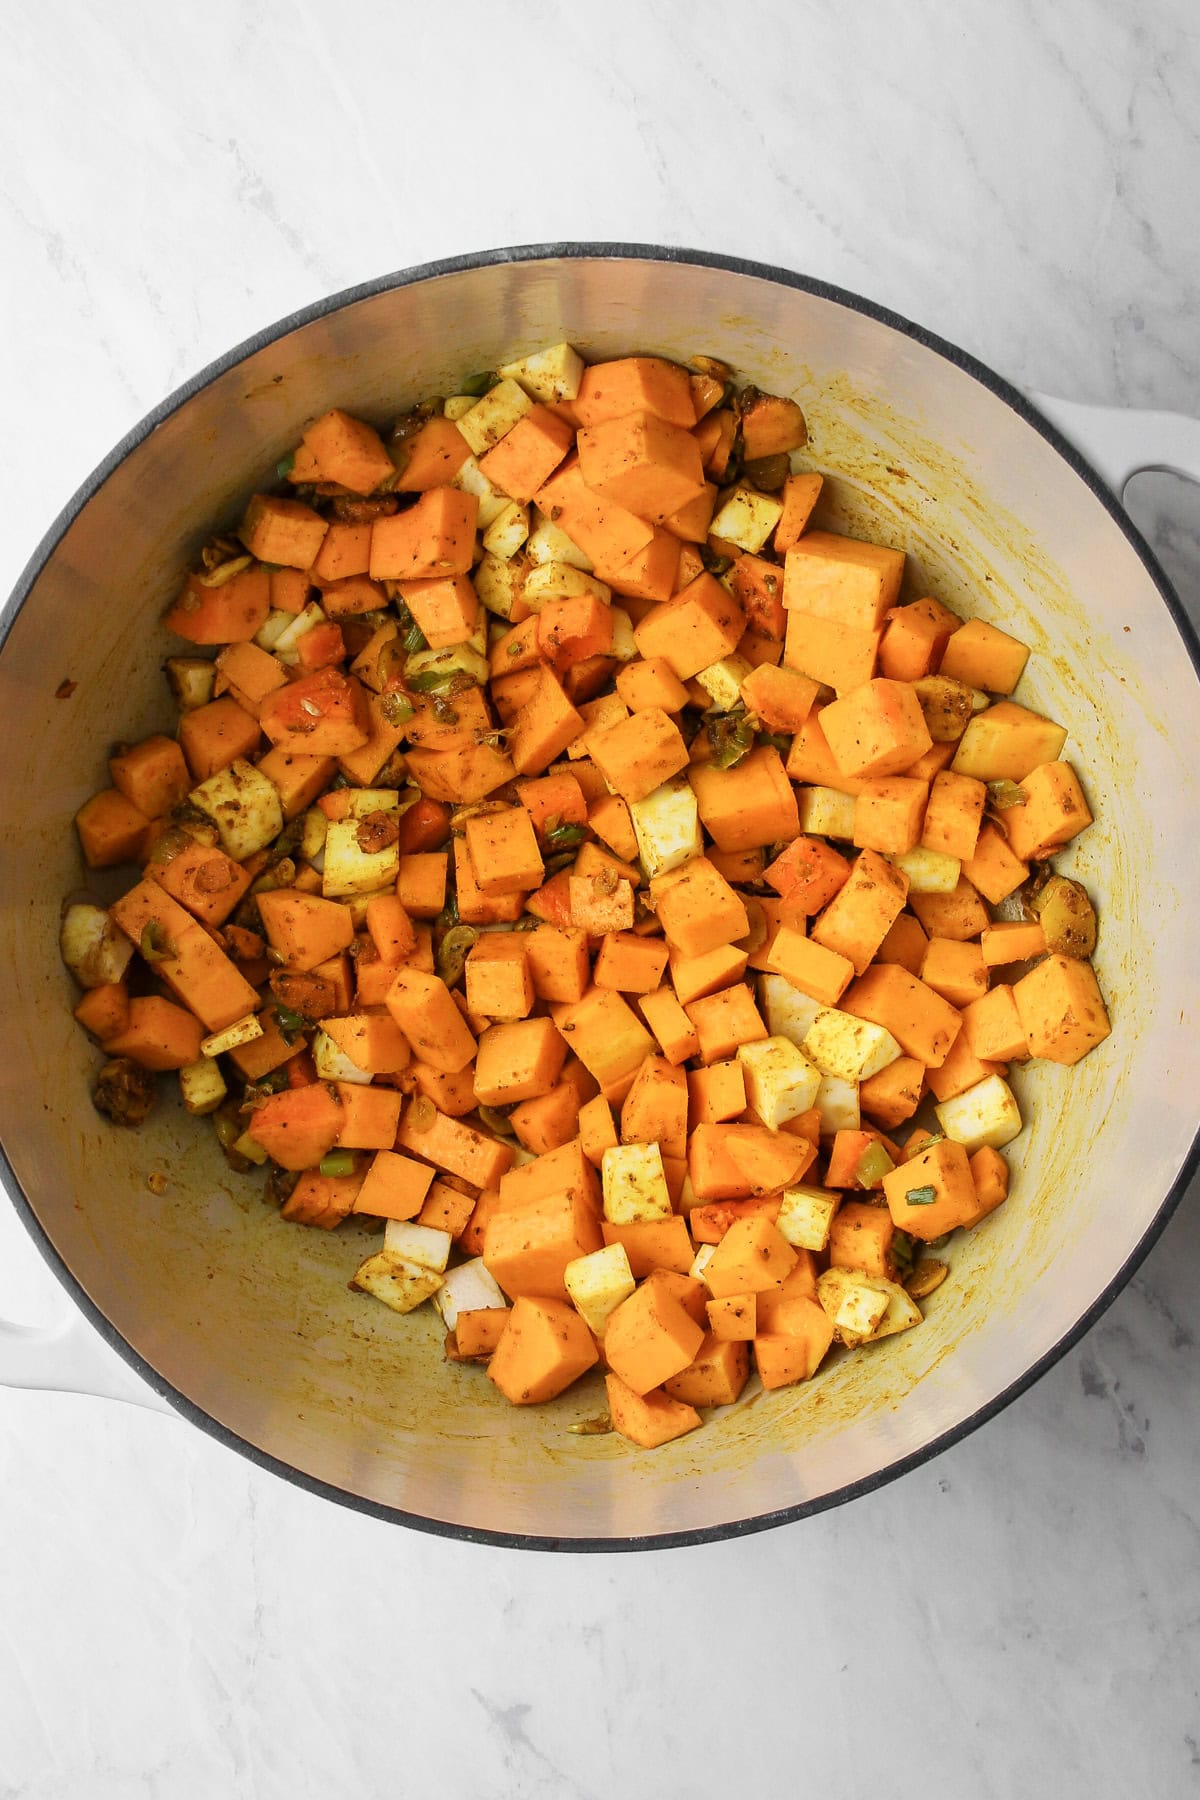
Step 1: Cook the aromatics and veggies.
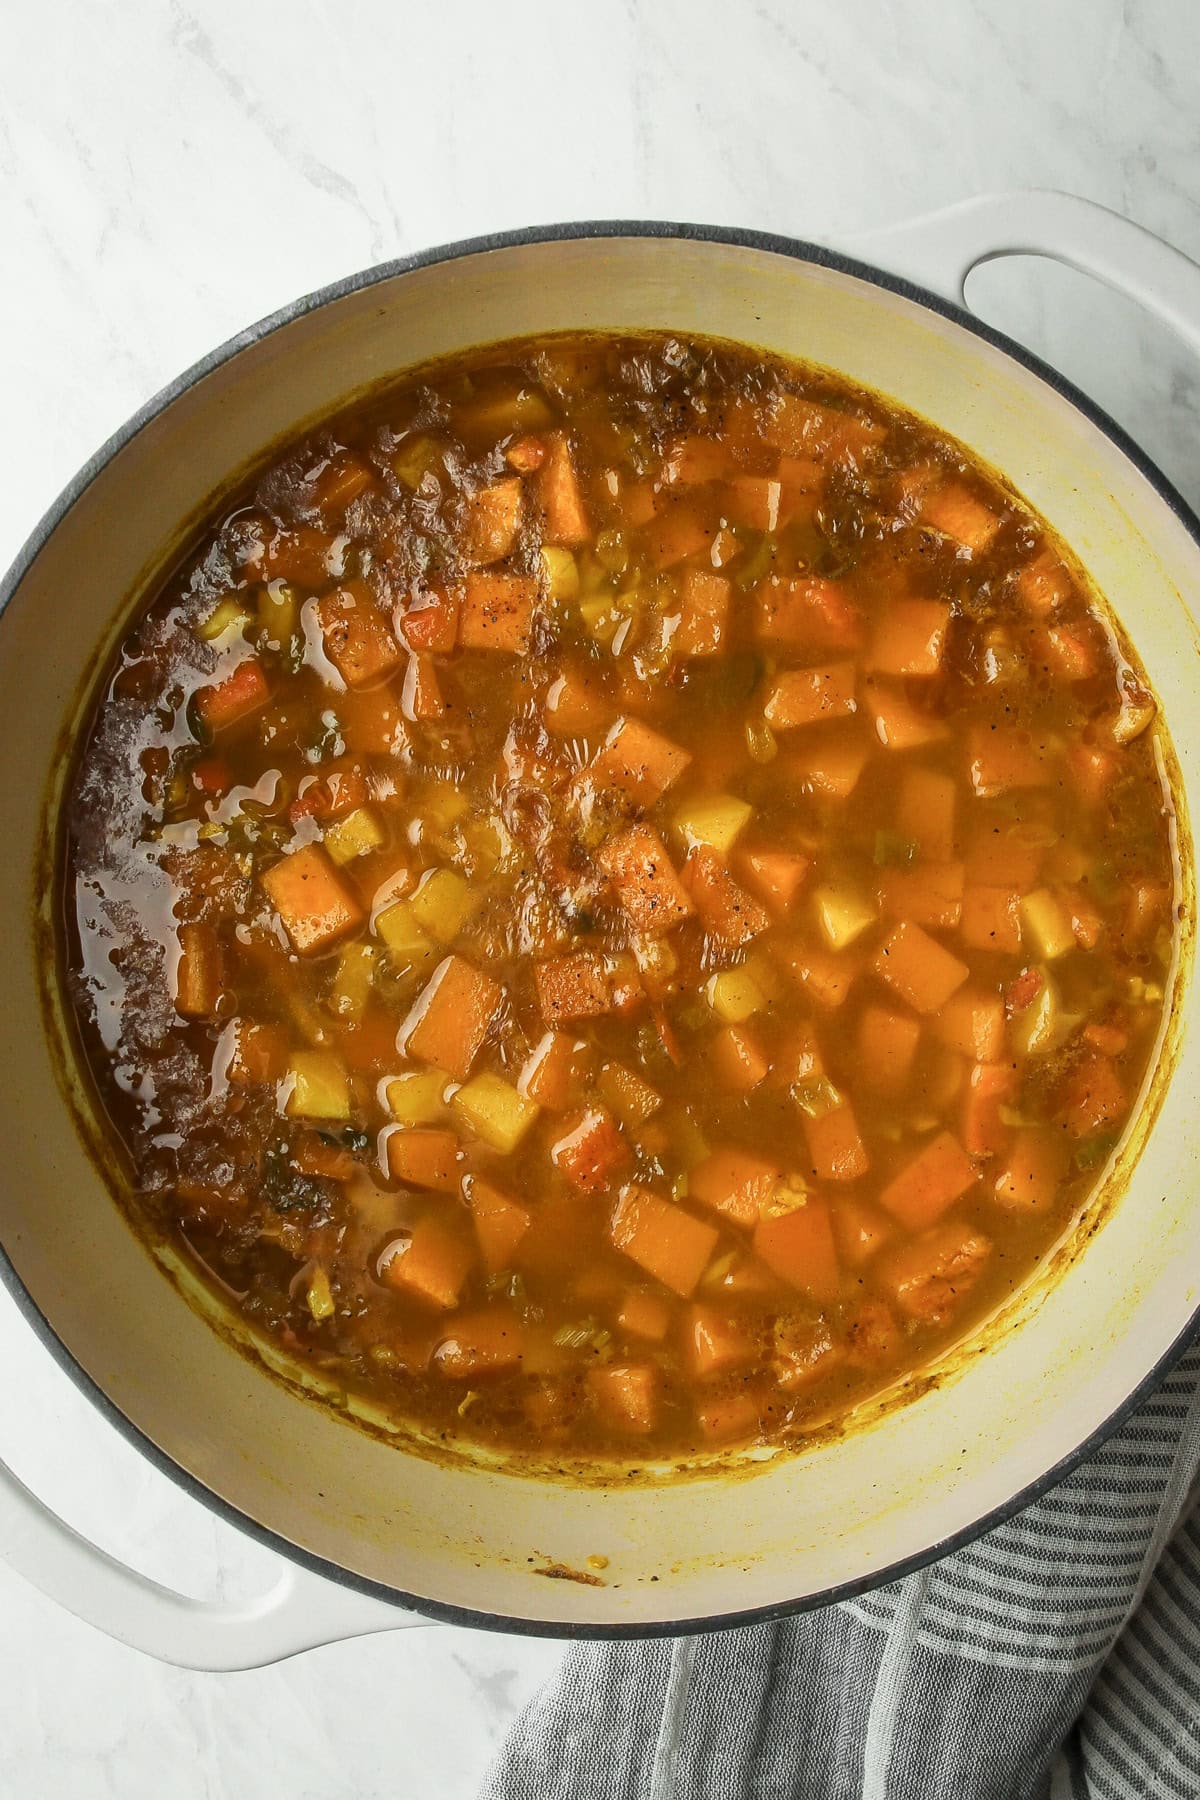
Step 2: Add in the legumes and stock.
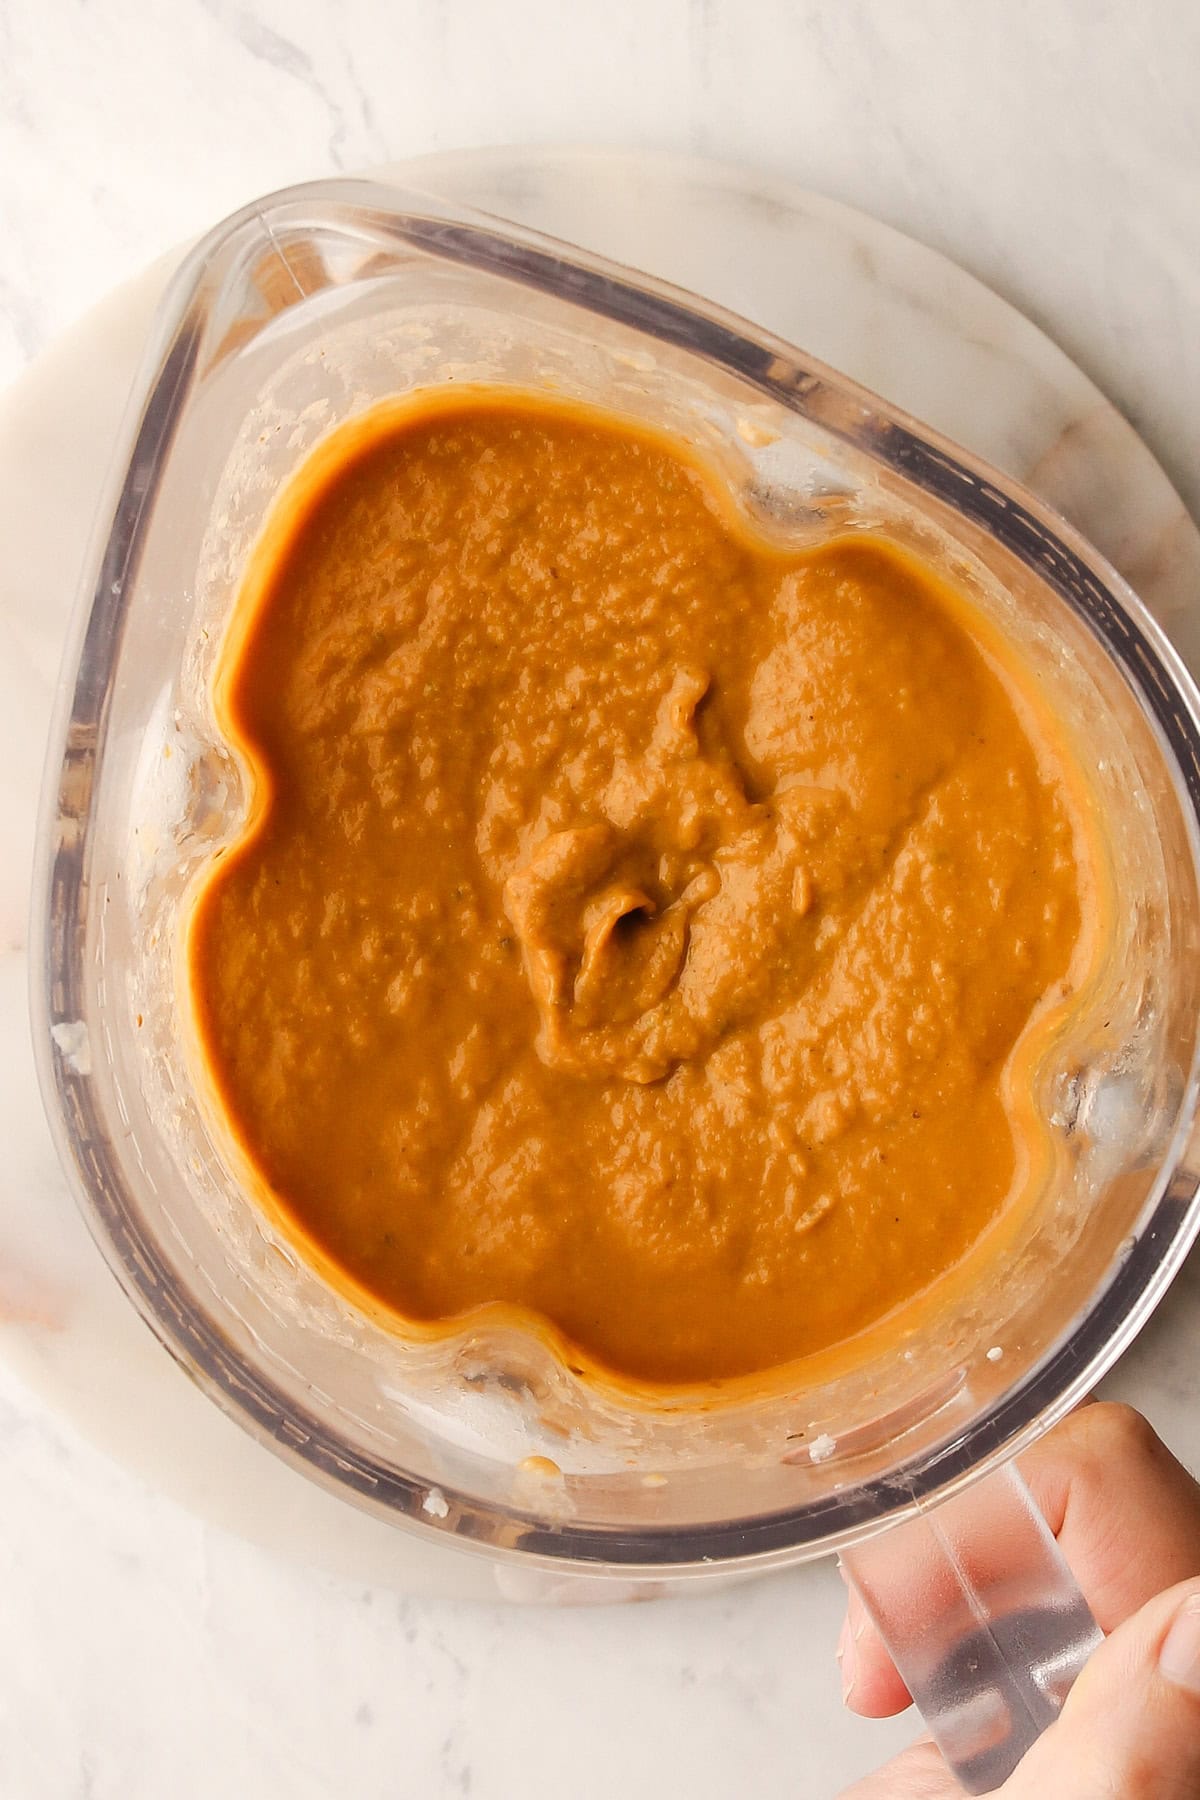
Step 3: Blend the soup, thinning it out as needed.
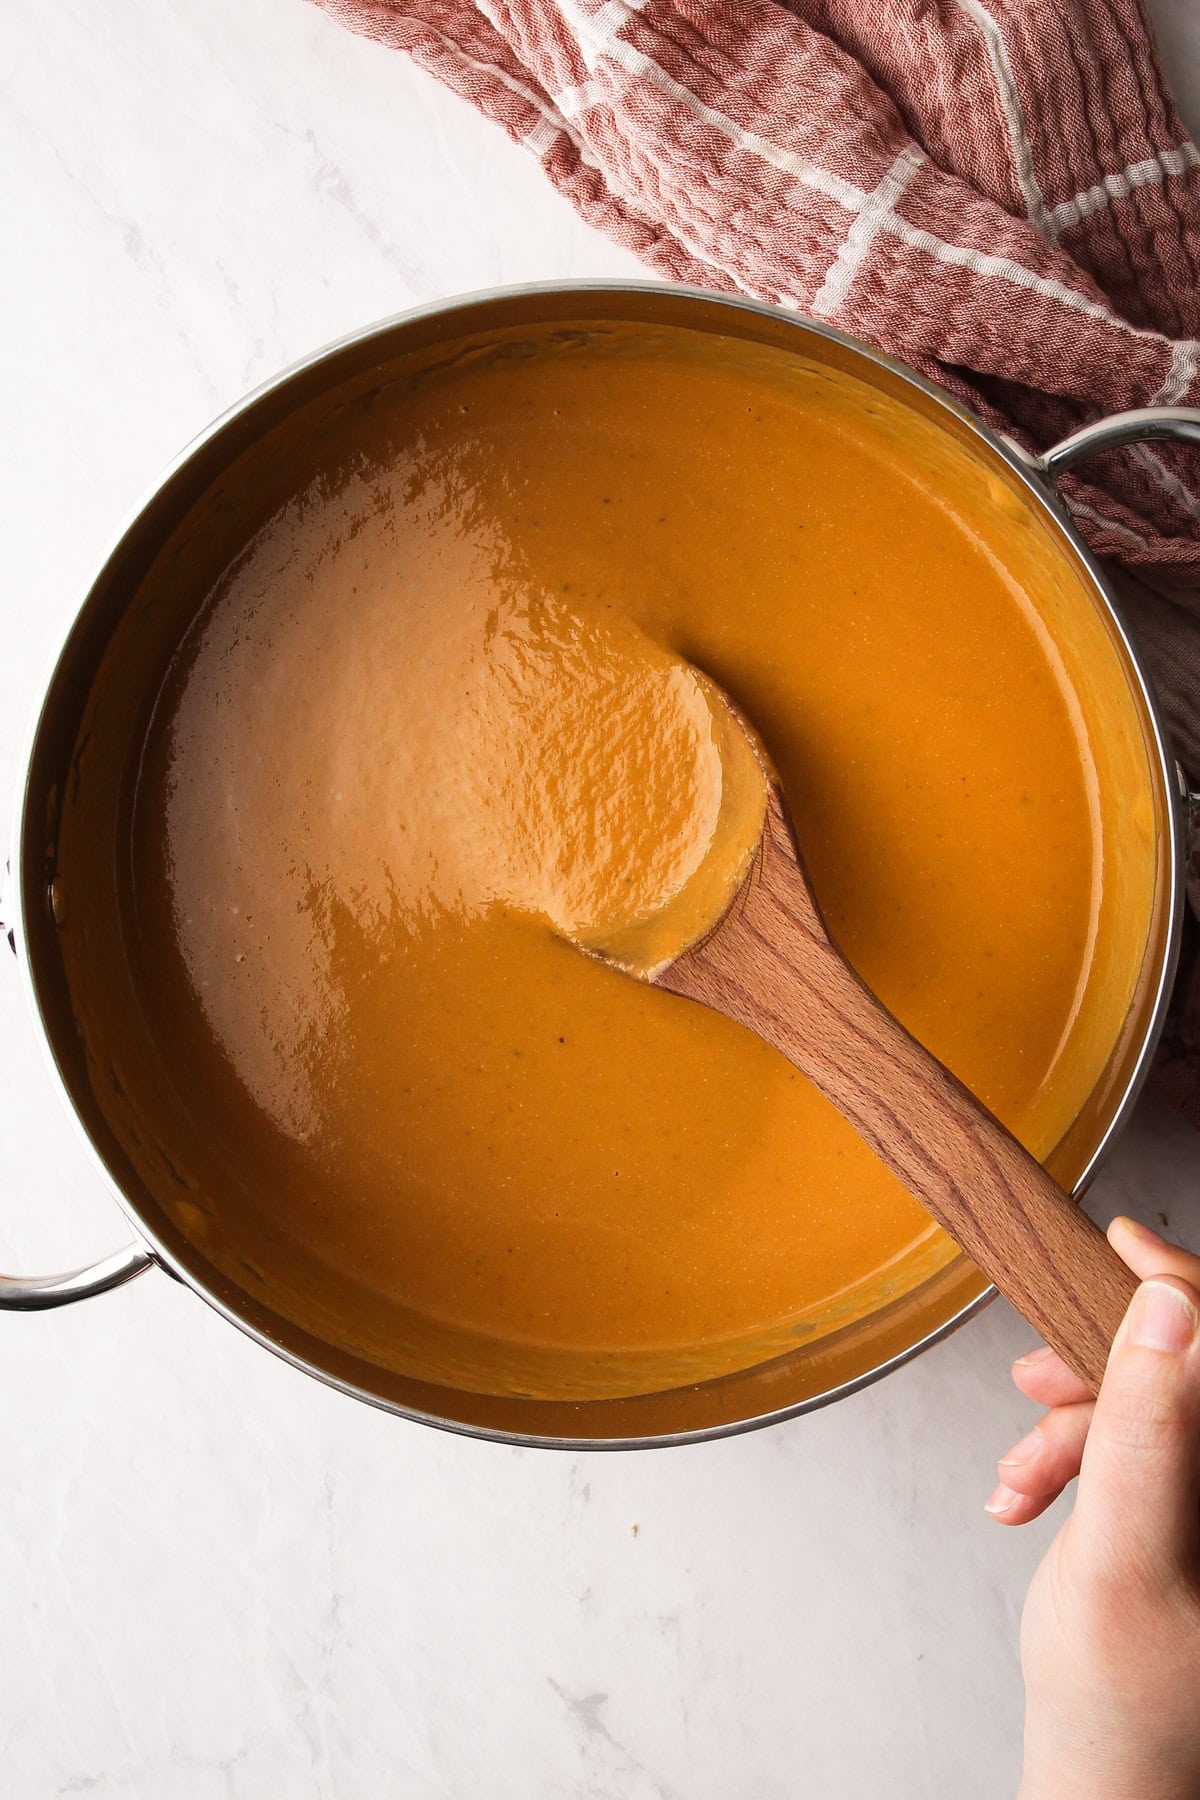
Step 4: Strain the soup if desired, then taste and adjust the seasoning and thickness of the soup.
Some Helpful Notes
- Seasoning your soup properly is the most important part of making girl soup. How much seasoning you use is obviously a personal thing, but it can take practice and trial and error with your own soup pot. If it tastes bland, it probably needs more salt, more acid (like vinegar or lemon juice), or both. And don’t wait until the end to season—build flavor in layers. Season your veggies before roasting or while they’re sautéing, and then taste and adjust again once the soup is blended. This layered approach adds depth and helps every ingredient shine.
- Caramelization is good; burning is bad. Take your time when sautéing or roasting the veggies—they’re key to building flavor. It’s worth the extra care, especially when you’re making a big batch you’ll be eating all week. It has to taste good—or what’s the point?
- This soup doesn’t need to have any added dairy, but if you’re looking to boost the protein or make it a little creamier, there are a few easy add-ins. I know cottage cheese is everywhere right now, but for good reason, and it works really well in girl soup too. It adds creaminess, a nice texture, and a solid dose of protein. I’ve also used crème fraîche and yogurt, both of which blend in smoothly, but you’ll want to be careful when reheating so the dairy doesn’t split. Gentle heat is key if you’re adding those in. Similar to a Broccoli Cheddar Soup or a Cheesy Potato Soup, cheese can be added and melted in at the end if that sounds good to you.
- The directions call for blending the soup. Straining is optional, but it does give the final soup a really nice velvety texture. Just be careful when blending hot liquids—make sure to keep the lid on the blender slightly ajar (and tilted away from your body) to let steam escape. If the steam has nowhere to go, pressure can build up and send hot soup spraying everywhere. (Ask the younger line cook version of me how I know this)
- The final consistency of the soup is up to you, but a good rule of thumb is that the soup should be pourable without being brothy, and thick enough to coat a spoon without feeling like a purée.
Storage
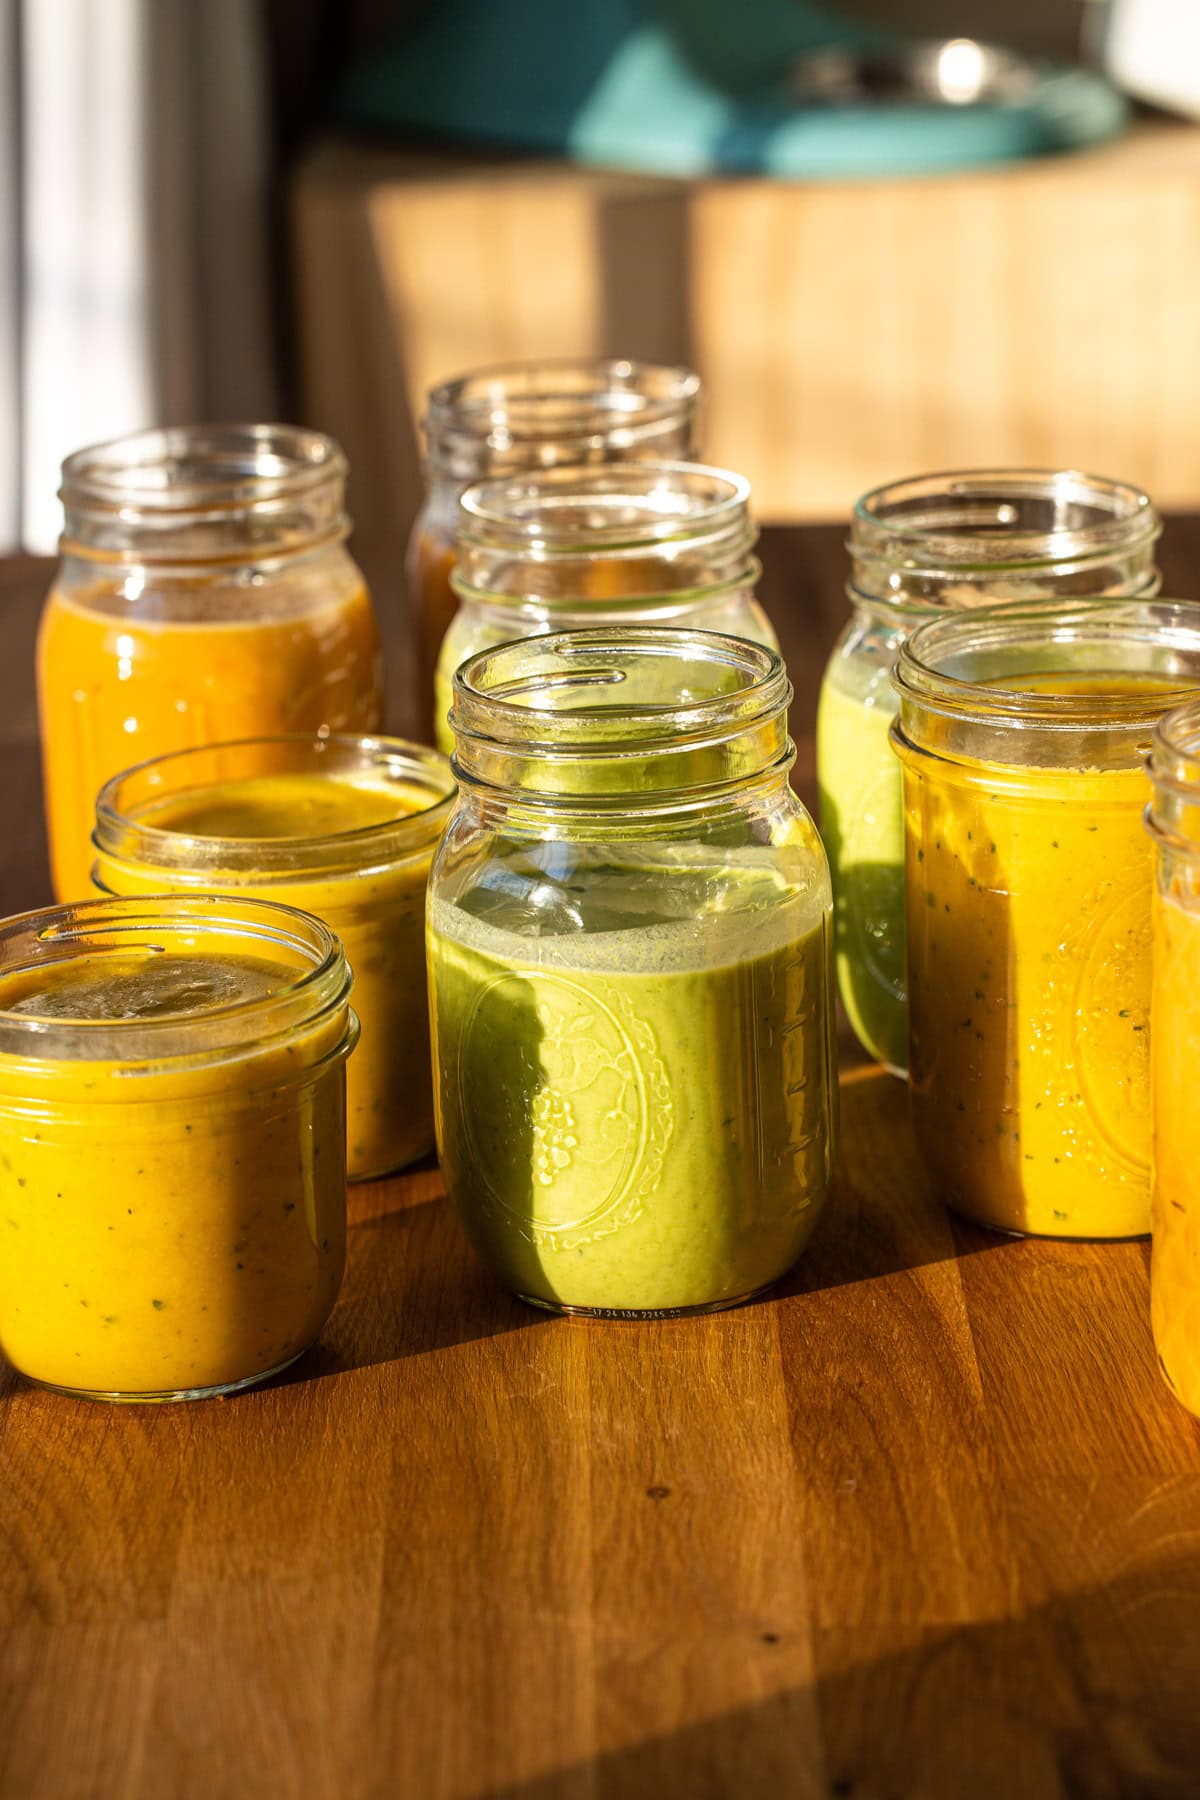
The idea behind making girl soup is to cook a big batch that can be frozen and ready to go when you need it. I like to make two or three different soups at a time (I must have variety), then freeze them so I have a few weeks’ worth of lunches on hand.
I prefer freezing individual portions in mason jars. Other good options for freezing are freezer-safe bags or silicone meal-prep trays designed specifically for soups. With the silicone trays, once the soup is frozen, you can pop the blocks out and store them in a bag or container to save space.
When freezing, be sure to leave some space between the soup and the lid—especially if you’re using a glass mason jar—since the soup expands as it freezes and can crack the container. To help avoid this, I recommend fully chilling the soup in the fridge overnight before freezing.
To reheat from frozen, it’s best to thaw the soup in the fridge for 12–24 hours if you can. I usually take out a jar or two at a time and let them defrost overnight, then heat the soup right in the jar—without the lid—in the microwave. Give it a stir, pour it into a mug, and you’re good to go. Super easy.
More Soup Recipes:

Making Girl Soup? Be sure to leave a comment with a star ⭐️⭐️⭐️⭐️⭐️ review on your experience! Have a question? Leave a comment below and I’ll get back to you as quickly as I can!
Full Recipe

Girl Soup
- Prep Time: 00:15
- Cook Time: 00:20
- Total Time: 35 minutes
- Yield: 6 servings 1x
- Category: Soup
Description
Girl Soup is a flexible recipe guideline for a customizable, make-ahead blended soup made from veggies, legumes, and simple ingredients, meant to be a nourishing lunch you can sip straight from a mug. Use this as a starting point, and build the soup that tastes good to you!
Ingredients
- 1 tablespoon olive oil
- 1-2 cups finely diced aromatics (such as onions, green onions, leeks, garlic)
- coarse kosher salt
- 4-6 cups diced veggies (such as hard squash, root veggies or cruciferous veggies)
- 2-3 teaspoons dried spice (such as italian seasoning, curry powder or any blend that will go well with veggies)
- 6 cups bone broth, or any combination of stock and or water
- 1 (14-ounce) drained and rinsed canned beans (such as chickpeas or white beans)
- 1 cup higher protein dairy (such as cottage cheese, greek yogurt, crème fraîche)
- 1-2 tablespoons acid such as vinegar (apple cider, white wine, red wine) or fresh lime or lemon juice
- 1 small bunch fresh herbs (such as cilantro, dill, basil)
Instructions
- Heat the olive oil in a large heavy-bottomed pot over medium-low heat. Cook the aromatics with a big pinch of salt until they begin to soften, about 5 minutes. Be careful not to brown any of the aromatics.
- Add the veggies and cook until beginning to soften, 8-10 minutes.
- Stir in the spice and cook until fragrant, about 1 minute more.
- Pour in the chicken stock and the beans and turn the heat up to medium-high.
- Bring the soup up to a boil, then reduce the heat and simmer until the veggies are mostly tender, about 15 minutes, adding more broth if the liquid begins to evaporate.
- Shut off the heat, let the soup briefly cool if adding in dairy.
- Add in the herbs and cottage cheese or other dairy, using an immersion blender, blend until smooth, adding additional chicken stock as needed for desired consistency. Strain the soup if desired.
- Taste and adjust the seasoning, adding in additional salt, pepper, chicken broth or lime juice as needed.
- Enjoy immediately, or save for later.
- If freezing, make sure to leave some space between the soup and the lid of the container—especially if you’re using glass—as the soup will expand as it freezes and could cause cracking. To reheat from frozen, it’s best to thaw it in the fridge for 12–24 hours if you can. Then heat it to a simmer either in a saucepan on the stove or in the microwave.
Notes
Seasoning makes or breaks a good soup. Taste as you go, and layer flavor early—especially when sautéing.
You don’t need dairy, but cottage cheese, crème fraîche, or yogurt add protein and creaminess. Just reheat gently so it doesn’t split.
Be careful when blending hot liquids. Crack the lid and tilt it away from you—steam needs an escape route. Straining the final blended soup is optional but makes it velvety.
Add in additional broth as needed. The soup should be pourable, not brothy—thick enough to coat a spoon.
Leave a Reply