


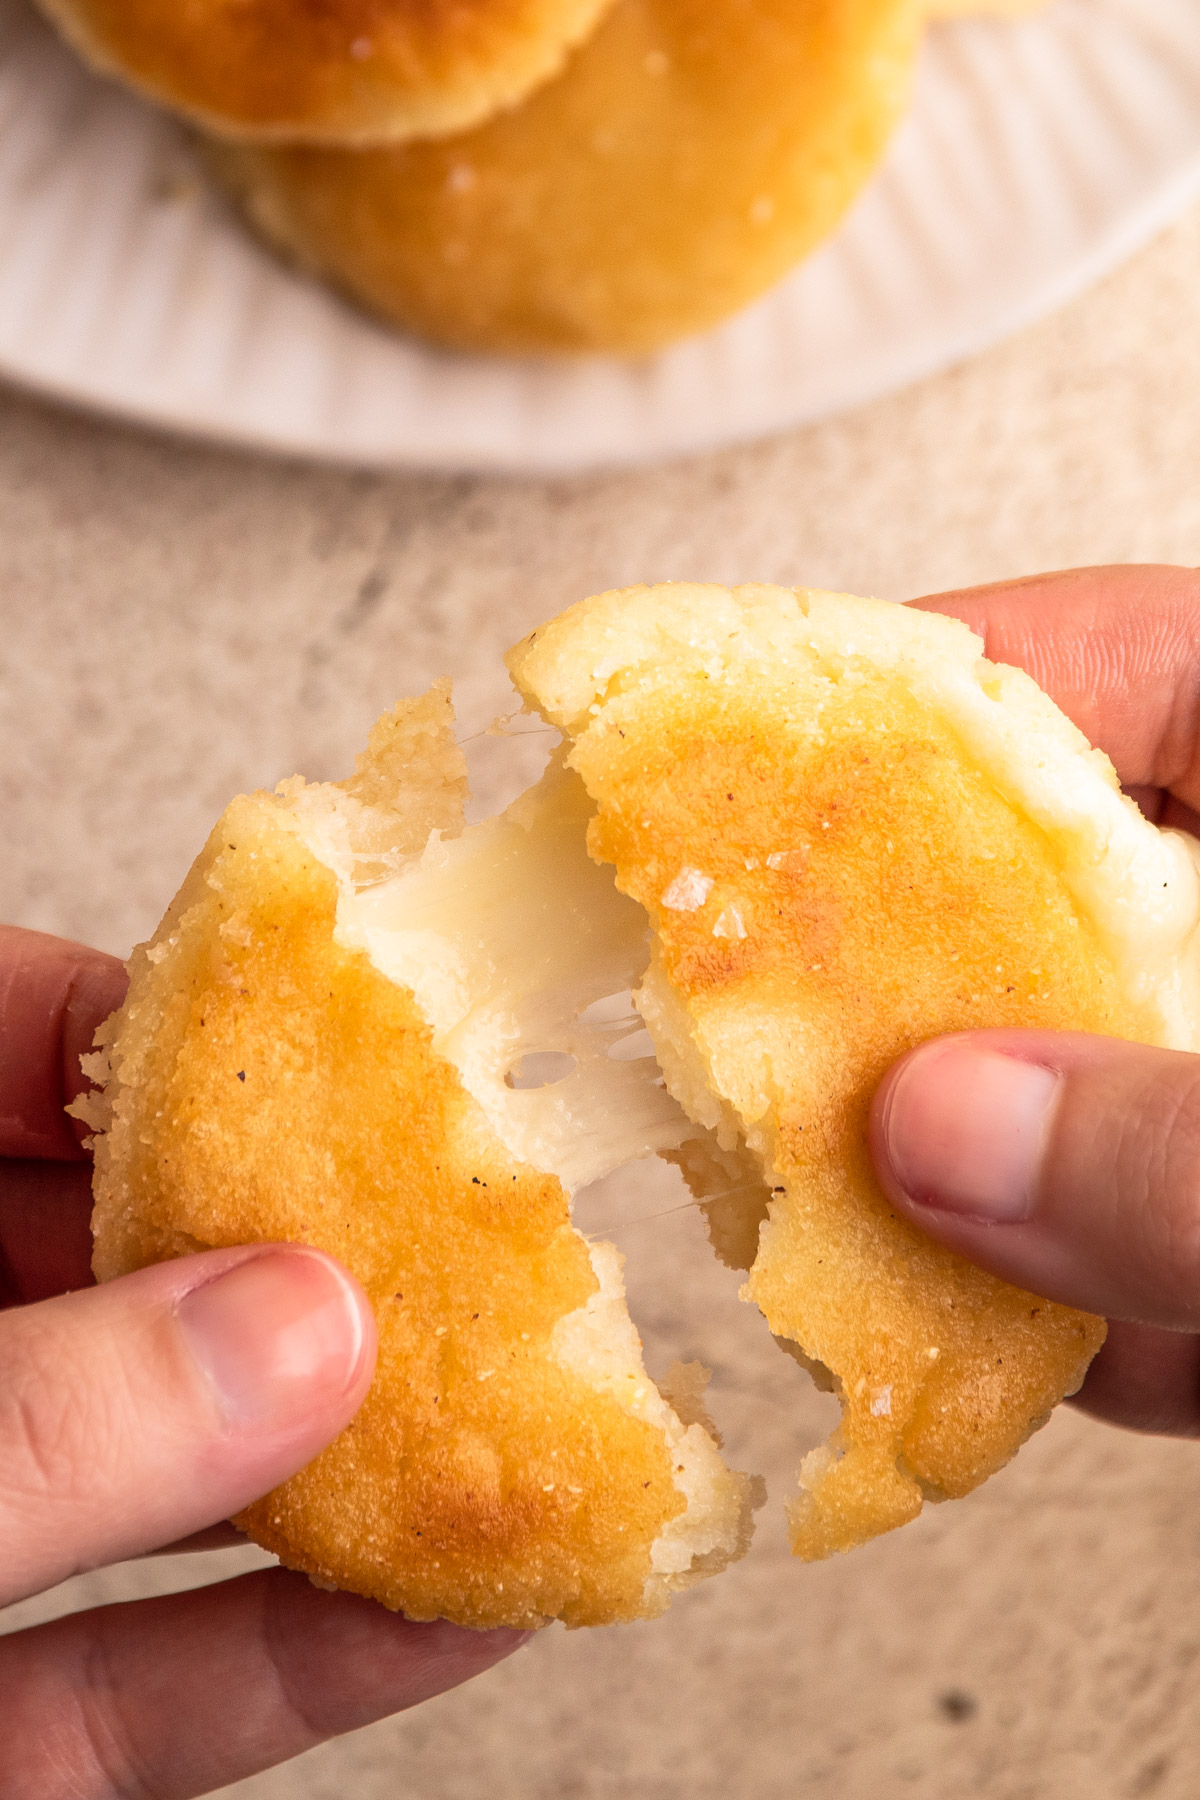
Arepas con queso are corn cakes stuffed plump with cheese and either pan-seared or griddled. They're a staple in many Latina-American cultures, but this recipe is for a Colombian-style arepa.
Like with any Colombian family, arepas are a high-demand food in our home. Our blended Colombian-American family loves to eat arepas lightly fried and stuffed with cheese (although a close second is a thin salty arepa with a pat of butter and a runny fried egg).
Arepas have a long history in many Latinx cultures, and they are most popular in Colombia and Venezuela. My husband and his family are from Bogota, Colombia. Decades before he immigrated to Boston, John actually owned an arepa business in Colombia. He made the arepas the traditional way by grinding whole dried corn. Nowadays, most households—including ours—make arepas with precooked cornmeal, known as masarepa. And just like our families's Carne en Bistec (Colombian Steak with Tomatoes and Onions), Colombian Chicken Stew (Sudado de Pollo), and Papa Salada recipes, this arepa con queso recipe is heaving influenced by how his family taught me to make them.
So, let's get to making it! You can jump around the article using the menu below, or you can just head right to the bottom for the complete recipe.
Jump to:

Ingredients Needed and Substitutions
Here is a brief overview of the ingredients needed for this recipe. The full recipe with quantities is listed below this text in the recipe card.
- masarepa (see below for more information on where to buy this, but please note it cannot be substituted for any other masa)
- water
- softened unsalted butter
- sliced or shredded mozzarella cheese (you could use another mild cheese that melts well here, such as Monterey Jack or Havarti)
- coarse kosher salt (This recipe was tested using Diamond Crystal coarse kosher salt. If you use Morton's kosher salt or fine salt, decrease the volume by half)
- oil, for cooking (though this is optional)

Let's Talk Masarepa
Masarepa is the "flour" used to make arepas. The masarepa is made from corn that is pre-cooked. It can sometimes be labeled as "instant". It is similar to cornmeal, but not interchangeable.
Masarepa is made with both white and yellow corn, and either will work here. The two most common brands are PAN or Goya, which can be found in most grocery stores or small Latinx markets. In our home, we always use PAN. You can also buy it easily online.
Making the Dough
This is a quick visual overview mixing together the dough. If you are looking for the full recipe, keep scrolling!
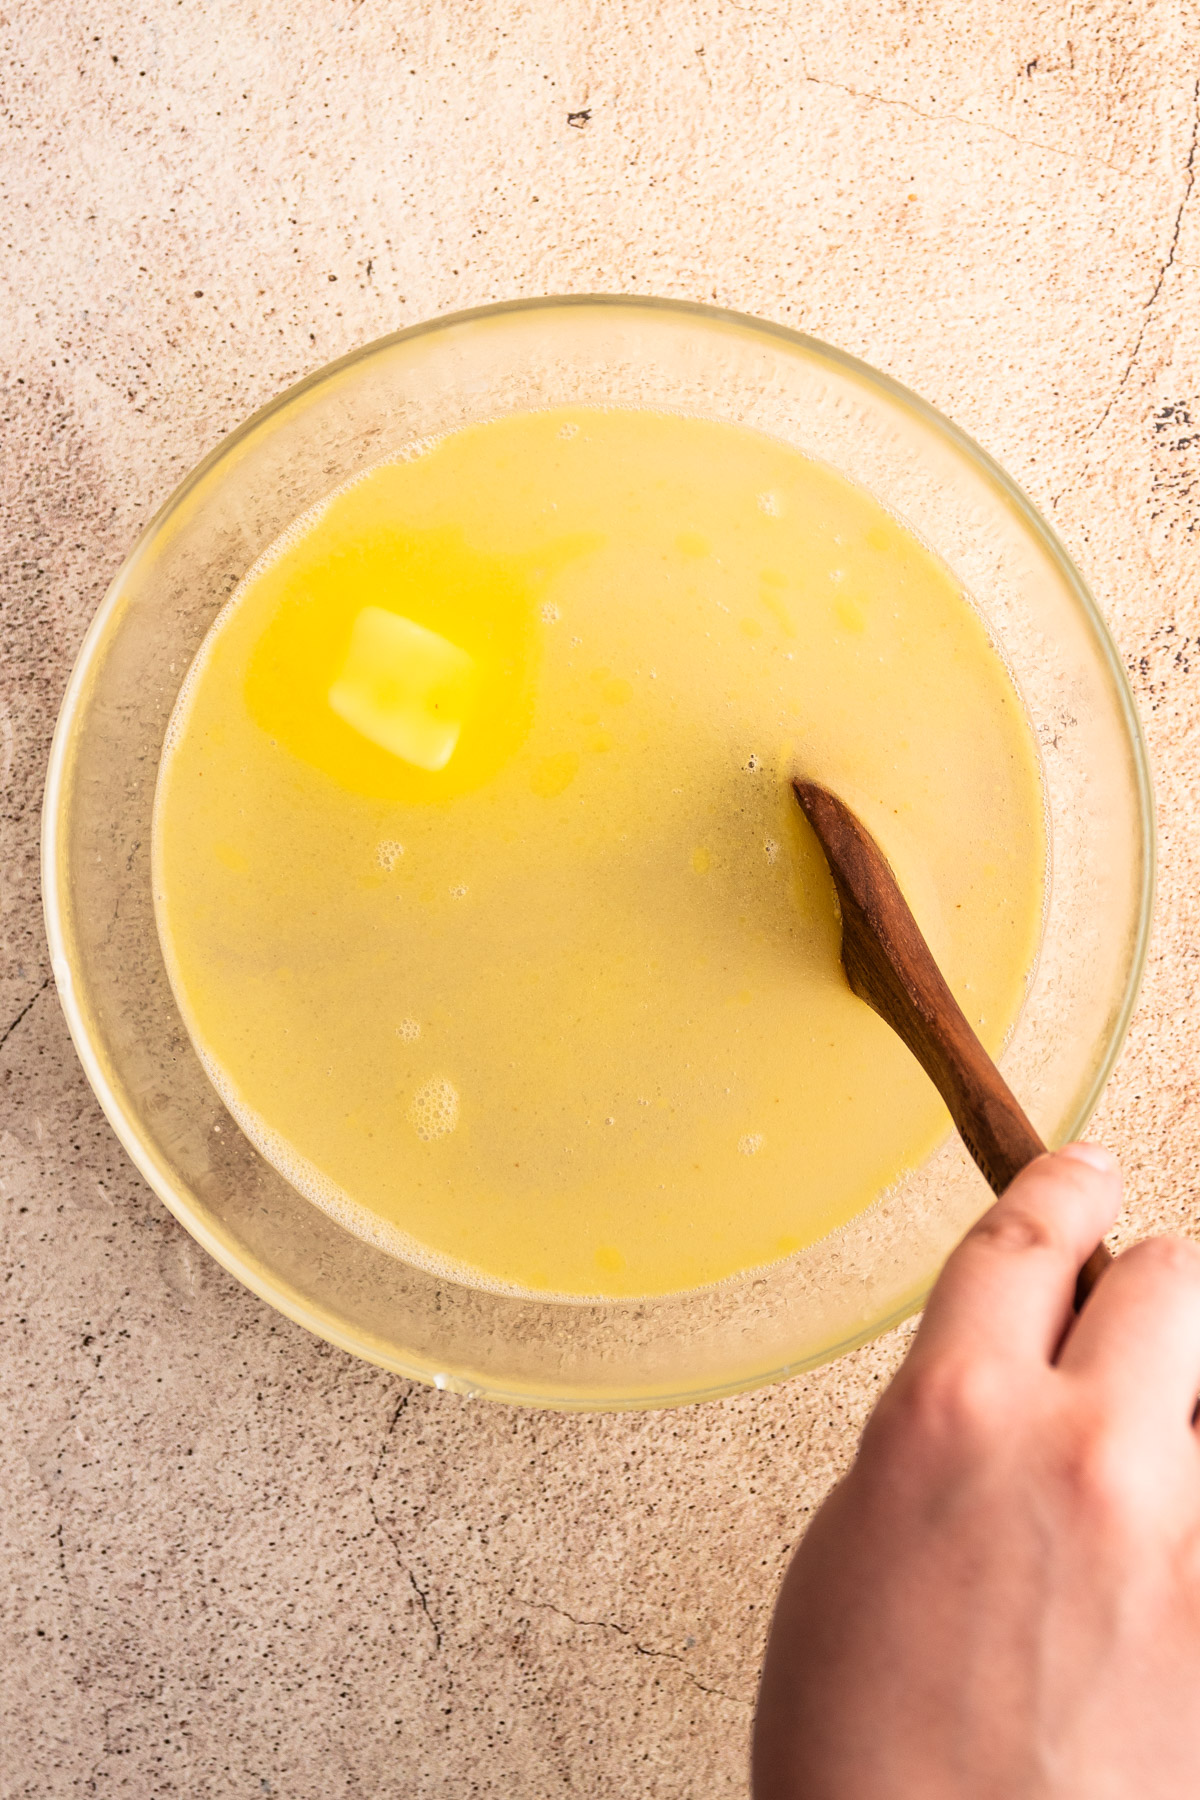
Step 1: Mix softened butter, hot water, and salt in a bowl until butter melts.
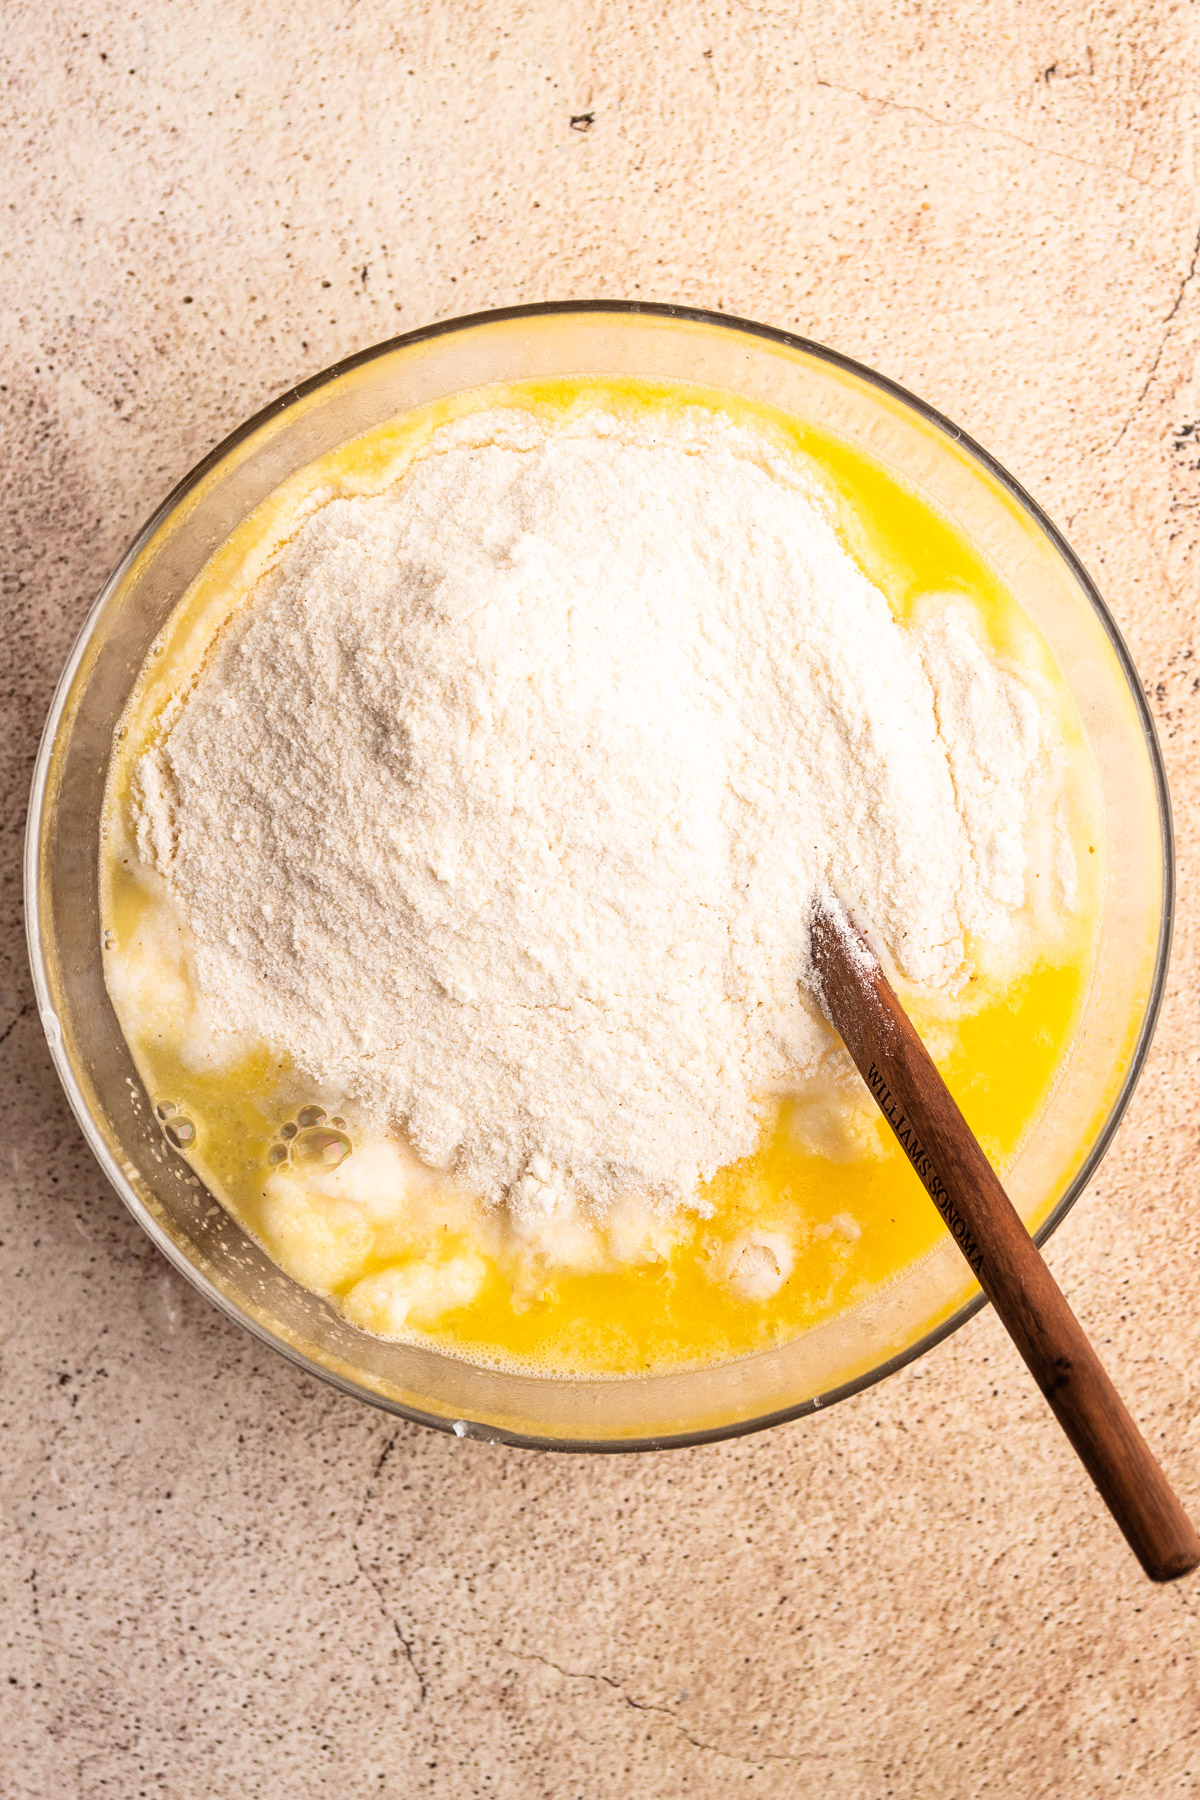
Step 2: Add in the masarepa, about ½ cup at a time.
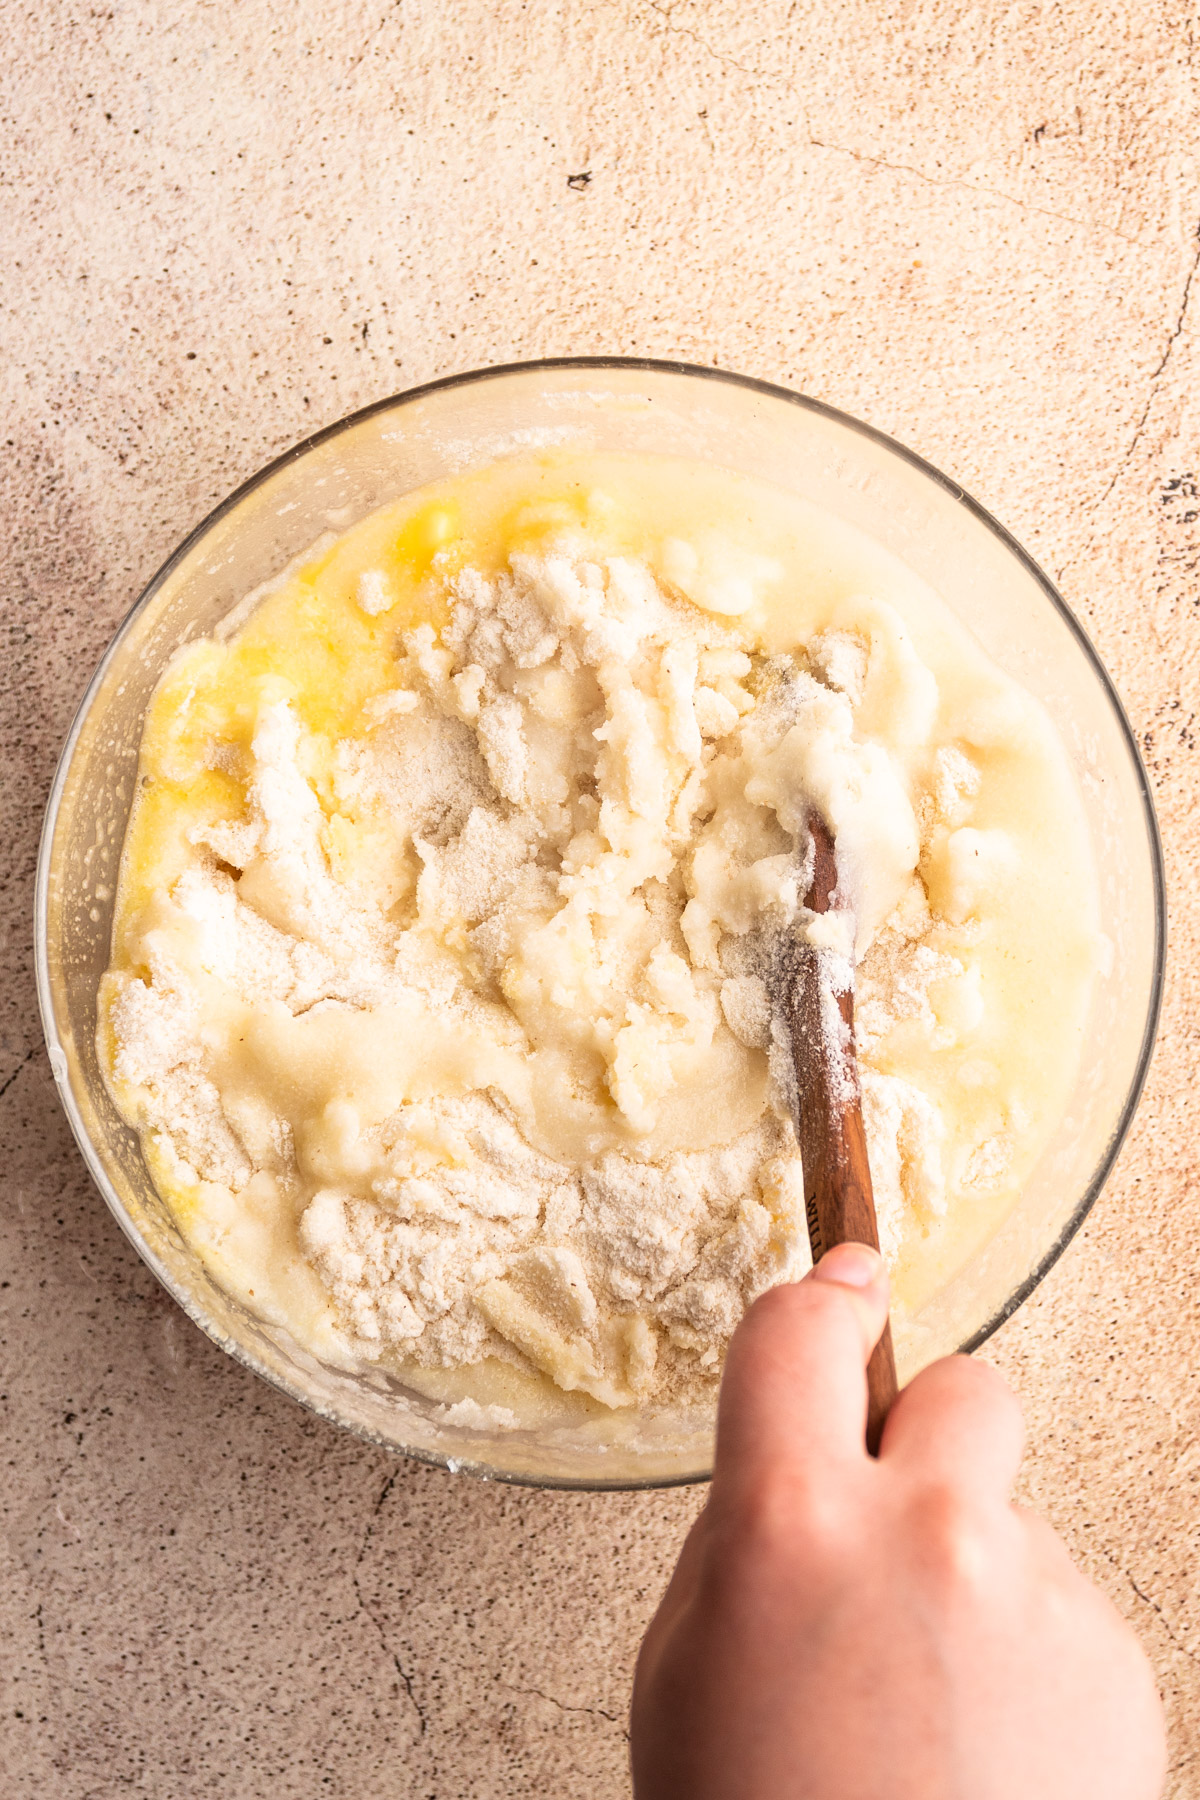
Step 3: Mix together until it is fully combined
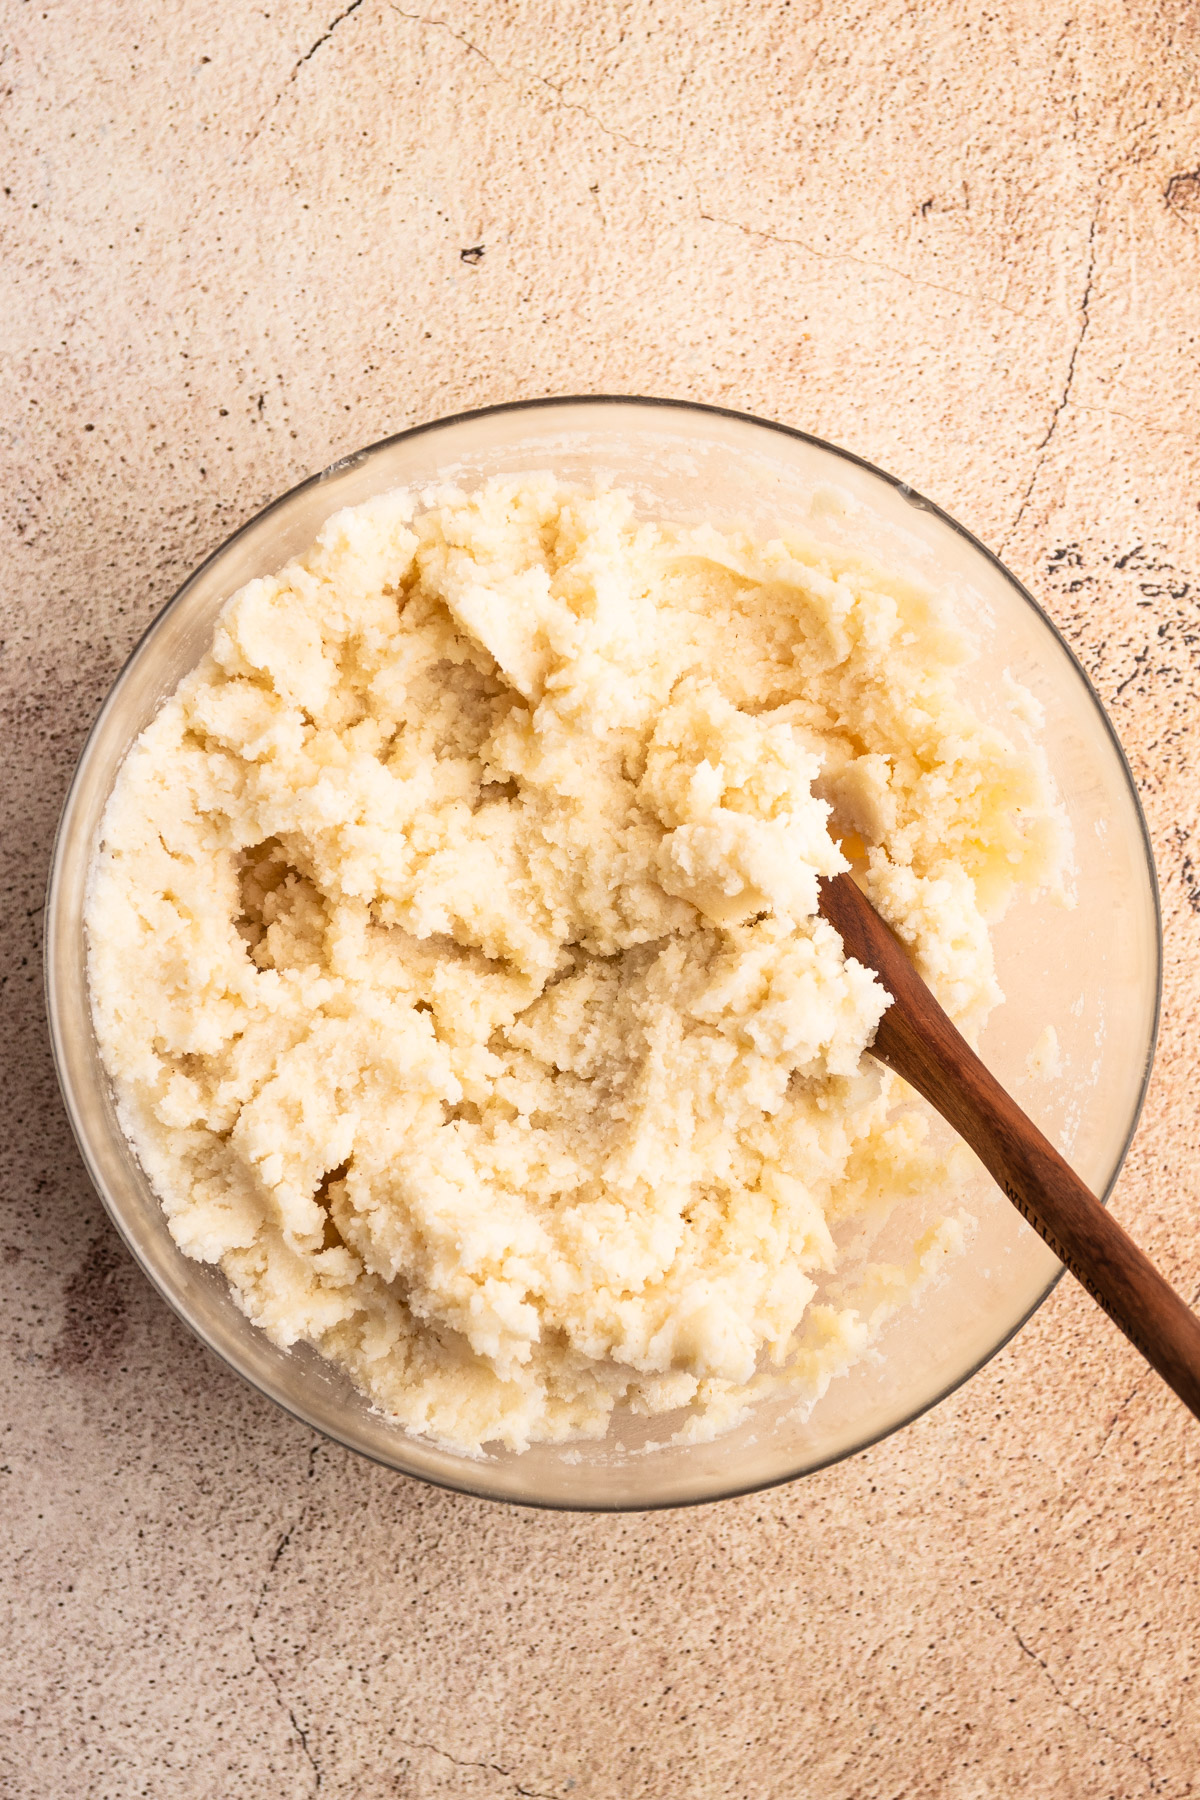
Step 4: Let the dough hydrate for 2-5 minutes to assess the dough for the correct consistency.
Troubleshooting the Dough
The dough should be soft, like playdough, but it shouldn't be so wet that it sticks to your hand. After the dough has rested, pick it up and see if it's still very sticky.
If it's too sticky, add in 2 tablespoons more masa at a time until the dough is just dry enough.
If you haven't added enough water, the dough will easily crack as you form it into it's shape. In this instance, add 1-2 tablespoons more water at a time until the dough is easily formed into an arepa without cracks.

Forming the Arepas
Once you have properly hydrated the dough, it's time to form the arepa con queso! Personally, I prefer to complete each of the tasks involved in forming it all at once, but if you prefer not to "task batch," that's perfectly fine too. Here are step-by-step photos of the process:
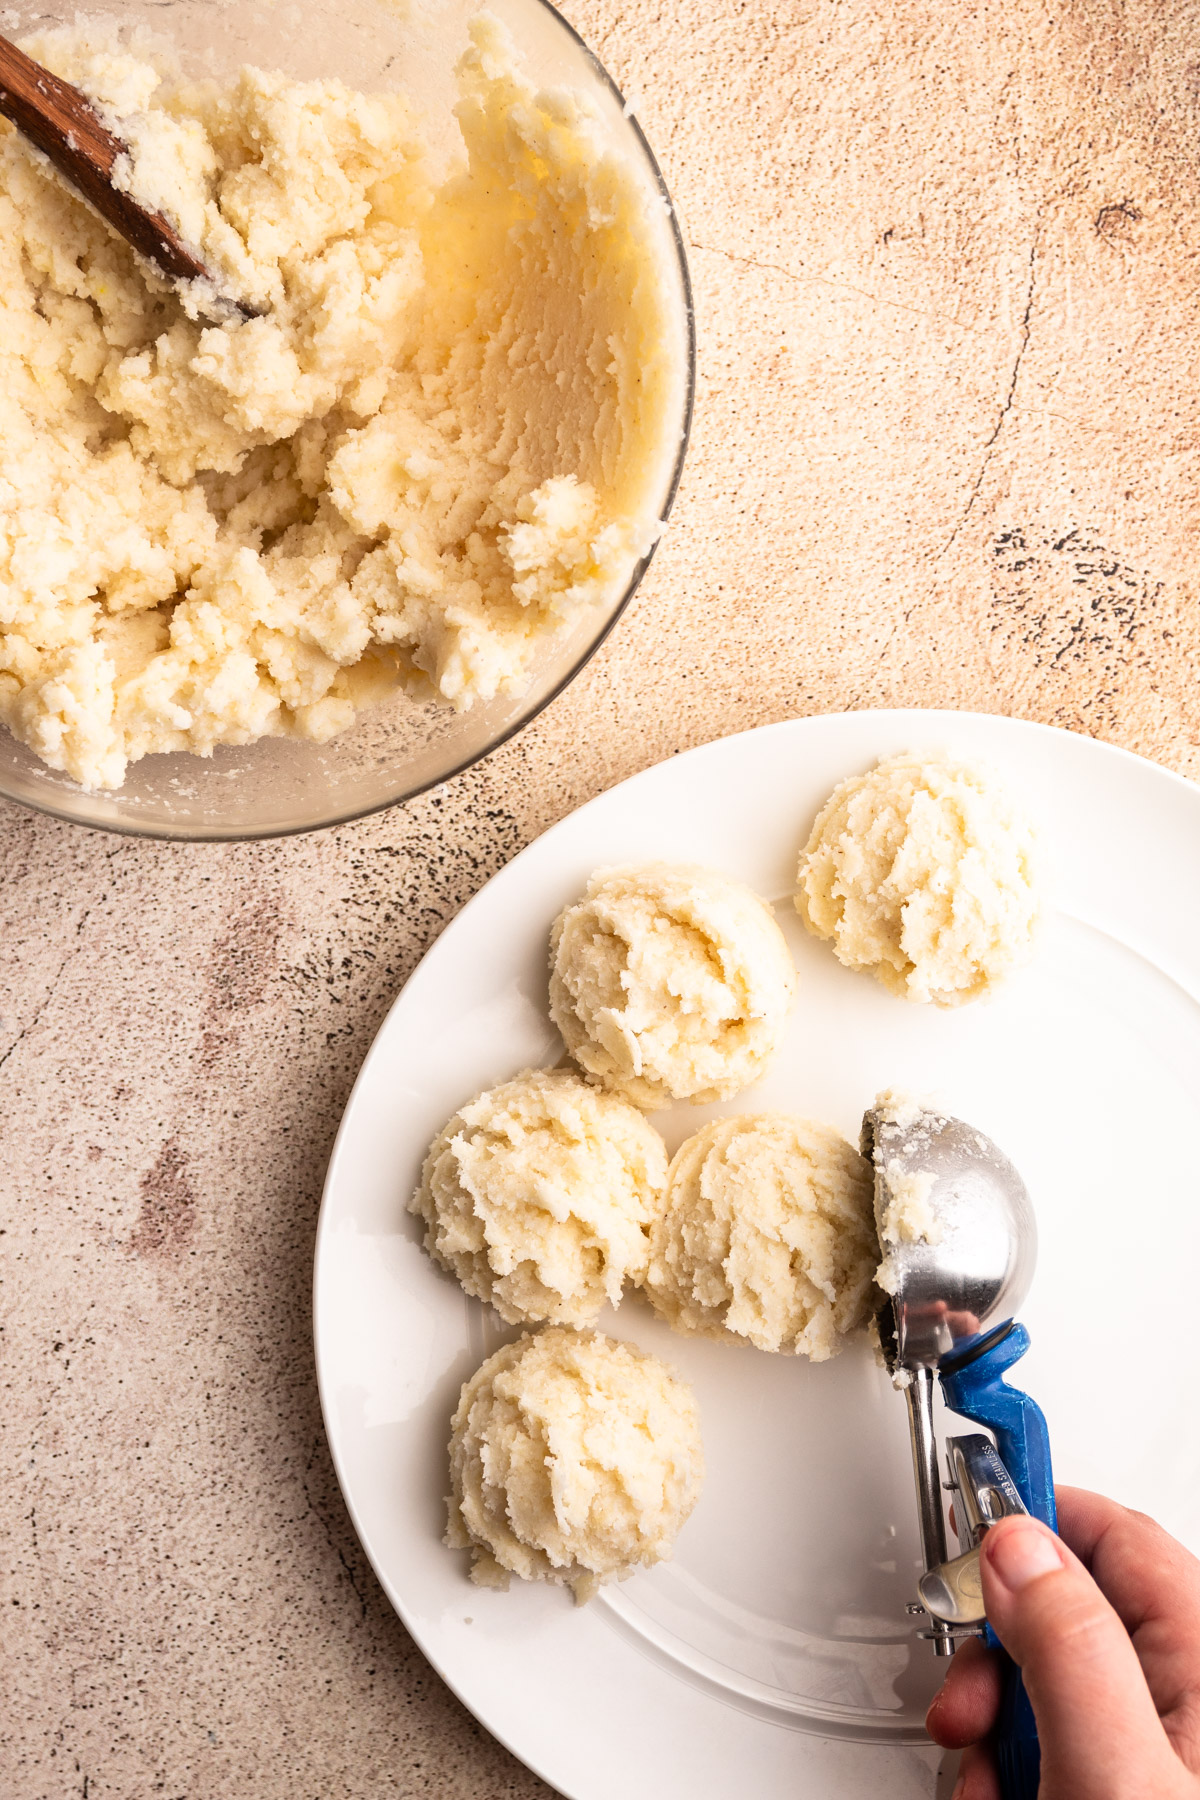
Step 1: Gather ¼ cup of dough into a ball.

Step 2: Make a large indentation in the ball.
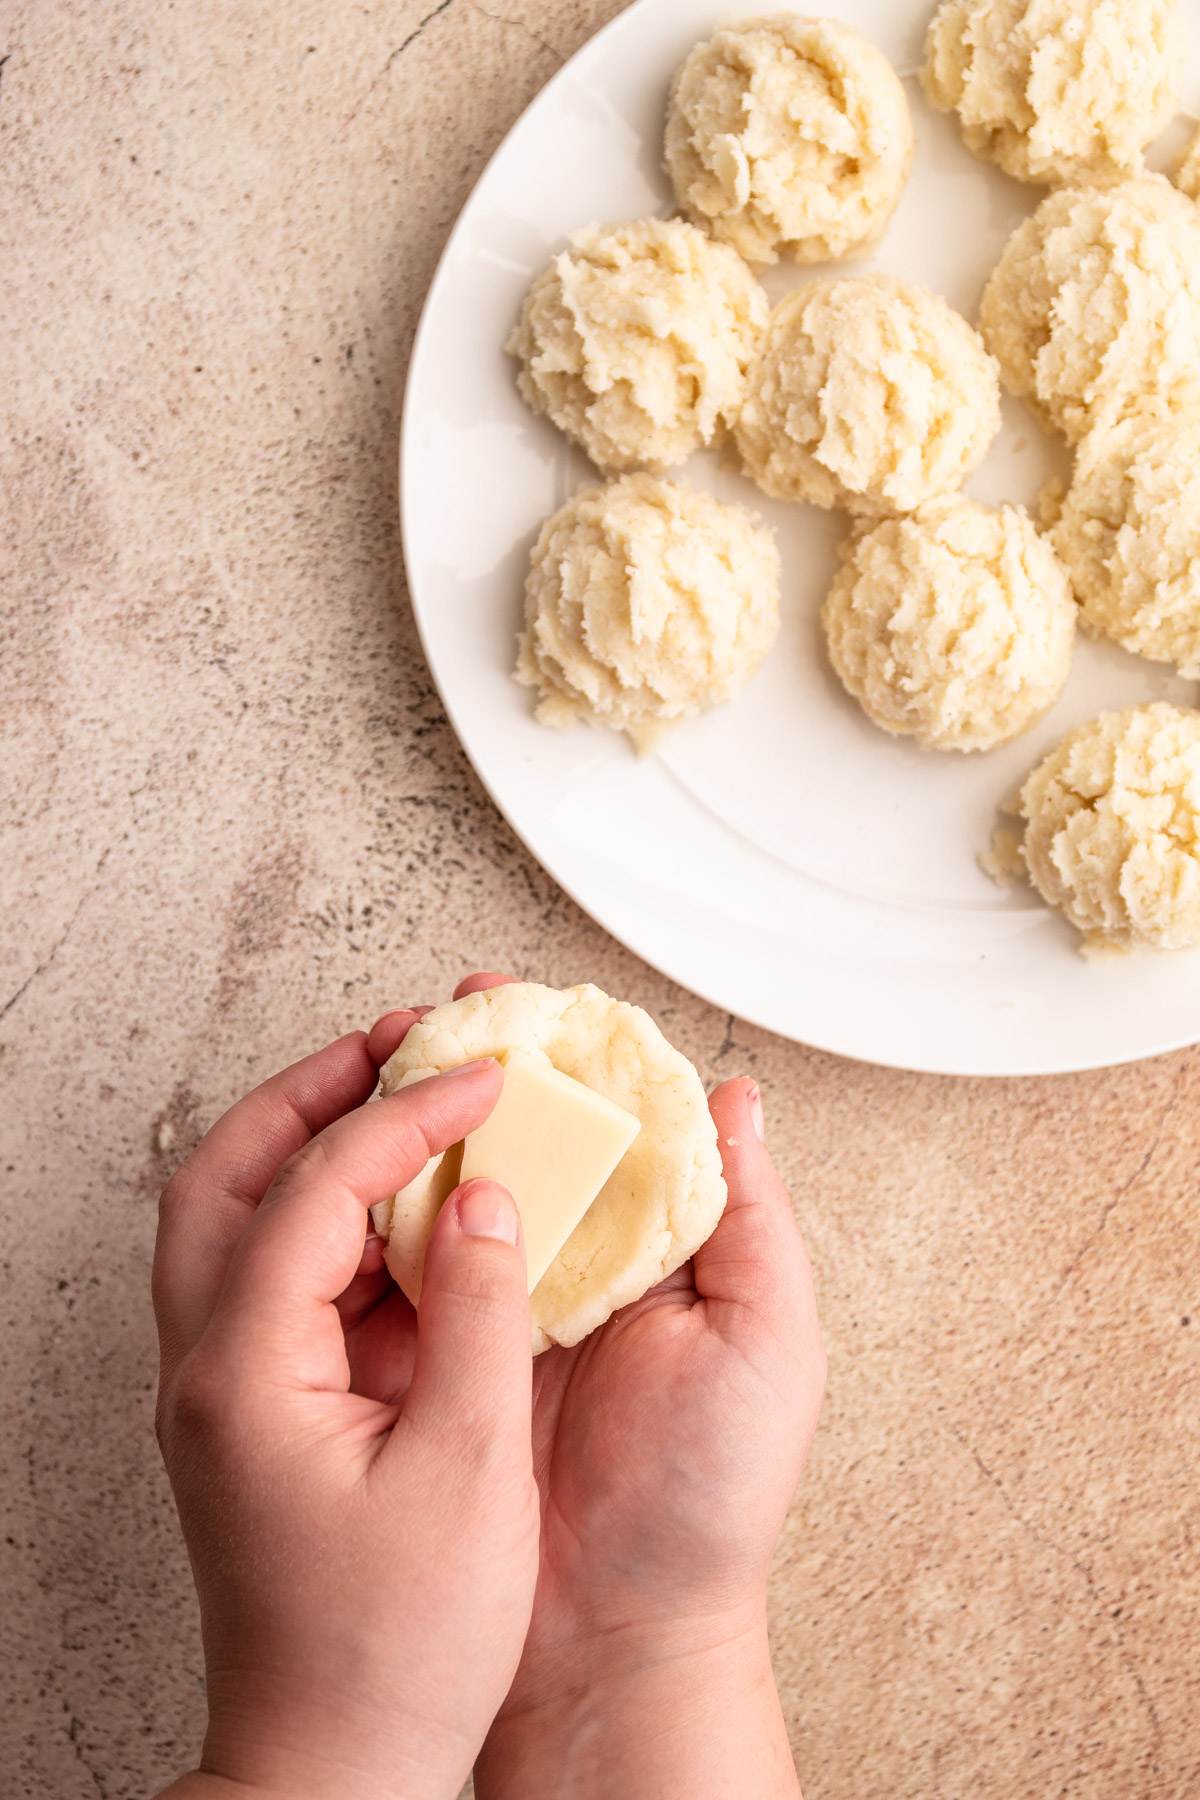
Step 3: Place the cheese inside the indentation.

Step 4: Gather the dough to close up the arepa.

Step 5: Roll the ball to make it smooth.
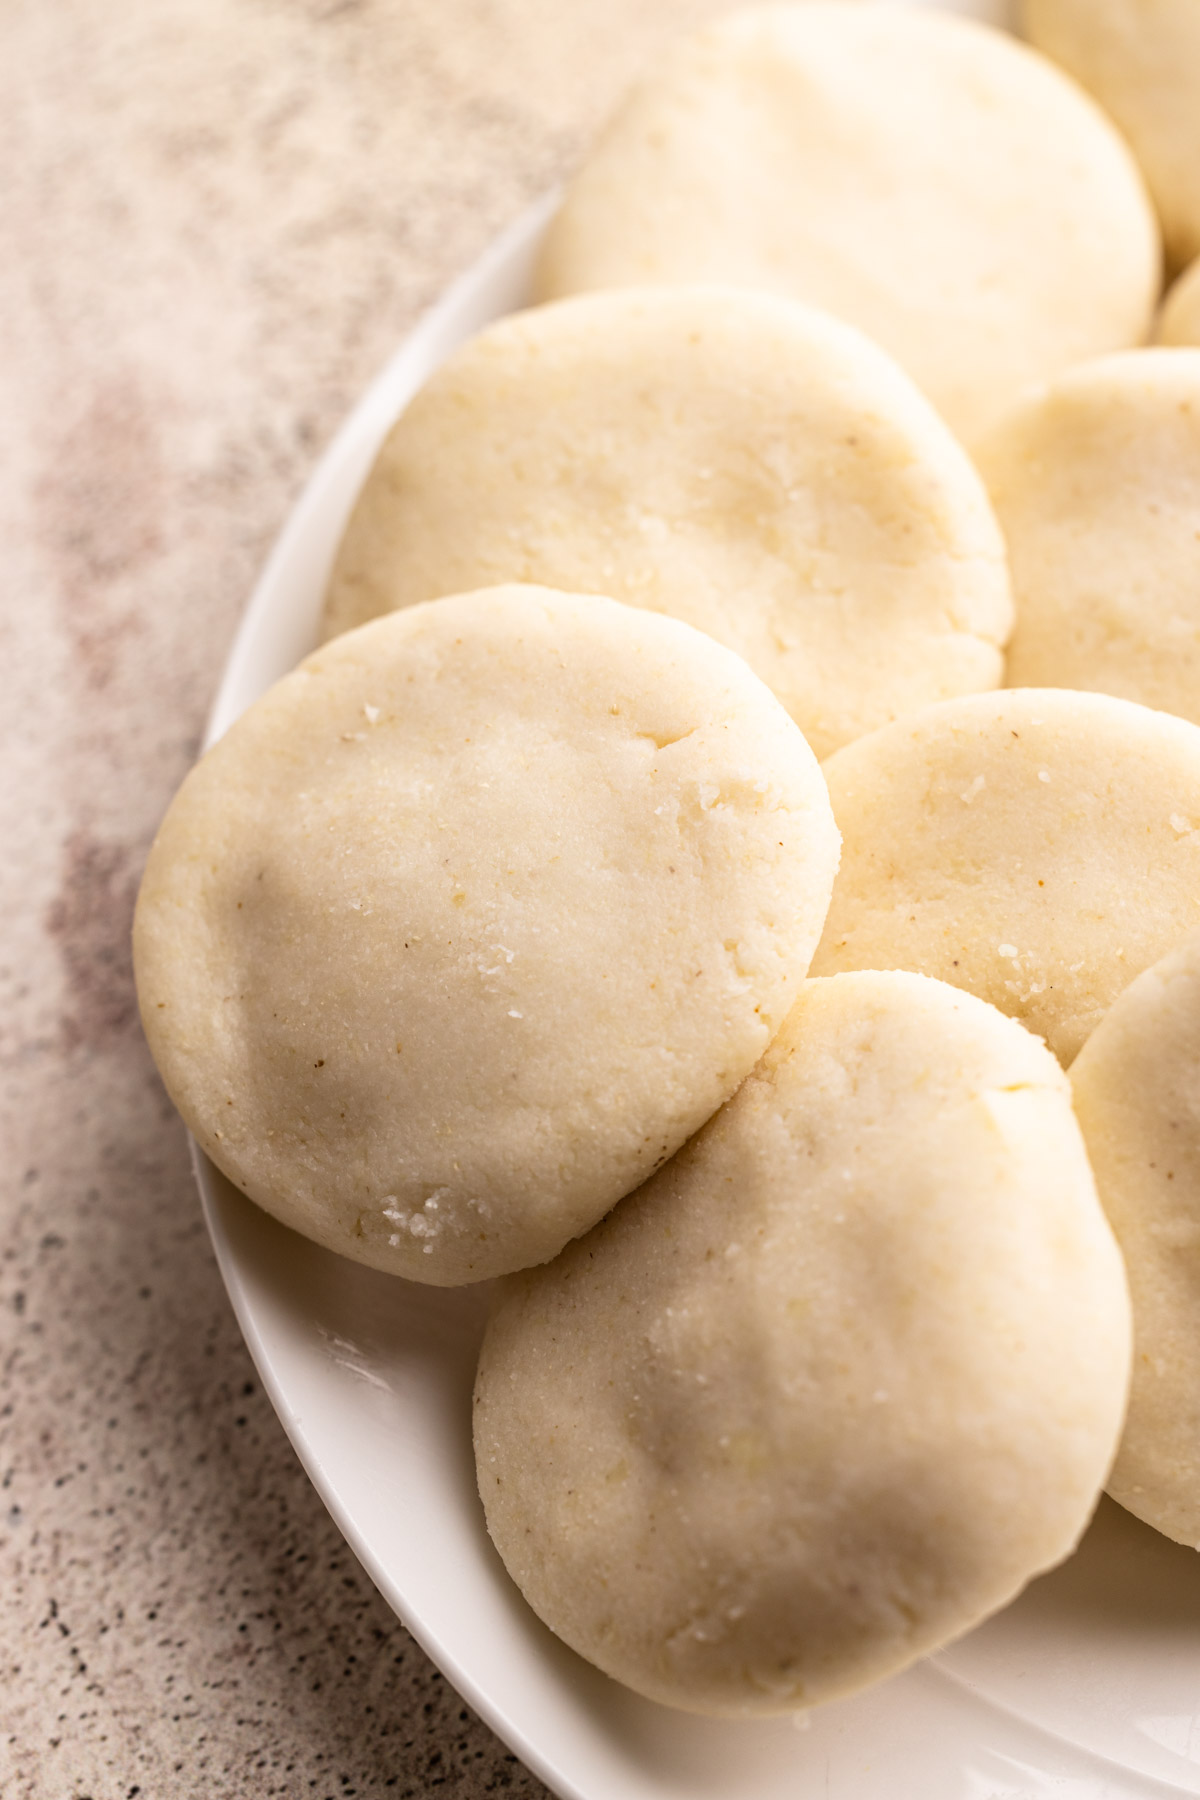
Step 6: Pat between your hands to make a flat cake.
Cooking the Arepa con Queso
If you go into a Colombian restaurant here in the states, you'll likely encounter a grilled arepa (cooked on "la plancha"). But in our house, we love them lightly fried in a pan. They not only have a great crunch on the exterior, but they also cook quicker than they do on a grill pan.
To cook them on "la plancha," make sure your griddle/grill is preheated well. Then, cook the arepas on each side for about 5-7 minutes. Cook them longer for a darker color.
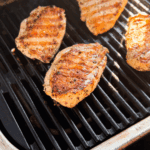
I've never tried them on an outdoor grill, but I'm sure you could make them that way as long as you weren't using a smoker--that would add the wrong flavor.
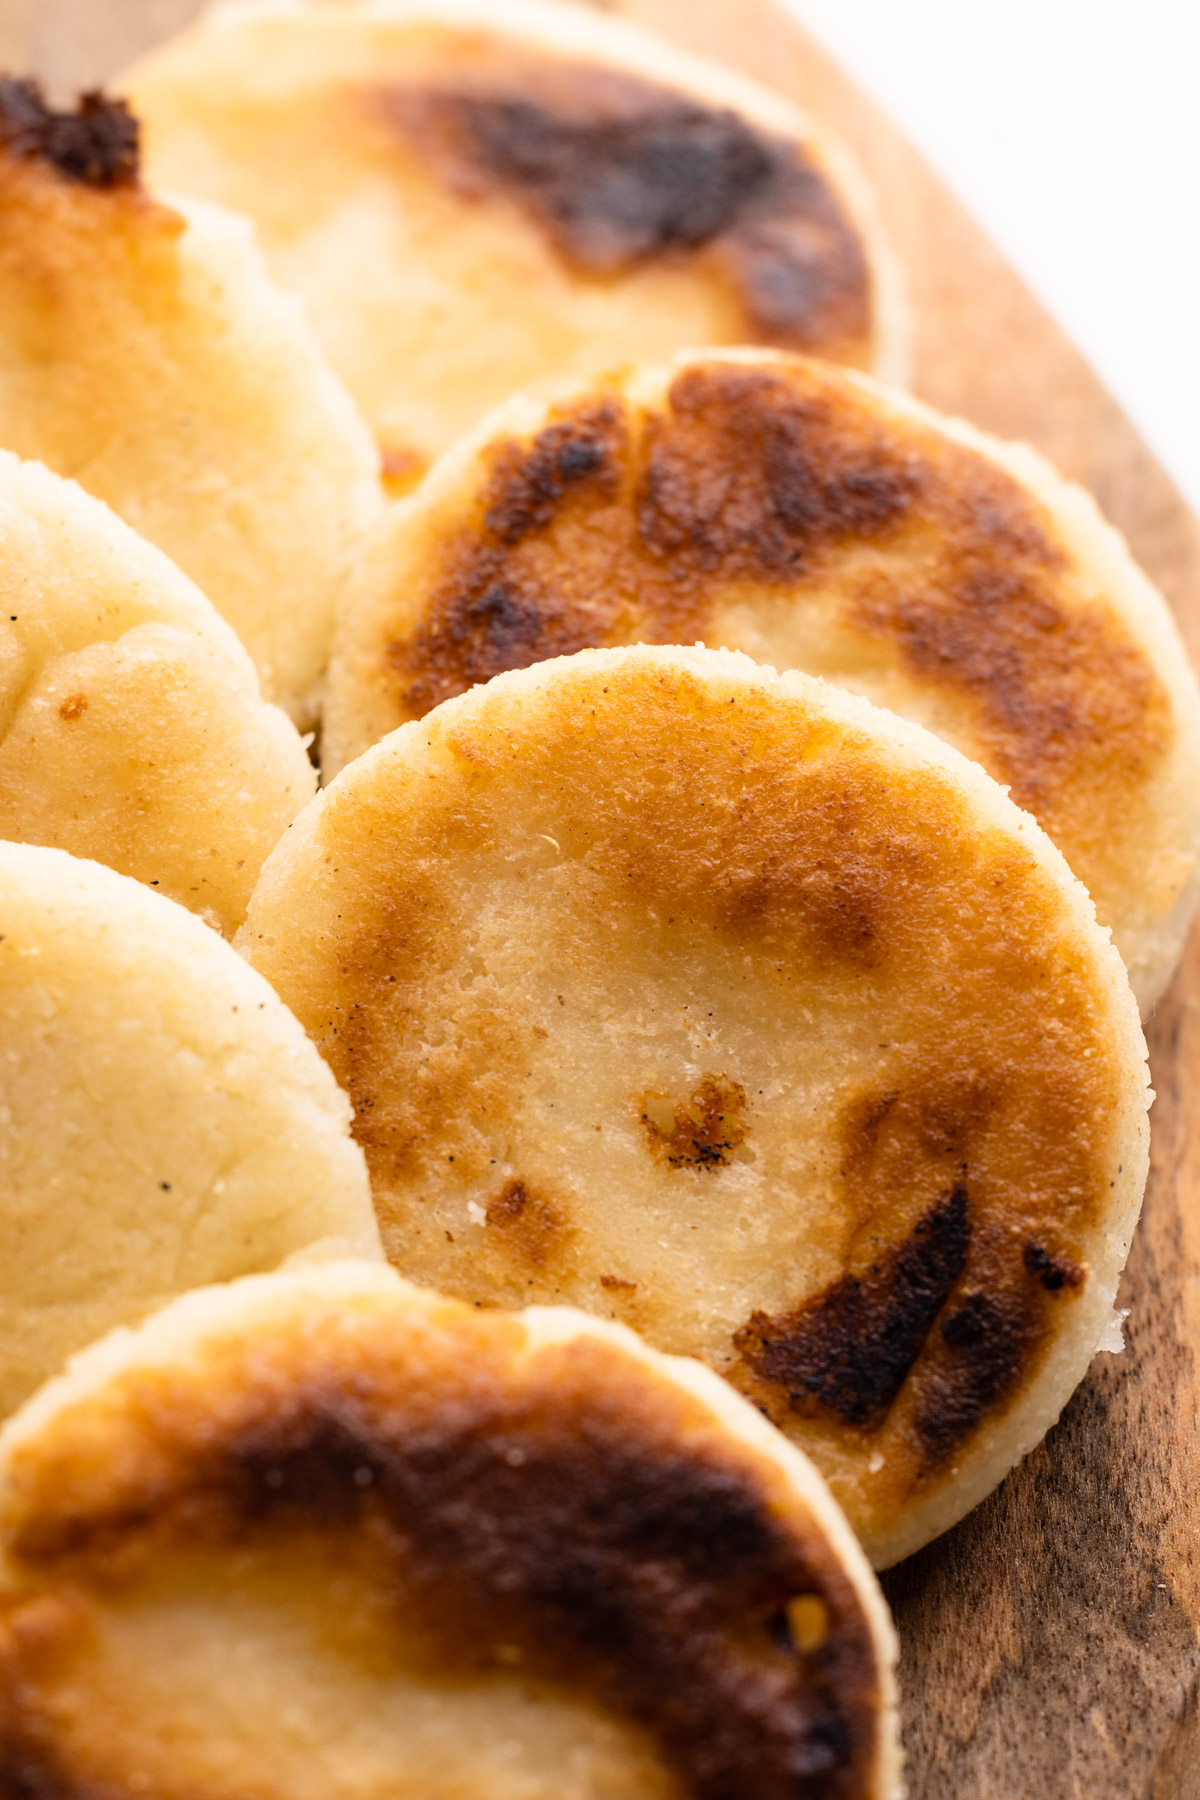
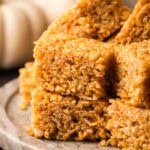
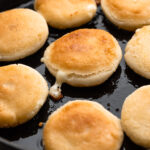
Pan-seared arepas con queso.
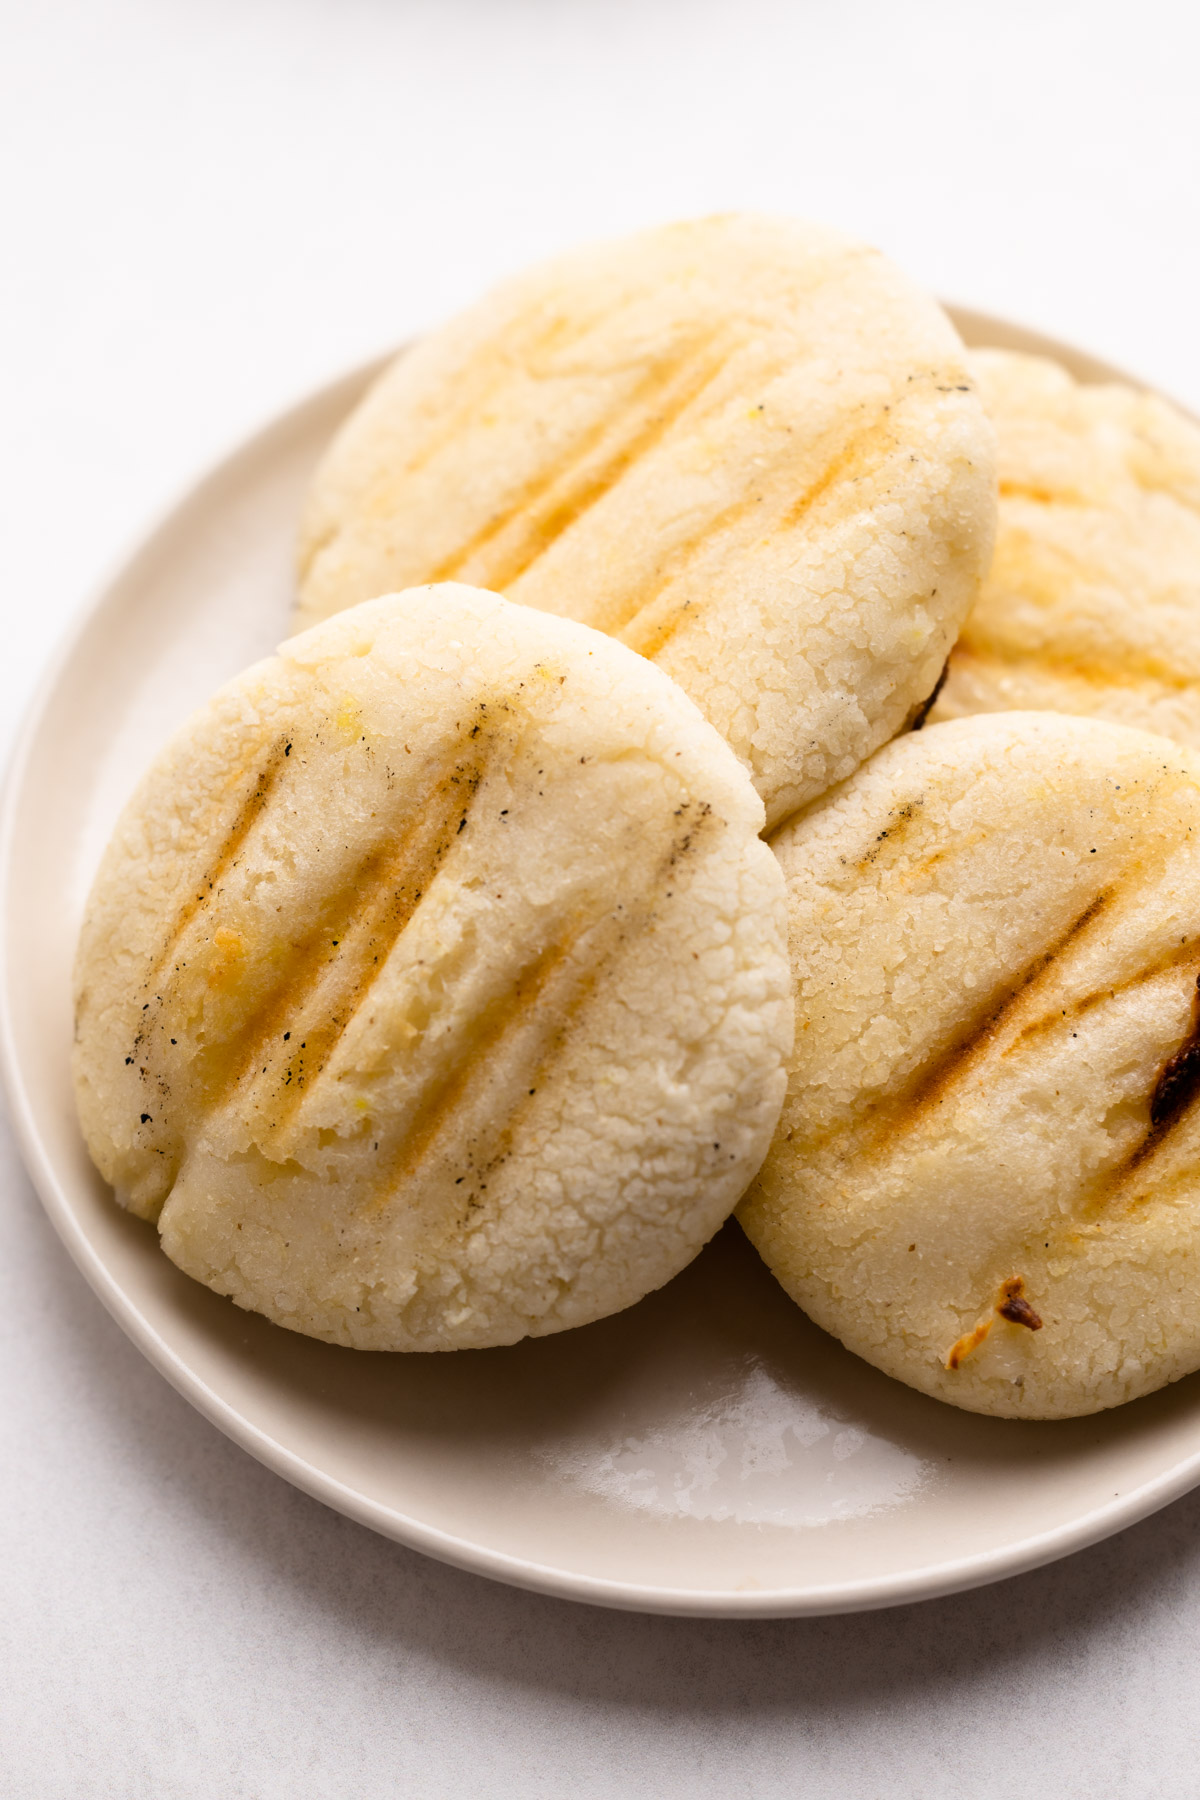
Griddled arepas con queso.
Kelli's Best Tips
- I use a muffin scoop to portion out the masa, but you can estimate the size if you prefer. Arepas can be any size, but larger ones take longer to cook.
- If you want a cleaner edge on your arepas, a helpful trick is to roll the flattened disk on a flat surface until the edges are even. While Cristina never had to do this, as her arepas were perfectly even, mine never are, so this is the trick I use!
- Don't feel like going through the process of stuffing each arepa? Here's a shortcut: use shredded cheese and mix it into the masarepa dough. This method quicker method results in a slightly different arepa with an equally delicious flavor.
How to Serve Them
Arepas are best served fresh and hot from the pan, as in right away.
They are served at breakfast most commonly, but really arepas can be enjoyed any time of day.
I cannot recommend storing any leftover cooked arepas. While I've certainly tried, reheated arepas never have the same taste as fresh.
Make-Ahead Suggestions
Mercedes shared a fantastic tip with me for making breakfast arepas much easier to prepare: make and form the arepas, then sandwich them between pieces of parchment paper and wrap them up tightly. These pre-formed arepas can be stored in the refrigerator for several days. When you're ready to enjoy them, simply heat up the pan and cook the arepas as directed, with a slight increase in cooking time to ensure they're heated through. It's a convenient way to have freshly cooked arepas for breakfast without the hassle of forming them each time!
More Colombian Favorites
- Colombian Aji (Ají Colombiano)
- Carne en Bistec (Colombian Steak with Tomatoes and Onions)
- Colombian Chicken Stew (Sudado de Pollo)
- Salted Potatoes (Papa Salada)
More Recipes

Making this Arepa con Queso recipe? Be sure to leave a comment with a star ⭐️⭐️⭐️⭐️⭐️ review on your experience! Have a question? Leave a comment below and I’ll get back to you as quickly as I can!
Full Recipe
Description
Arepas con queso are corn cakes stuffed plump with cheese and either pan-seared or griddled. They're a staple in many Latina American cultures but this recipe is for a Colombian-style arepa.
Ingredients
- 2 cups hot water
- 2 tablespoons softened butter
- 1 teaspoon kosher salt
- 1-½ cup amount of masarepa (really heartily recommend P.A.N brand)
- 1 cup shredded mozzarella (you can also use sliced mozzarella)
- ¼ cup oil, for frying
Instructions
- Add hot water, softened butter and salt in a bowl. Stir together until the butter is mostly melted.
- Add in the masarepa, about ½ cup at a time, and mix together with a wooden spoon or rubber spatula.
- Mix together until it is fully combined, making sure to hydrate all of the masa. It should be the consistency of playdough. It should be soft, but it shouldn't be so wet that it sticks to your fingers. If for any reason the dough is too wet, add in a tablespoon more of masa at a time until it has reached a soft non-sticky batter. (See notes for troubleshooting.)
- Portion the dough into roughly 10 (¼ cup) balls.
- Make an indentation in the ball, and stuff it with about 1 tablespoon shredded (or sliced) mozzarella. Gather the dough to close up the arepa, making sure to cover the cheese with the masa dough. Once it’s sealed, roll the ball to smooth it out.
- Then pat the ball between your hands to make a flat cake, about 3” wide and ½” thick. To even out the edges, roll the corn cake on a hard surface (see video for how to do this).
- Moving quickly (so the dough doesn’t dry out) repeat with remaining arepas.
- Heat oil over medium heat in a large heavy skillet. Once hot, add arepas. Cook for until lightly golden, about 5-7 minutes. Moderate the heat as needed.
- Flip and cook for an additional 3-5 minutes, or until arepa is golden on both sides. The cheese might begin to bubble at this point. Remove from the pan, and repeat with any remaining arepas.
- Let the arepas drain excess oil on a paper towel. If desired, sprinkle with flaky salt.
- Serve immediately.
Notes
Masarepa is not interchangeable with any other masa or flour. I recommend PAN brand.
The dough should be soft, like playdough, but it shouldn't be so wet that it sticks to your hand. After the dough has rested, pick it up and see if it's still very sticky. If it's too sticky, add in 2 tablespoons more masa at a time until the dough is just dry enough. The dough is more likely to be too wet than it is to be too dry, but it is possible for it to be too dry. If you haven't added enough water, the dough will easily crack as you form it into it's shape. In this instance, add 1-2 tablespoons more water at a time until the dough is easily formed into an arepa without cracks.
The arepas can be griddled/grilled or lightly pan-fried as the recipe suggests. To grill, preheat an indoor grill pan or outdoor grill (not a smoker) and grill on each side about 5-7 minutes, or until the masa is dry and the cheese has started to bubble.
Looking to make plain arepas? Check out this Guide to Making Arepas.
Jill Katz
I just made these for dinner. I am so grateful for you and this recipe. I have been trying to make these for years but have never been in love with my results. That changed today. I am in love with the result today and that is directly the result of your recipe and the instructions.
Thank you!
sarah
my kids and i loved this recipe! easy to make and hit the spot for both kids and grown ups. they also freeze well 🙂
Kalena
OMG! This is fantastic recipe! I have been searching for a Arepas recipe that is tasty and came out. I have tried so many recipes that I was going to finally just throw in the towel and give up on ever making an Arepas. But when I found your site ... I thought I would try one more time, since I still had the Pan white corn meal. So, if you are in search of a delicious Arepas, this is a must try recipe! My search is over, and this is my go-to recipe! Thank-you so very much for sharing it!!
Vicki
Can I store dough in the refrigerator so I can only make a few at a time? If so, how long will the dough last in the refrigerator?
I’m getting ready to make these and excited to try them. Thank you for sharing this recipe.
Kelli Avila
Yes, you can. In fact, you can shape them....place them between pieces of parchment and then cover them well. Fry up as needed!
Rita
Hi Vicky,
I make them and freeze them individually in ziplock bags. When I want to make them, I put them directly in a pan at medium-low heat sprayed with olive oil. About 10-15 minutes each side. You can also defrost in microwave and then grill or put in pan.
Ladydee
These were delicious!!!
Lauren K
This was my first time making arepas and I’m still amazed by how incredibly quick and easy it was! These were so delicious and my family hoovered them up SO fast. Will definitely be bookmarking this recipe to make again (and again).
Jenn
Where do you stand on some of these recipes that say to put some of the shredded cheese INTO the dough?
Kelli Avila
When I'm in a super rush--I do it. But my family prefers when the cheese is stuffed inside. When shredded cheese is just mixed in, you don't notice it as much. And we love cheese, so we love to notice it 🙂
Emmy
Love these!!!
Ed H.
I'm really interested in the non-cheese options, as my wife is lactose intolerant. Tell us more about eggs inside. Do you split it open like a sandwich and insert a fried egg or is there a way to cook it all together?
Kelli Avila
Hi Ed! I'm actually working on a post about making arepas without cheese and how to play around with making it into a sandwich, stay tuned!
Rita
Hi Ed, I’m also lactose intolerant. I use sharp cheddar cheese which doesn’t have any effect on me. Any aged goat cheese is also lactose free. You can find them in the grocery store with the specialty cheeses. Usually imported from Spain.
Dona
We call it Arepas con choclo in Colombia
Rita
Can’t wait to try this recipe again!
Thank you,
Cla
Yum! Make sure to cook them crispy on each side and salt well. They are just like our Colombian au pair used to make.
Sharron
they turned out well but i needed more flavor. i think next time i will add some jalapenos in with the mozzerella.otherwise good.and easy