Arepas, flat corn cakes made from a special type of cornmeal, are a staple dish in many Latin-American cultures. This guide on How to Make Arepas will walk you through how to prepare them, their various cooking methods, and all the different ways to enjoy them!
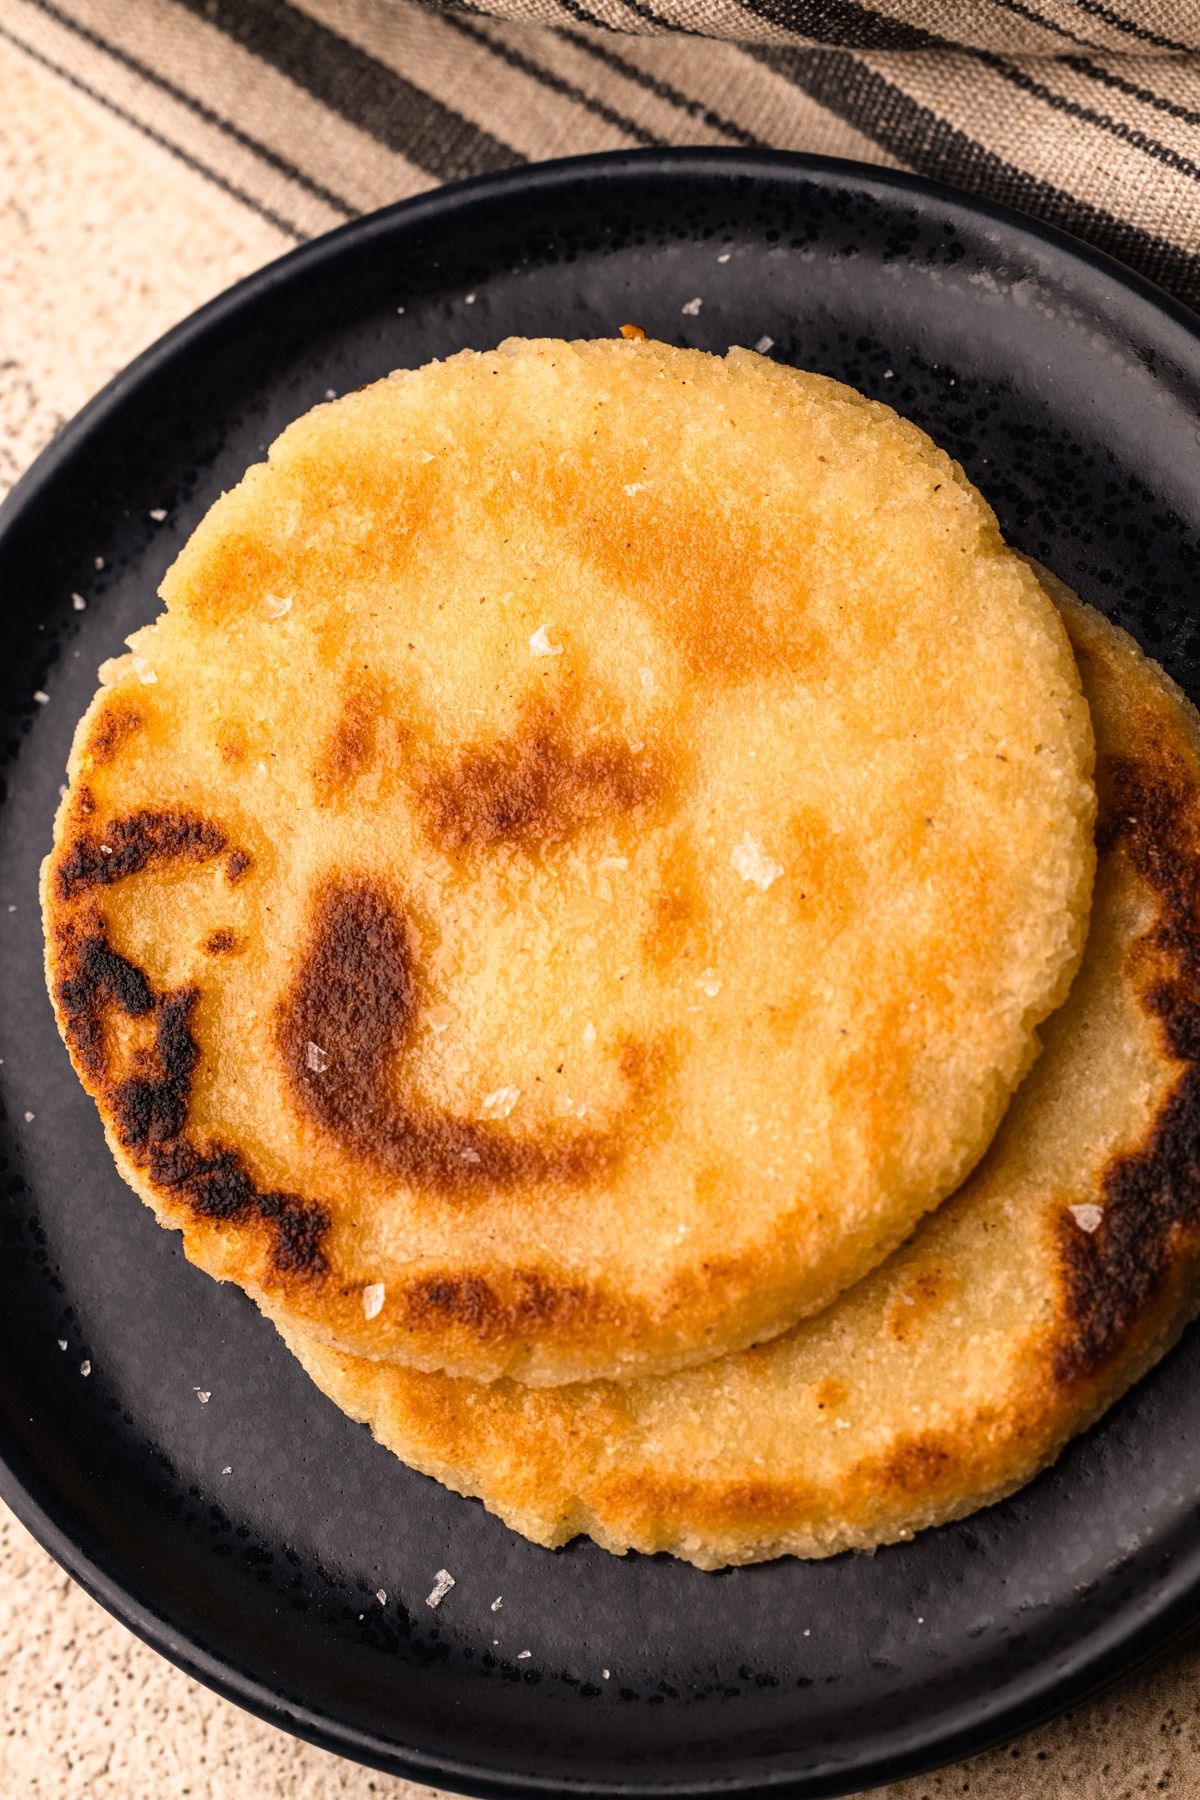
One of the most beloved and requested recipes over the years has been my family's Arepas con Queso. After publishing it, I've received many questions about making them without cheese, how to stuff them, and different ways to prepare them ahead of time. Seeing the recipe's popularity inspired me to compile a comprehensive guide on How to Make Arepas, answering all these questions in one place.
Arepas are cherished in many Latin American cultures, especially in Venezuela and Colombia. Like any culturally-specific food, the method and ingredients vary by region. My husband and his family are from Bogotá, Colombia, so our arepa-making style is influenced by that. Fun fact: decades before my husband immigrated to Boston, he owned an arepa business, making them the traditional way by grinding whole dried corn. Nowadays, most households, including ours, use precooked cornmeal known as masarepa.
Making these little corn cakes is not difficult, but John and his family have passed on a few useful tricks to me. The technique of the process is important, and I'm happy to share the secrets I've been taught and a few of my own that I've developed over more than a decade making them for my arepa-obsessed family.
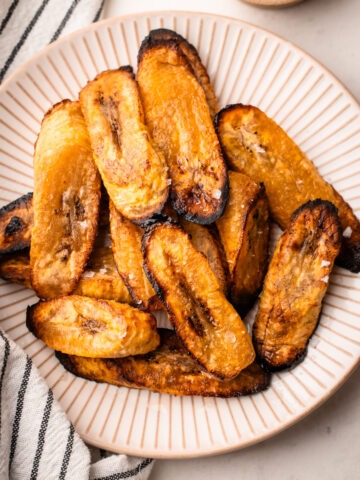
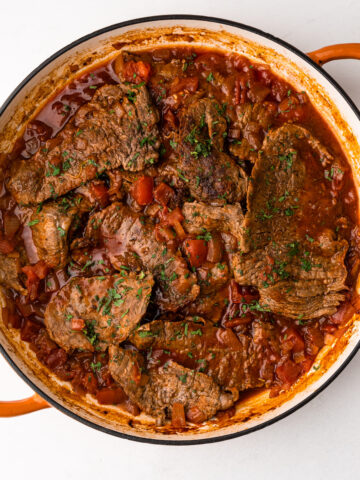
My late sister-in-law Cristina was the first to teach me how to make them, but this arepa tutorial is more heavily influenced by my other sister-in-law Mercedes, who has shared so many family recipes with me (including Carne en Bistec , Tostones, and Maduros). We are so lucky that she comes to stay with us from Bogotá for a few months every year, and we always enjoy teaching each other different recipes from our respective cultures. In turn, I come here to share what I've learned with you!
So, let's get to making them! You can jump around the article using the menu below, or you can just head right to the bottom for the complete recipe.
Jump to:
Ingredients Needed and Substitutions
Here is a brief overview of the ingredients needed for this recipe. The full recipe with quantities is listed below this text in the recipe card.
- masarepa (see below for more information on where to buy this, but please note it cannot be substituted for any other type of masa, such as masa harina)
- water
- softened unsalted butter
- sugar (just a pinch, and it certainly can be omitted)
- coarse kosher salt (This recipe was tested using Diamond Crystal coarse kosher salt. If you use Morton's kosher salt or fine salt, decrease the volume by half.)
- oil, for cooking (though this is optional)

But First, Masarepa
Masarepa is the main ingredient for making arepas. This "flour" is made from pre-cooked ground cornmeal and is sometimes labeled as "instant." While similar to American cornmeal, it is not interchangeable with it. It does not contain any flours that create gluten, though you should check your specific brand to see if it was processed in a gluten-free facility, if that's a concern for you.
Masarepa can be made from either white or yellow corn, and both types work well for arepas. The most common brands are PAN and Goya, which are available in most grocery stores and Latin markets. In my home, we always use PAN. You can also find it easily online.
Make sure to note that masarepa is different than masa harina, another form of masa that you might see at the store. Both are a form of corn flour commonly used in Latin-American cuisine, but masarepa is more refined and softer than masa harina, which is made from nixtamalized corn and is used to make tortillas, tamales, and pupusas.
Making Arepa Dough
The masarepa dough is super simple to make. You essentially just mix all the ingredients together! My recipe calls for hot water. Using hot water is useful for a few reasons:
- It helps dissolve the salt and sugar to distribute it evenly in the dough
- It melts the butter to distribute it evenly
- And it makes the dough easier to work with
Here is a quick visual overview mixing together the dough. If you are looking for the full recipe, keep scrolling!
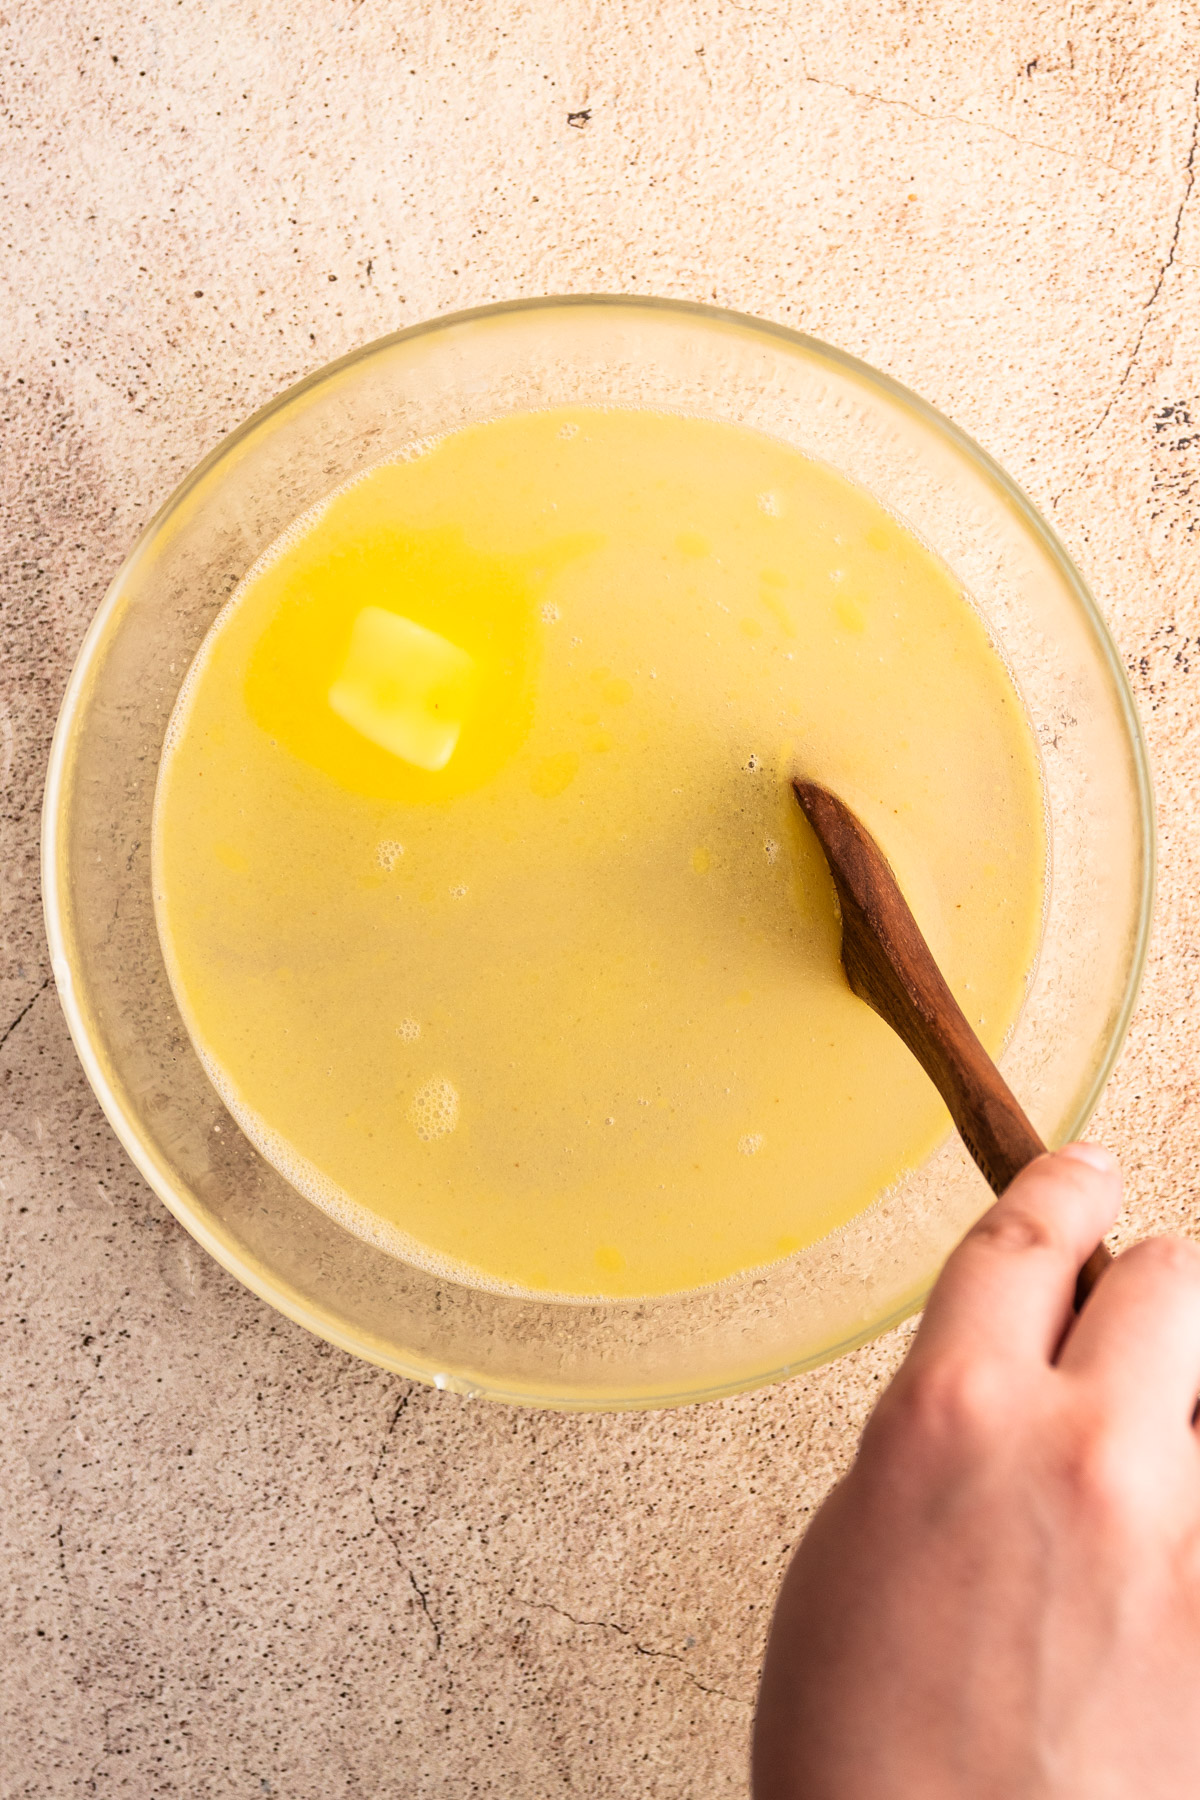
Step 1: Mix softened butter, hot water, sugar, and salt in a bowl until the butter starts to melt.
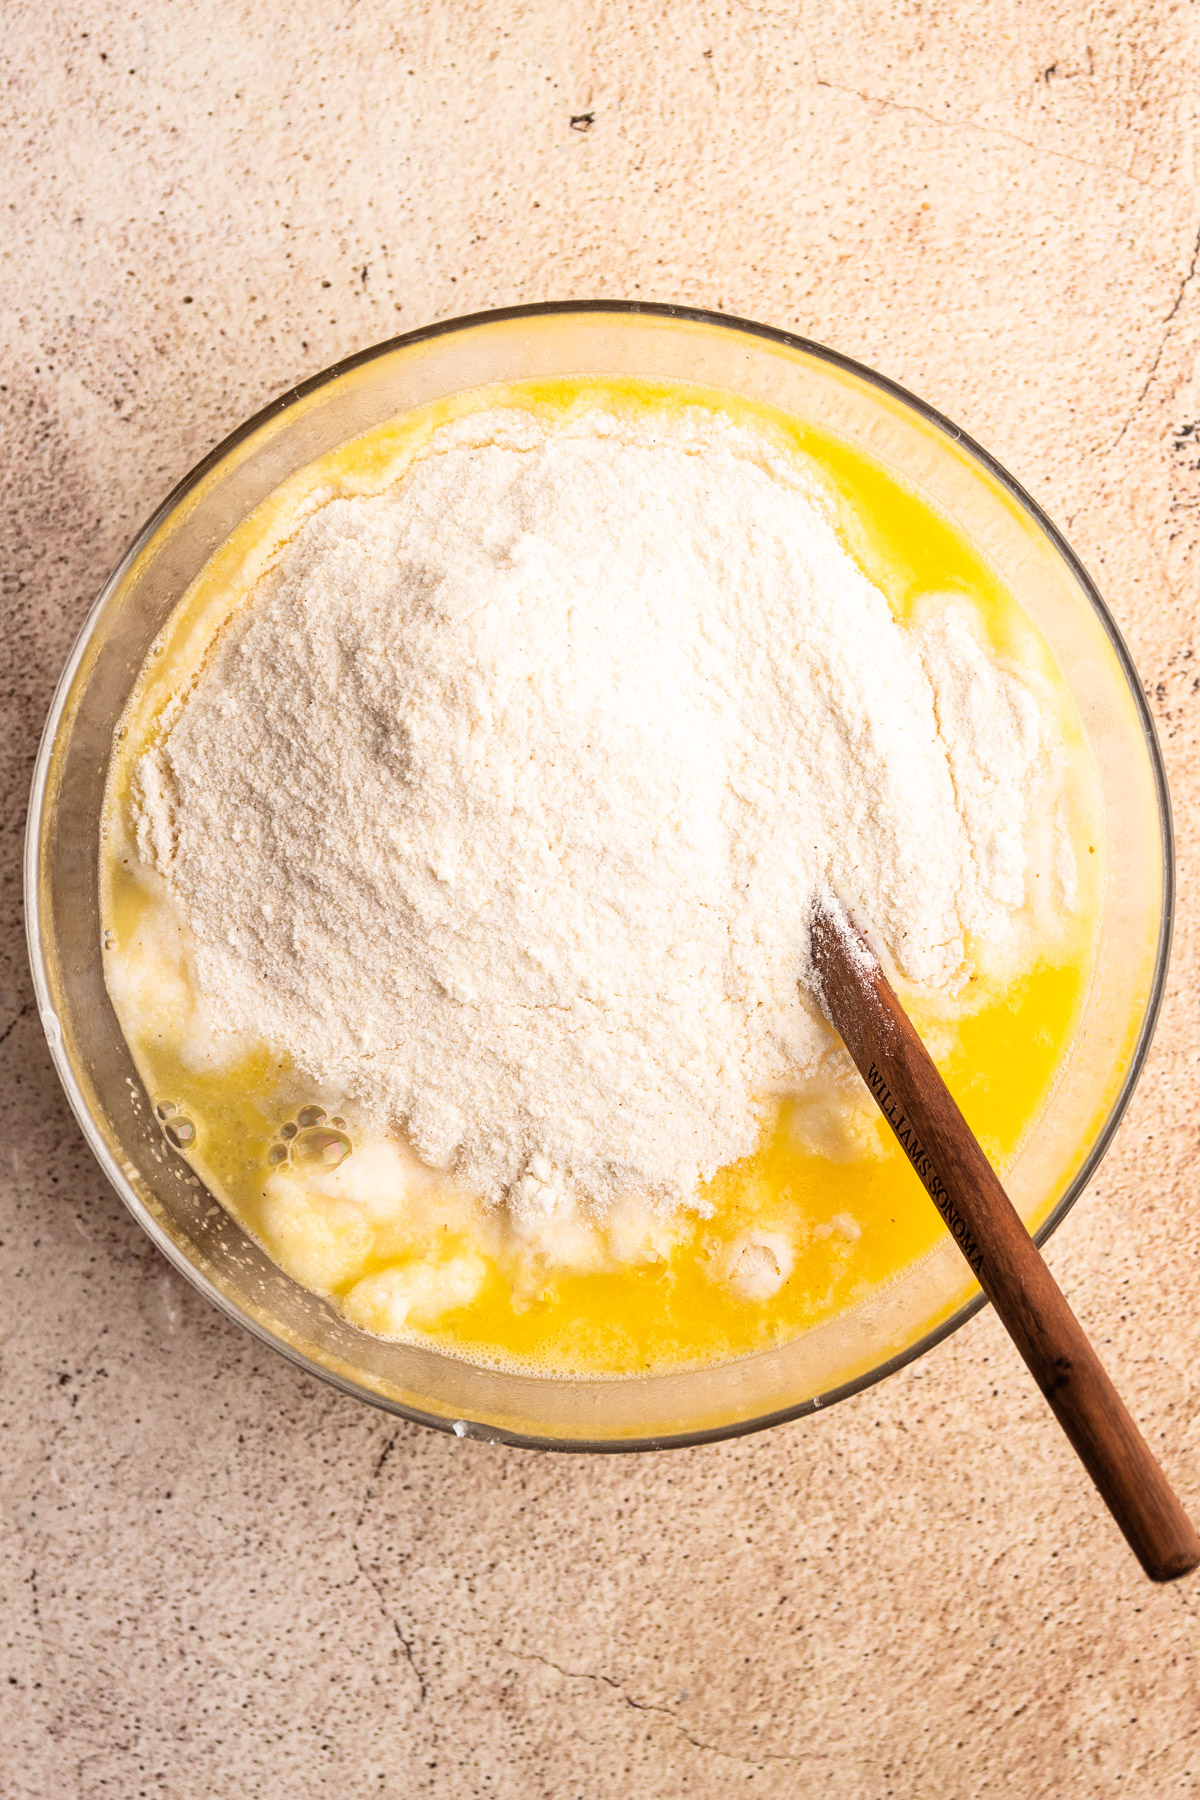
Step 2: Slowly stir in the masarepa.
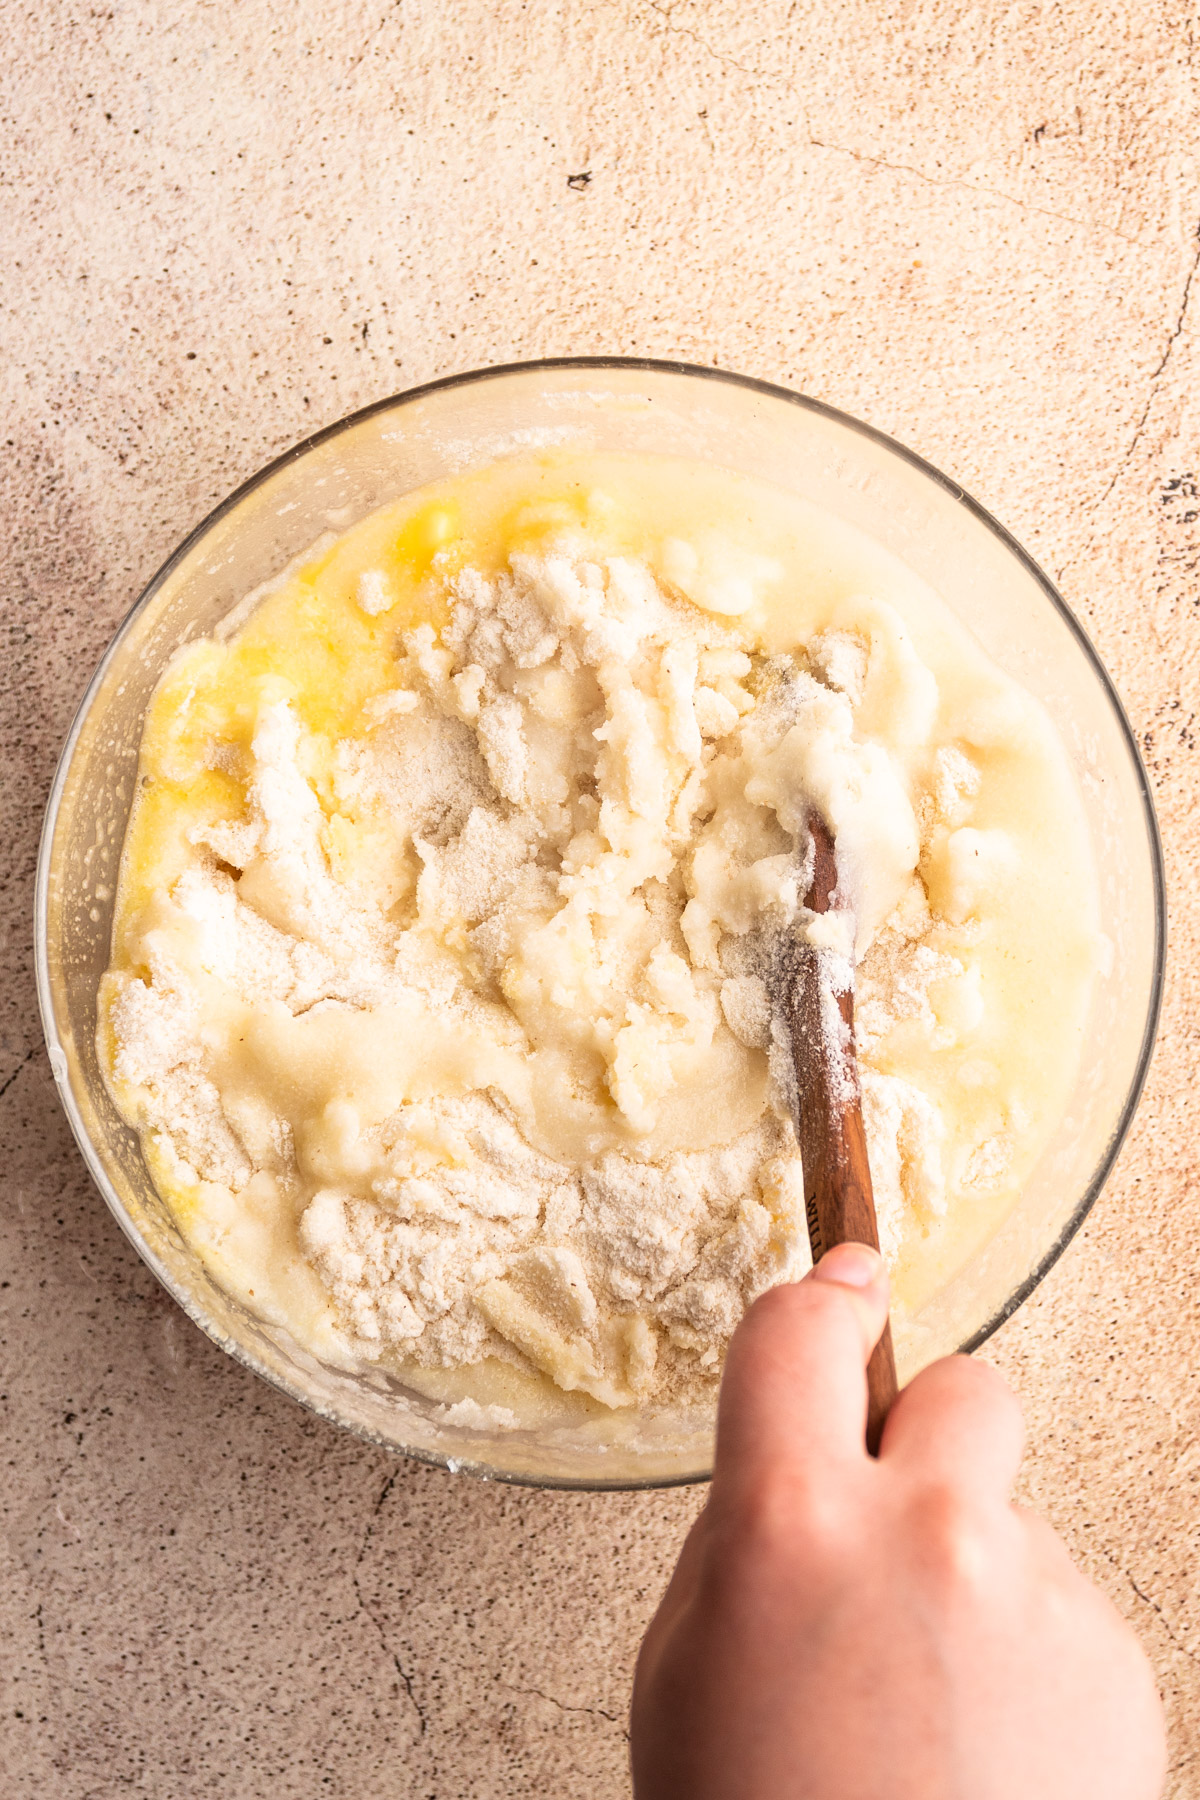
Step 3: Mix together until it is fully combined.
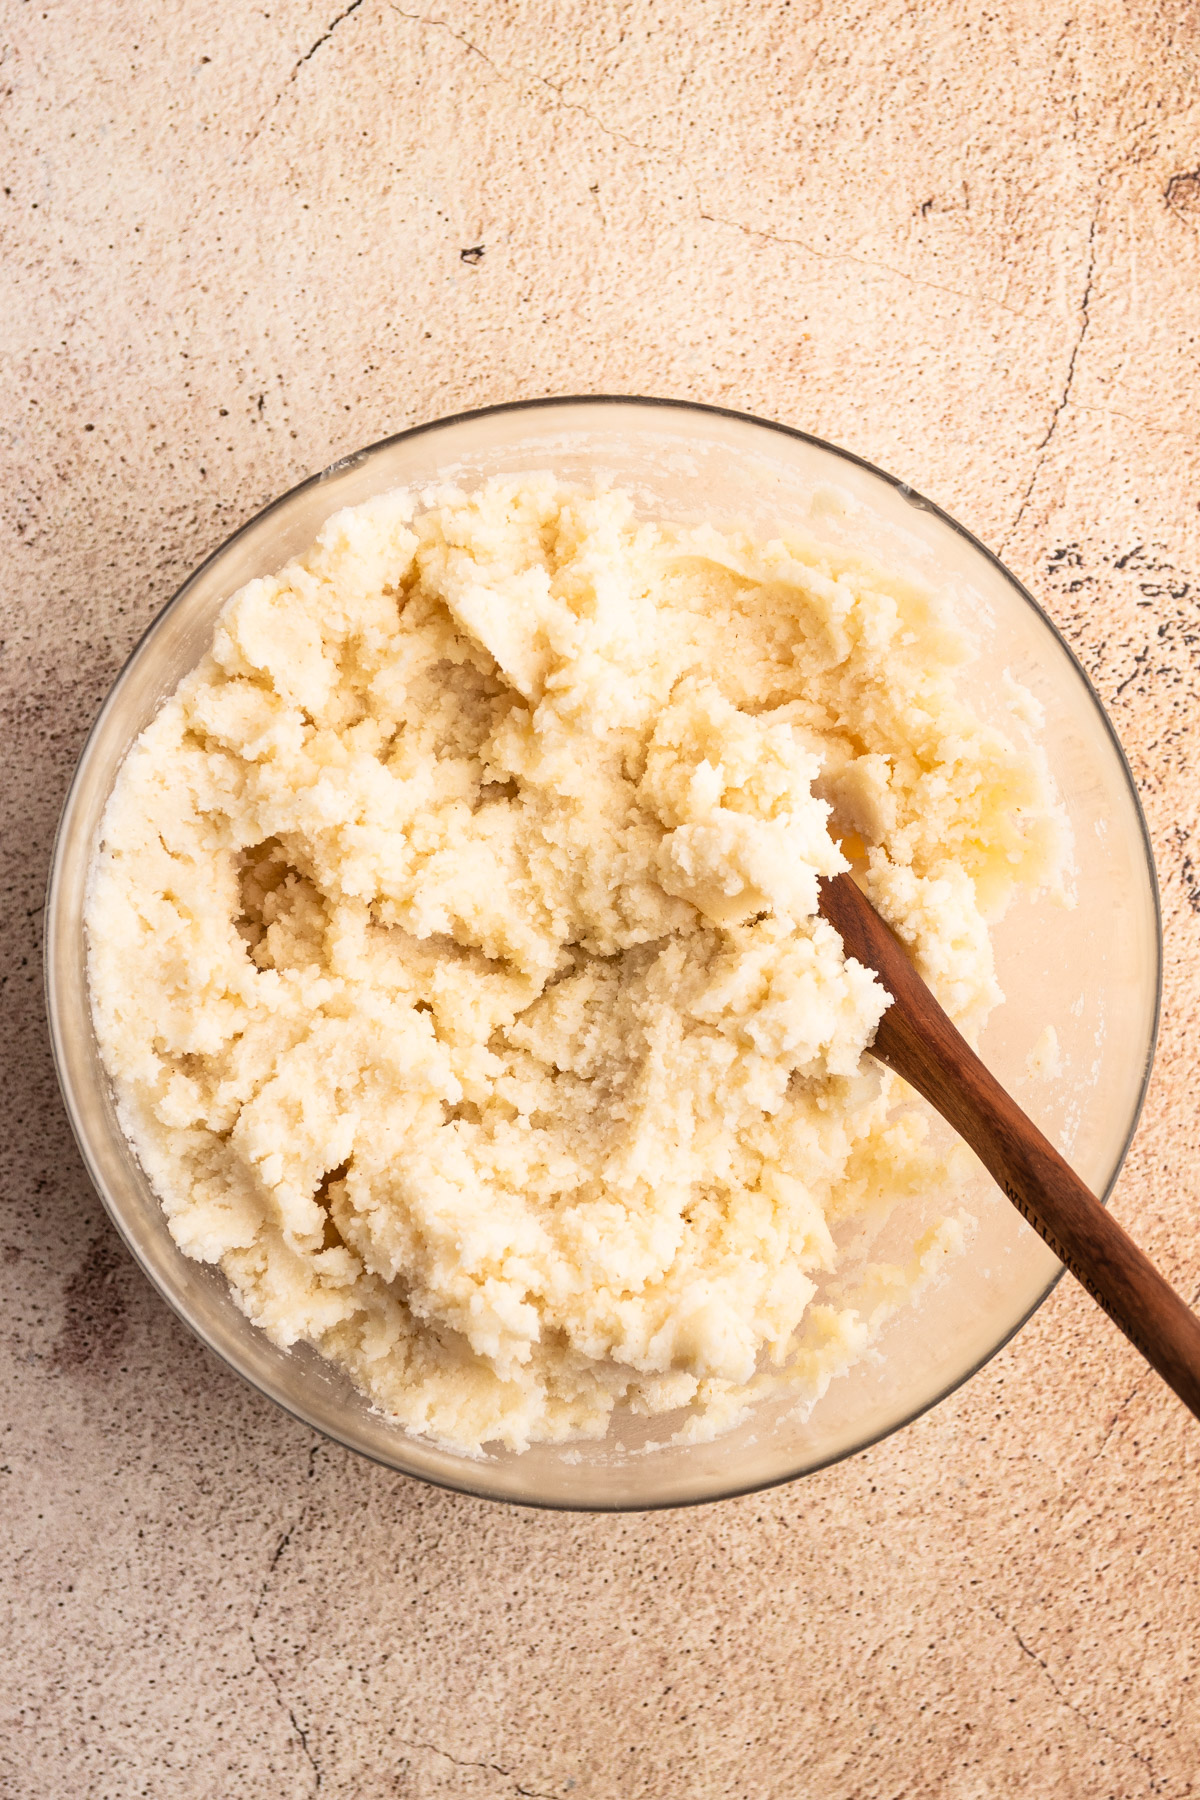
Step 4: Let the dough hydrate for 2-5 minutes, then check to see if it's the right consistency (see below).
Troubleshooting Advice
After mixing the dough, let it sit for 2-5 minutes to ensure the masa properly hydrates. The dough should have a soft, playdough-like consistency, but it should not be so wet that it sticks to your hand.
If it's too sticky, add in more masa, 2 tablespoons at a time, until the dough is just dry enough.
If the dough cracks easily when forming it, add more water, 1-2 tablespoons at a time, until the dough can be shaped into an arepa without cracks.

Forming Arepas
There are many ways to shape arepas, depending on how thick you want them, whether you plan to add something inside the dough (such as cheese), or whether you want to slice them open after they are cooked to make stuffed arepas (arepa con relleno).
You have a few options for shaping arepas. You can shape them by hand, which is the way to do it if you plan to fill them with cheese or meat. Check out the Arepas con Queso recipe for a visual guide. Alternatively, you can flatten them out using a wide, flat tool like a cutting board, plate or a tortilla press. This is the easiest and quickest method for making a standard arepa.
For this method you'll need:
- a tool with a flat, wide surface (like a cutting board or flat plate)
- parchment paper cut into little squares
- a clean plastic storage bag (like a freezer bag) cut in half into two squares
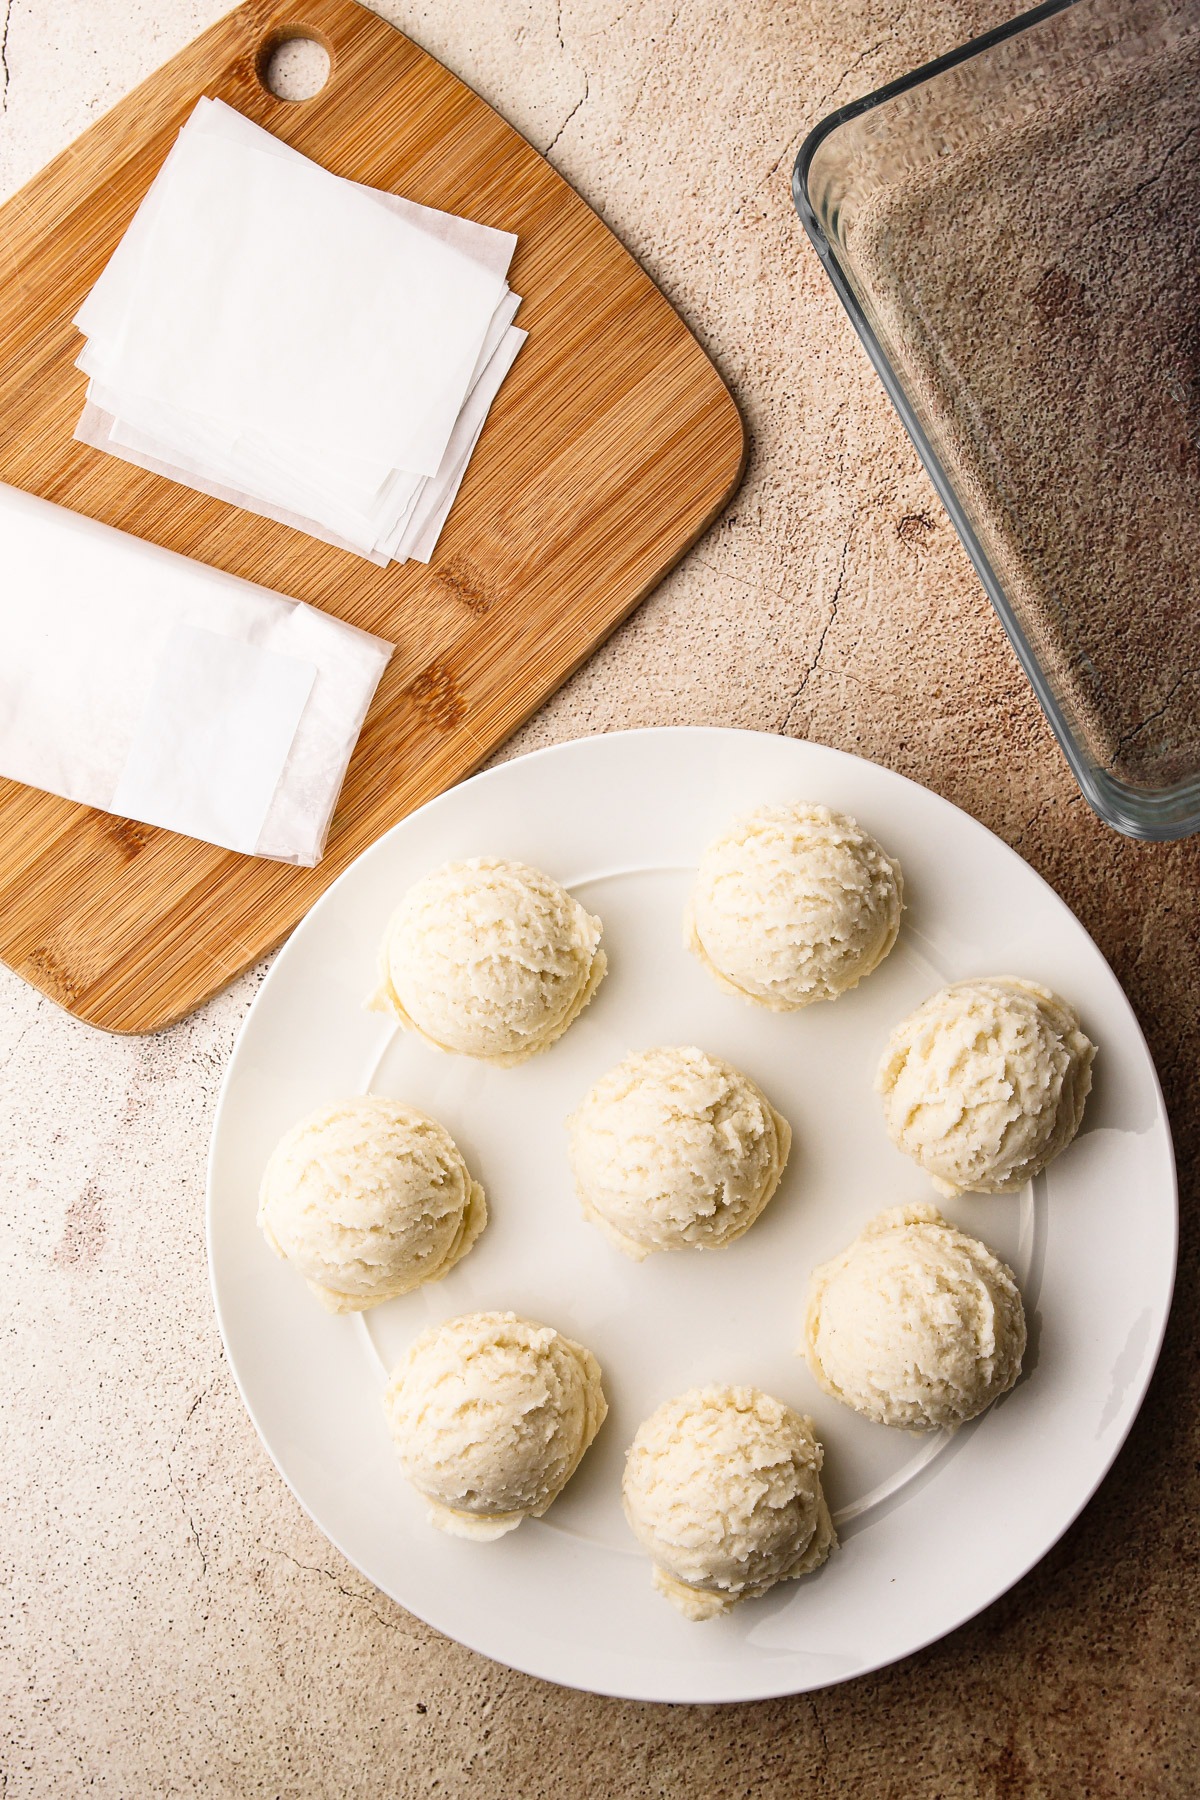
Step 1: Scoop out about ¼ cup of dough.
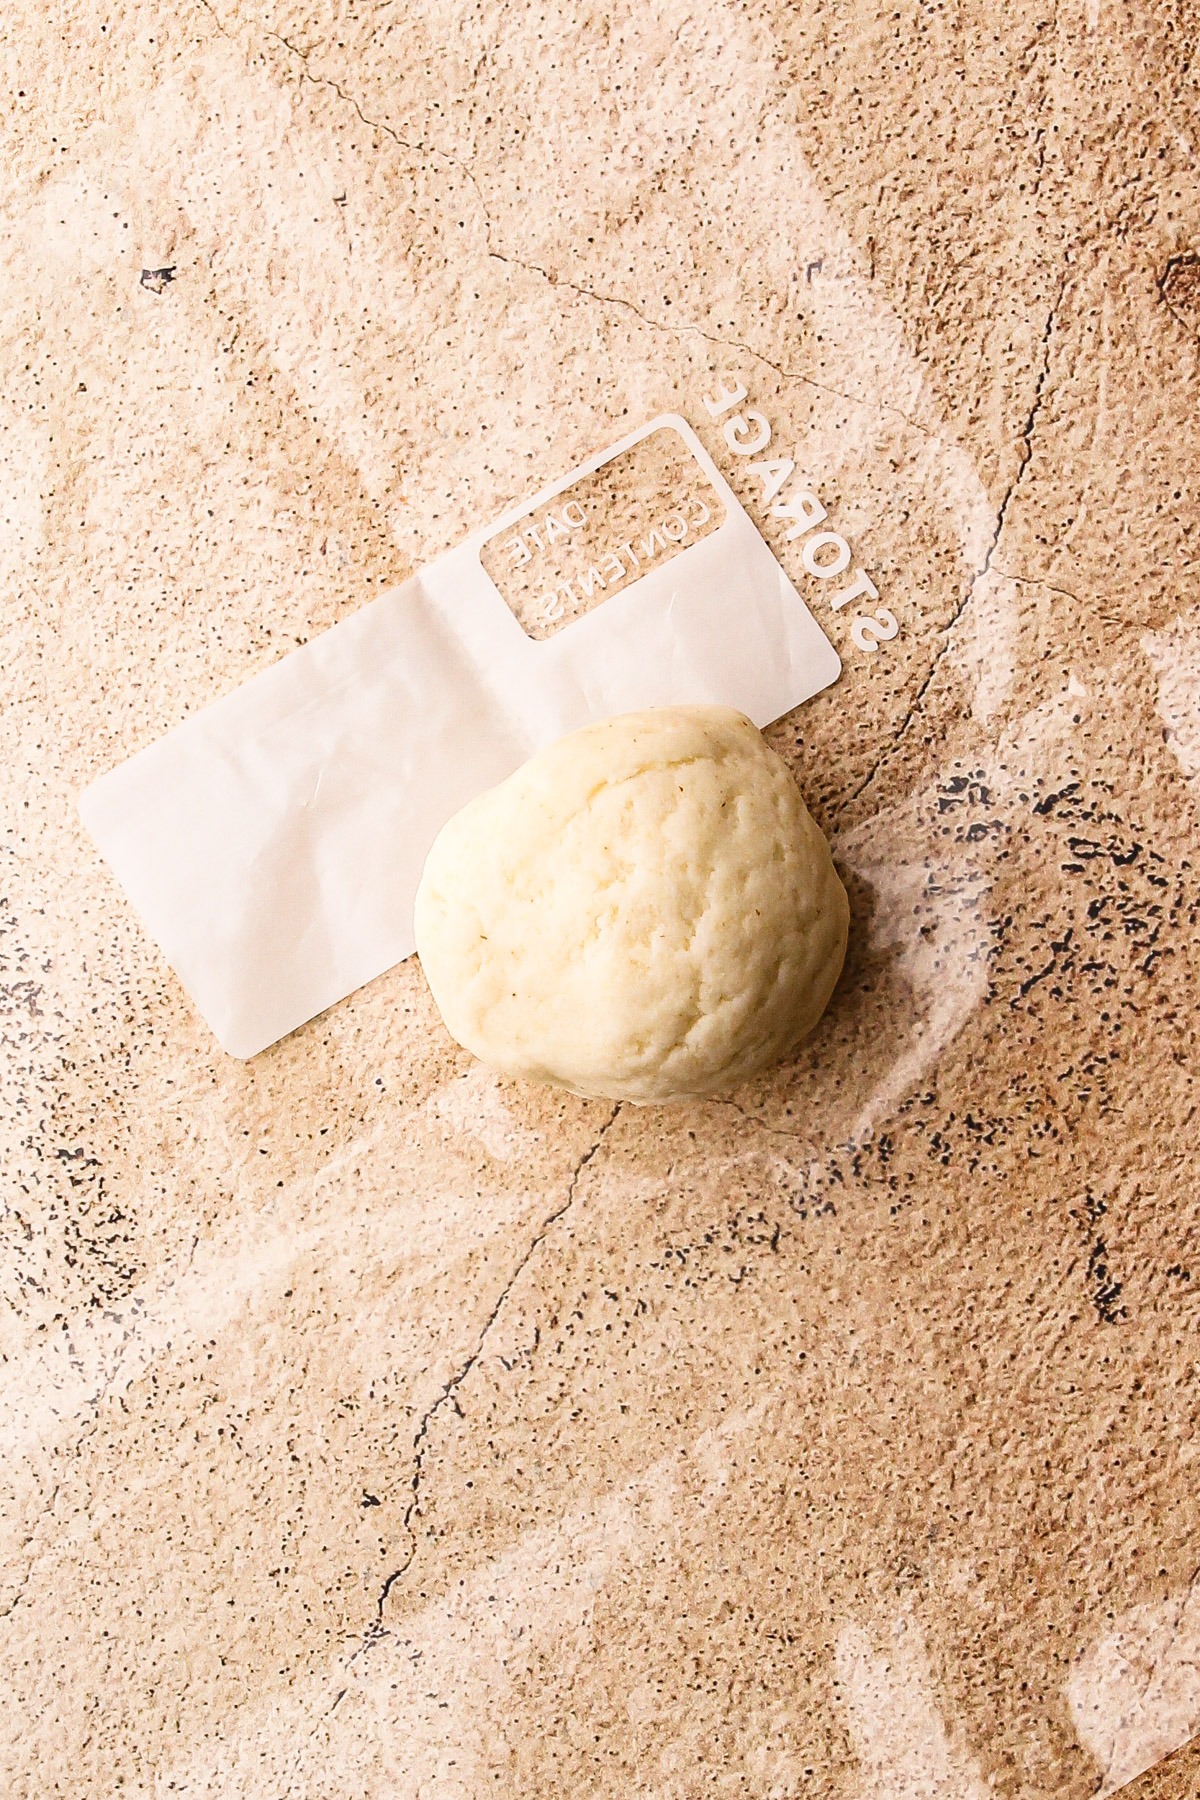
Step 2: Place the dough ball onto a piece of plastic. Place another sheet of plastic on top.
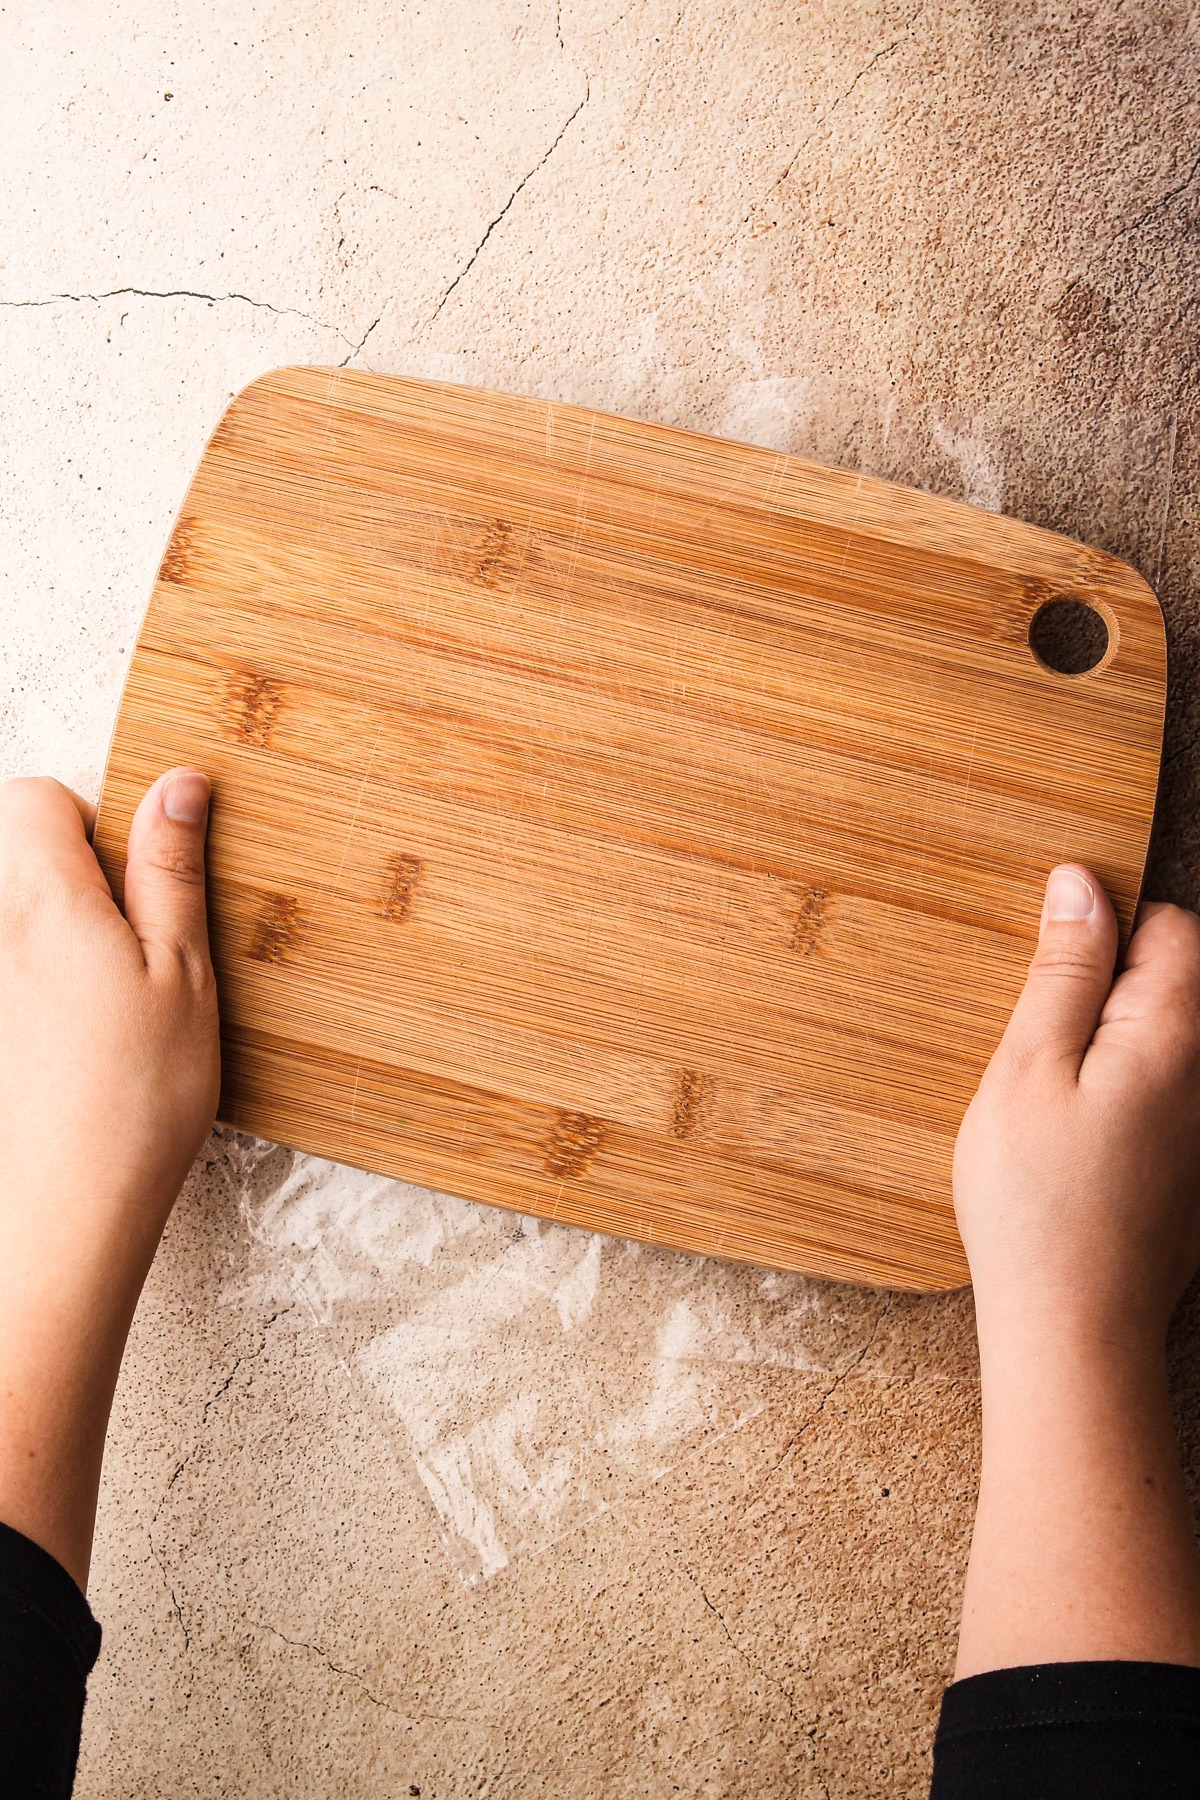
Step 3: Press down firmly with a tool with a wide, flat surface.
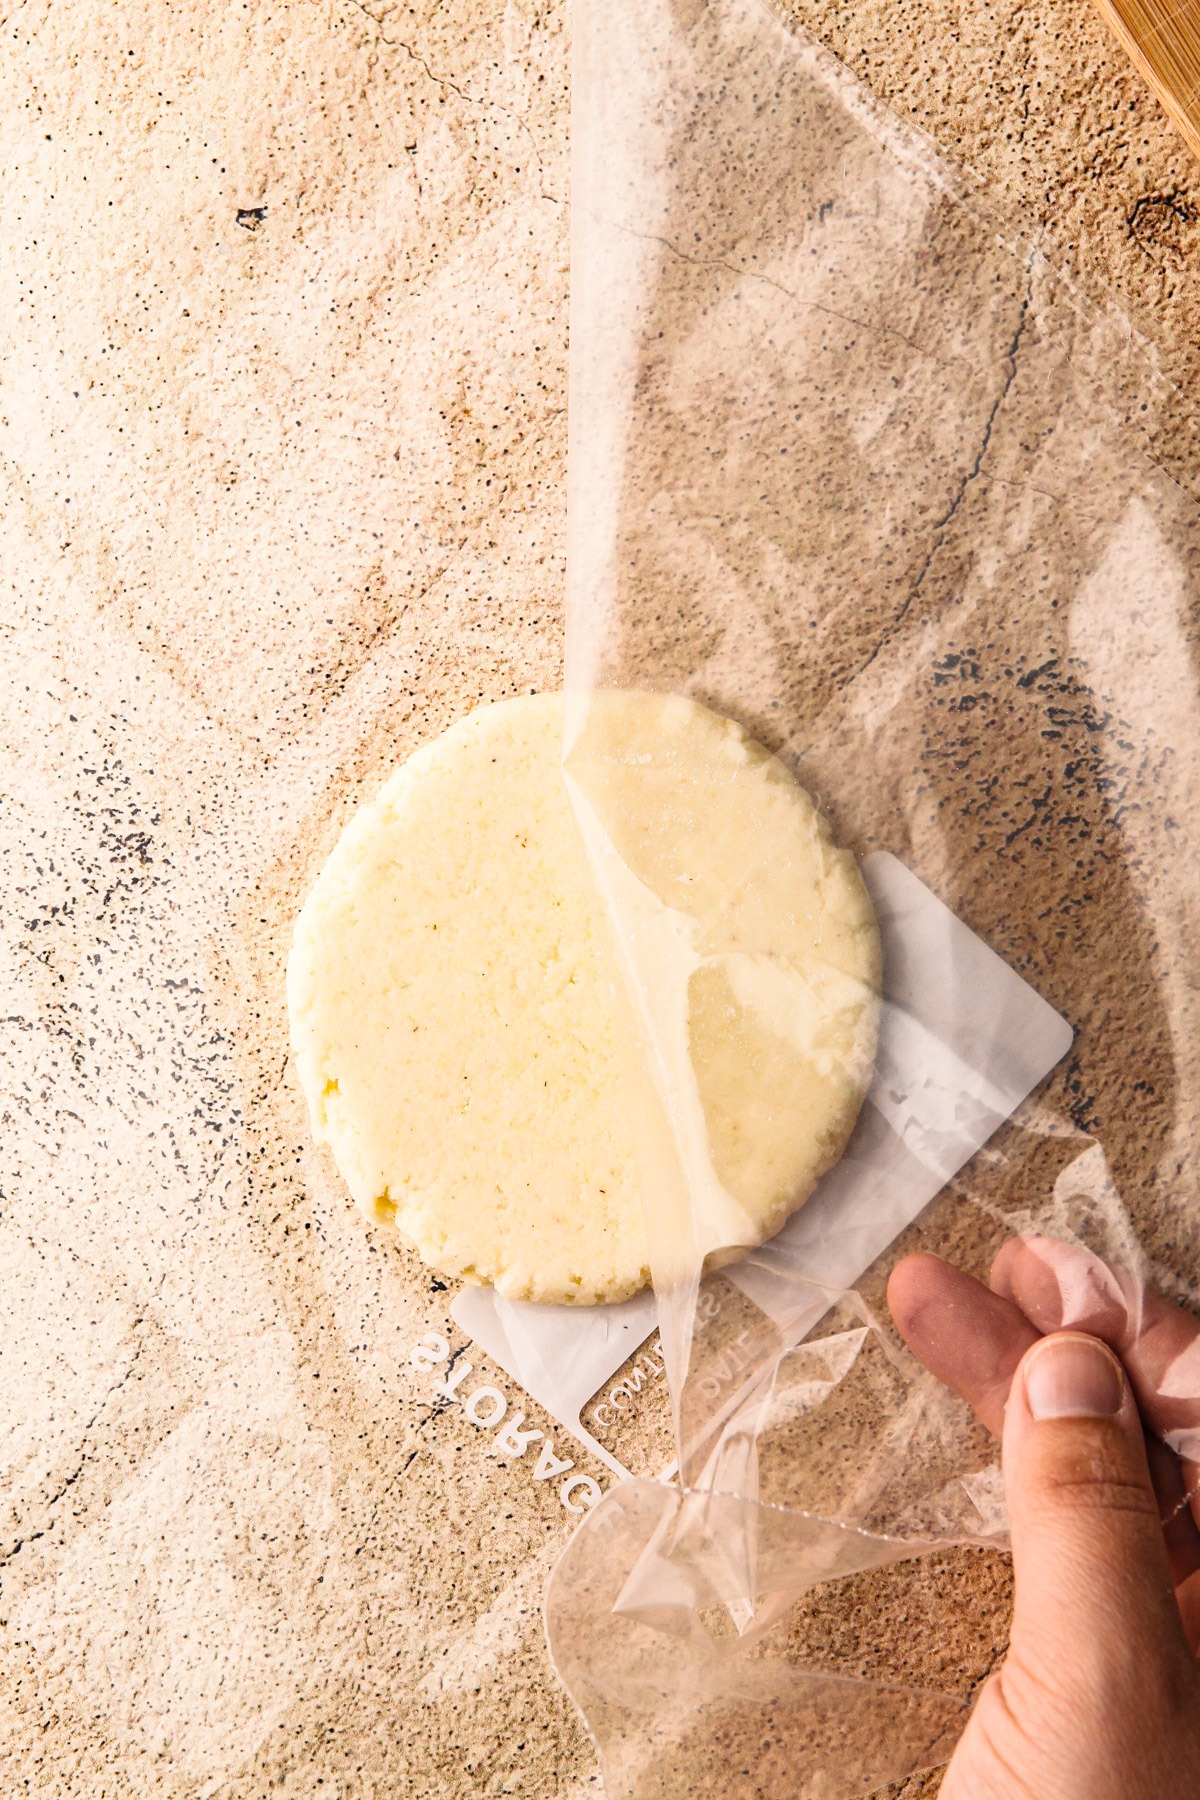
Step 4: Remove the top piece of plastic.
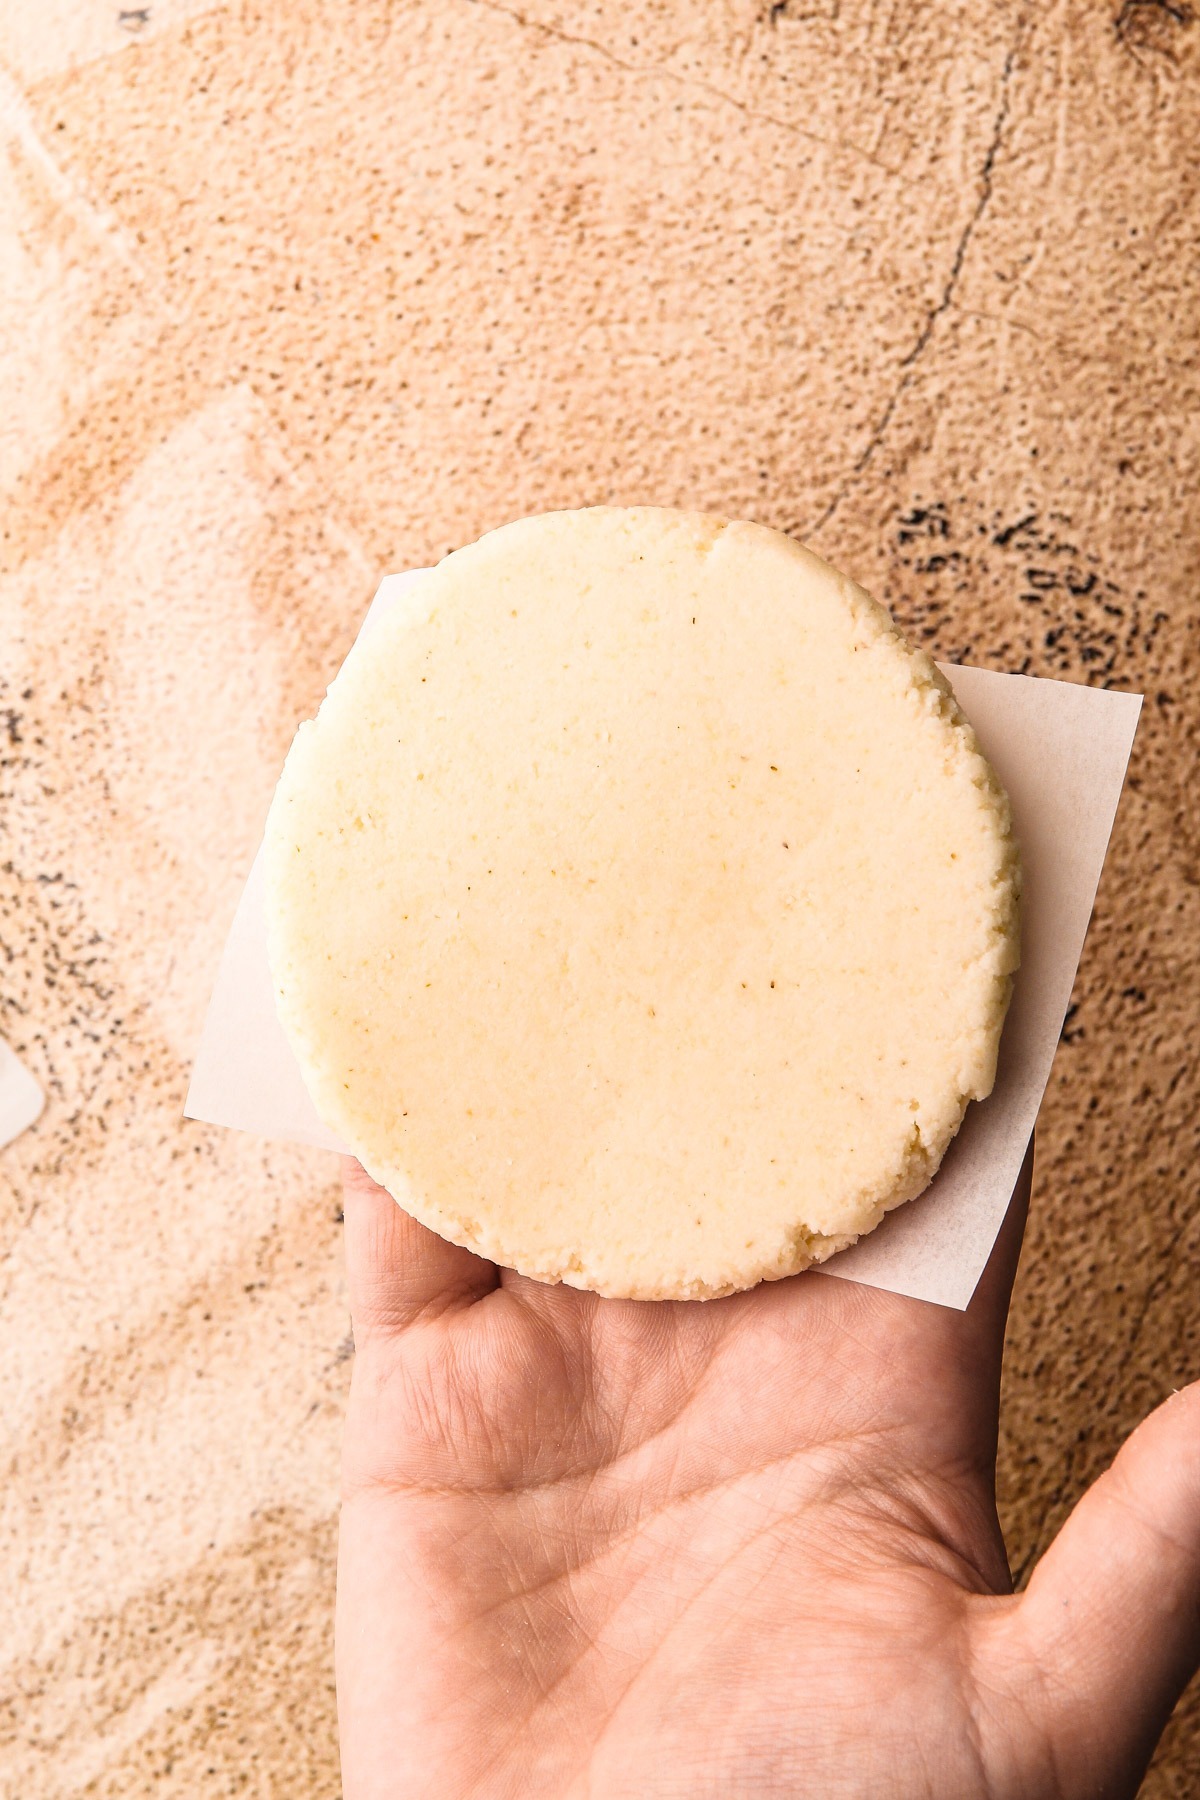
Step 5: Turn the arepa onto a piece of parchment paper.
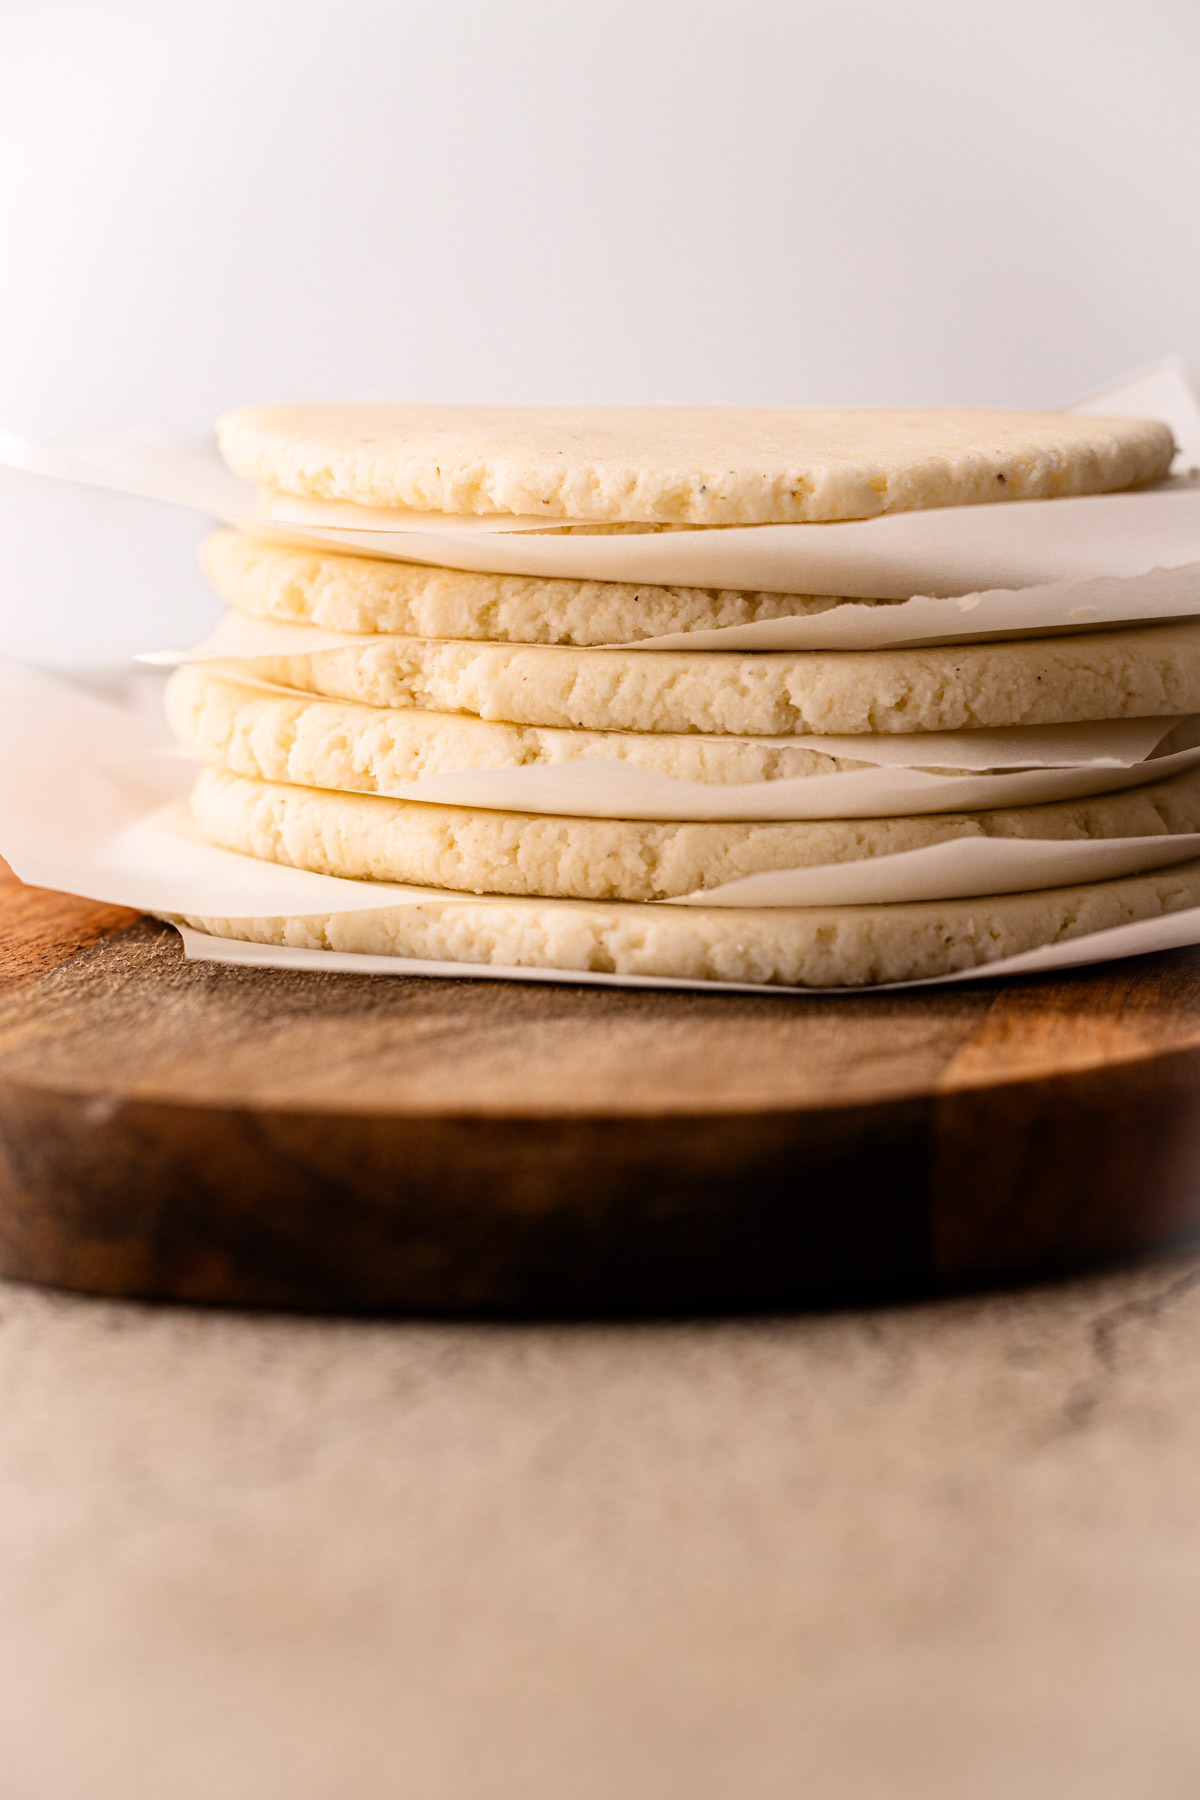
Step 6: Continue until all of the arepa dough is formed into flat patties.
How to Cook Them
There are several ways to cook arepas: grilling, cooking in a skillet, shallow-frying, or baking. In Colombian restaurants in the U.S., you'll often find grilled arepas cooked on "la plancha."
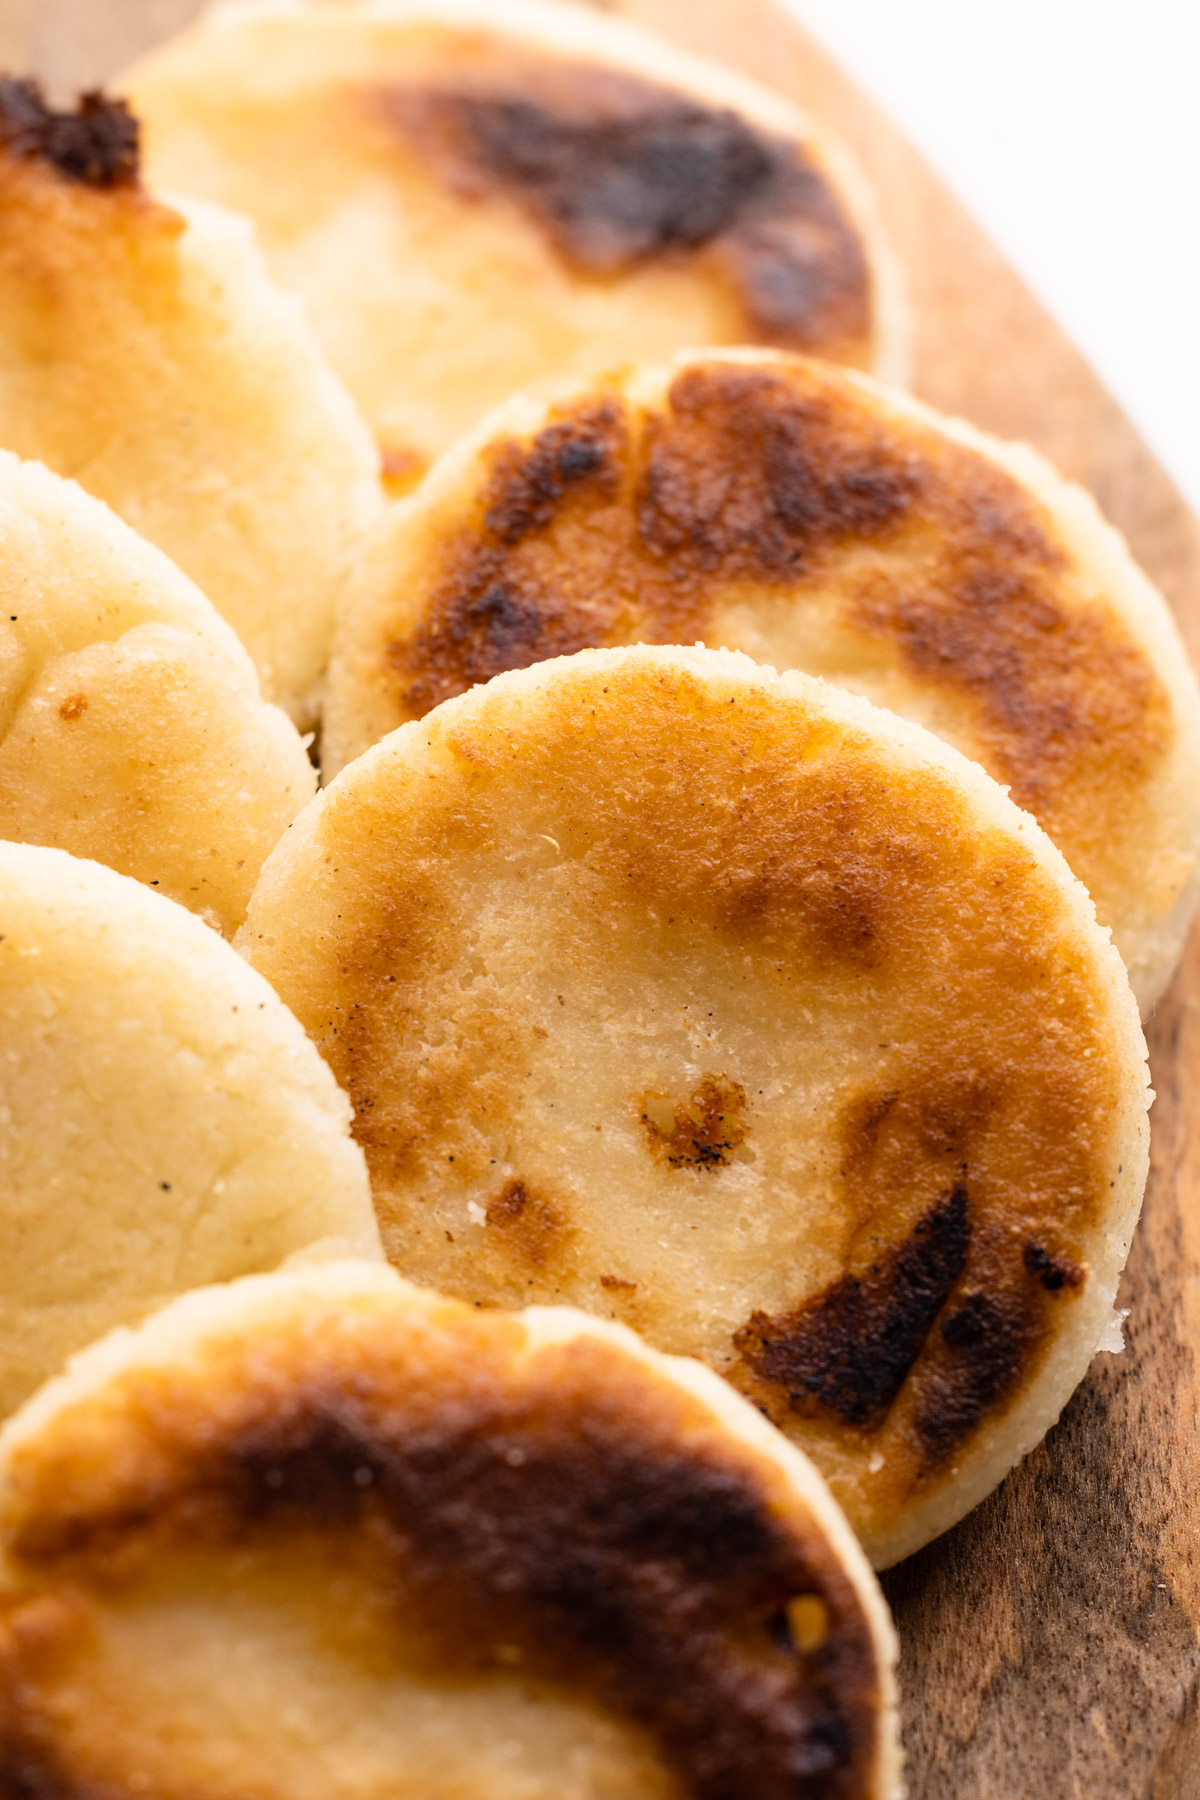
For "la plancha," preheat your griddle or grill well. Cook the arepas for about 5-7 minutes on each side, or longer for a darker color.
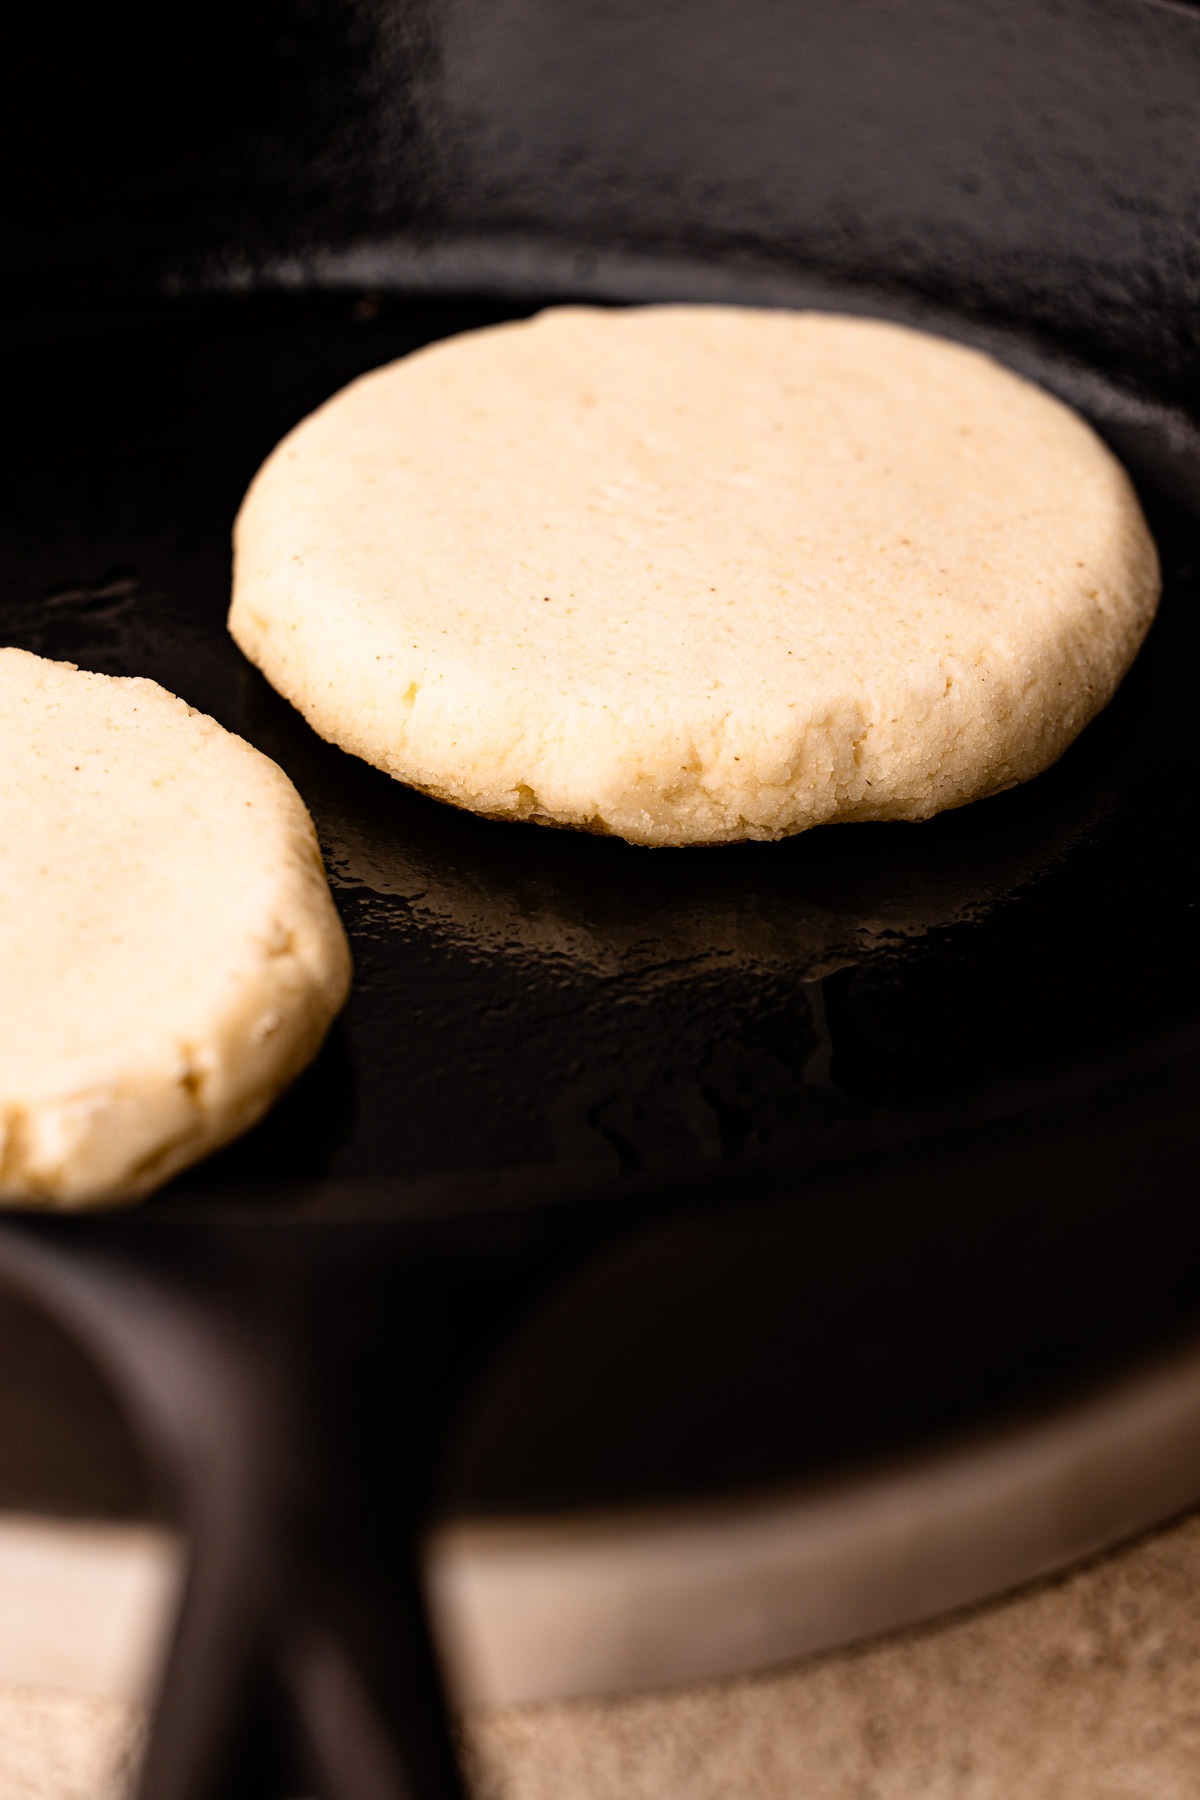
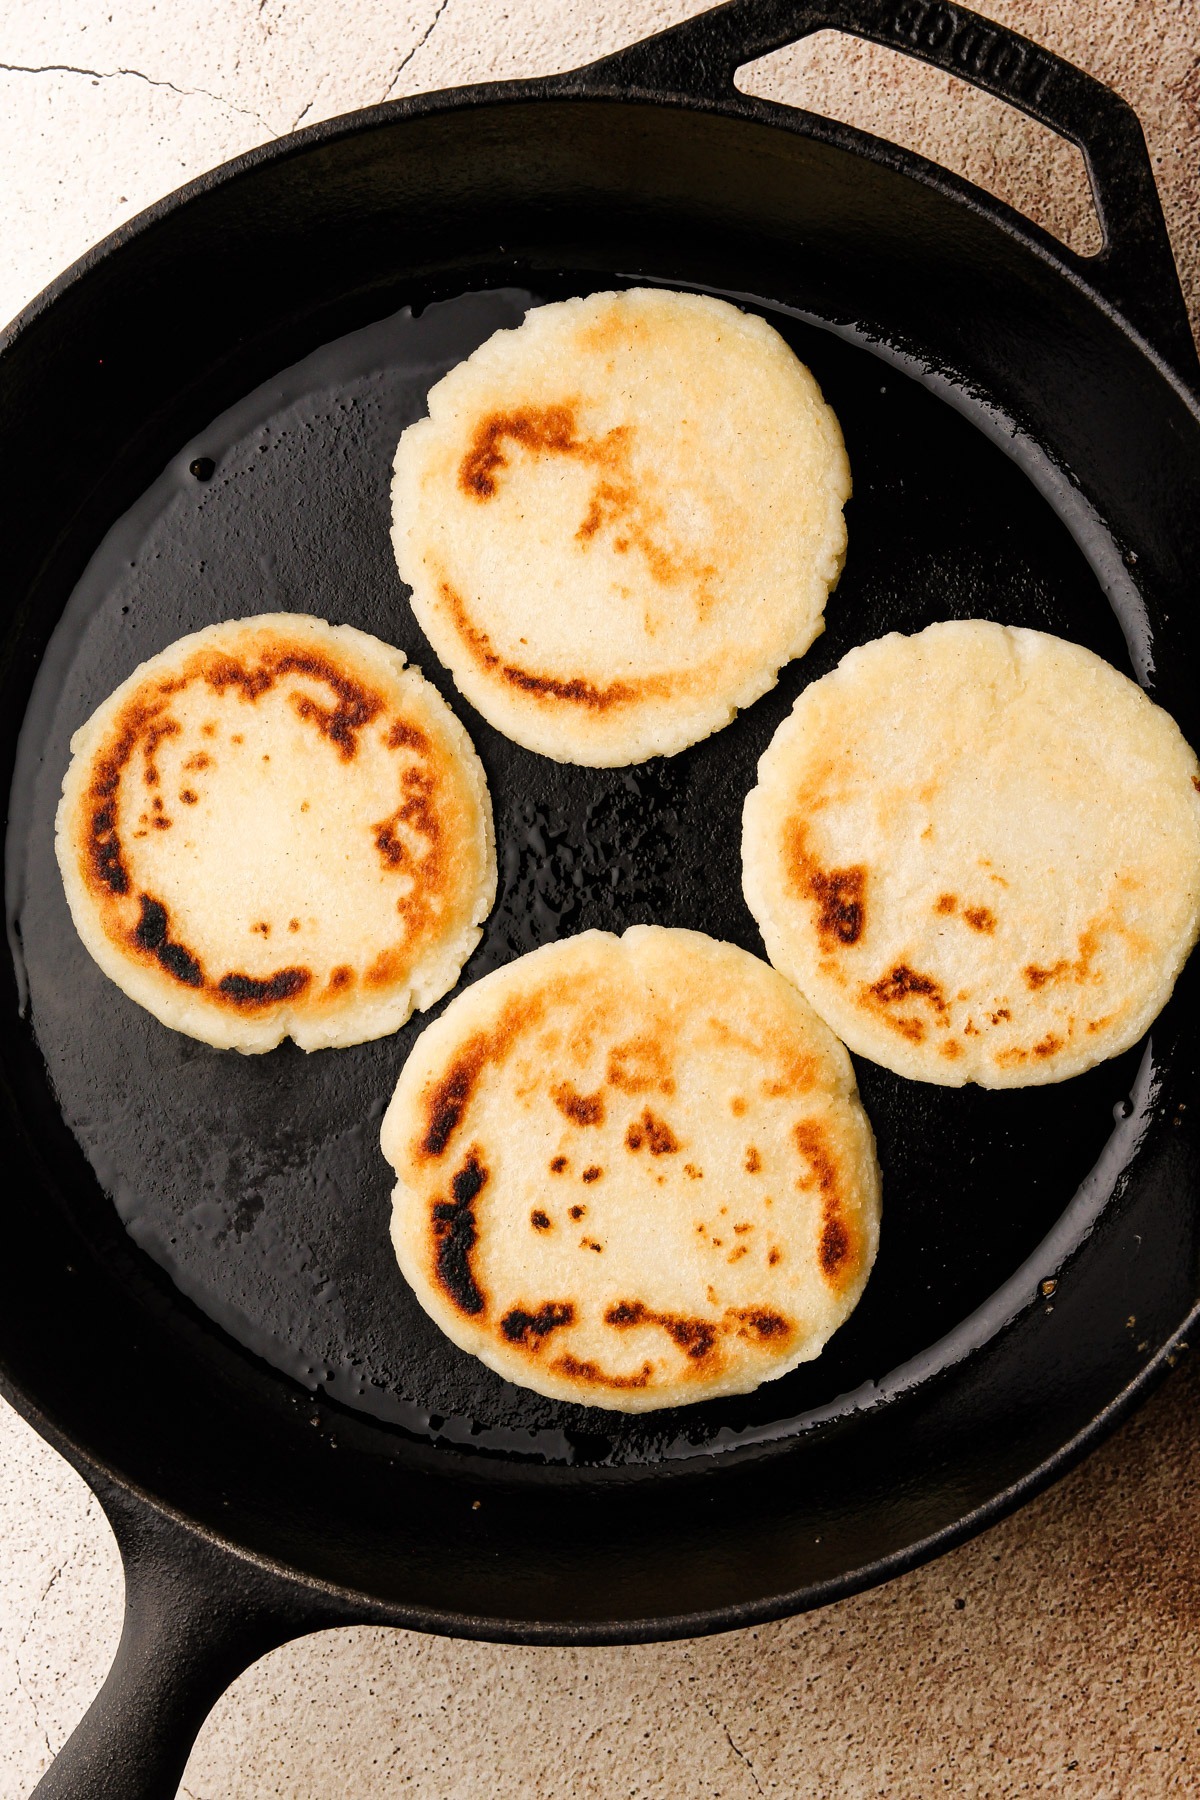
To cook in a skillet, preheat and lightly oil the pan. Cook over medium-low heat until the arepas are darkened in spots, flipping as needed. Sometimes, I add a couple of extra tablespoons of oil to get a crisper exterior surface. Experiment to find your favorite cooking style.
Kelli's Best Tips
After many years of making arepas, here are all of my useful tips for success:
- I use a muffin scoop to portion out the arepa dough, but you can estimate the size if you prefer. Arepas can be any size, but larger ones take longer to cook.
- Make the arepas "assembly style," meaning first scoop all of the dough and then shape all of it.
- If you want a cleaner edge on your arepas, a helpful trick is to roll the flattened disk on its side on a flat surface until the edges are even. While Cristina never had to do this, as her arepas were always perfectly even, mine never are, so this is the trick I sometimes use!
- When my kids ask for cheesy arepas but I don't feel like stuffing them, I'll take a shortcut and add shredded cheese directly to the masarepa dough. The cheese will cook to crispy bits on the outside and melty bits on the inside.
- A cast iron skillet is an ideal pan in which to cook the arepas.
How to Serve Them
Arepas are best served fresh and hot from the pan, as in right away. If you've ever had a freshly cooked arepa with a pat of butter and a sprinkle of salt, then you know how amazing they are. My favorite breakfast is a fresh arepa with a fried egg and a dash of Ají Colombiano or hot sauce.
I cannot recommend storing any leftover cooked arepas. While I've certainly tried, reheated arepas never taste the same as fresh. But, it is possible to prepare the arepa dough ahead of time and cook it off fresh.
Make-Ahead Suggestions
Mercedes shared a fantastic tip with me for making breakfast arepas much easier to prepare: make and form the arepas, then sandwich them between pieces of parchment paper and loosely cover them with a towel.
Do not store them in an airtight container, as this will cause moisture to pool on the surface of the arepa dough.
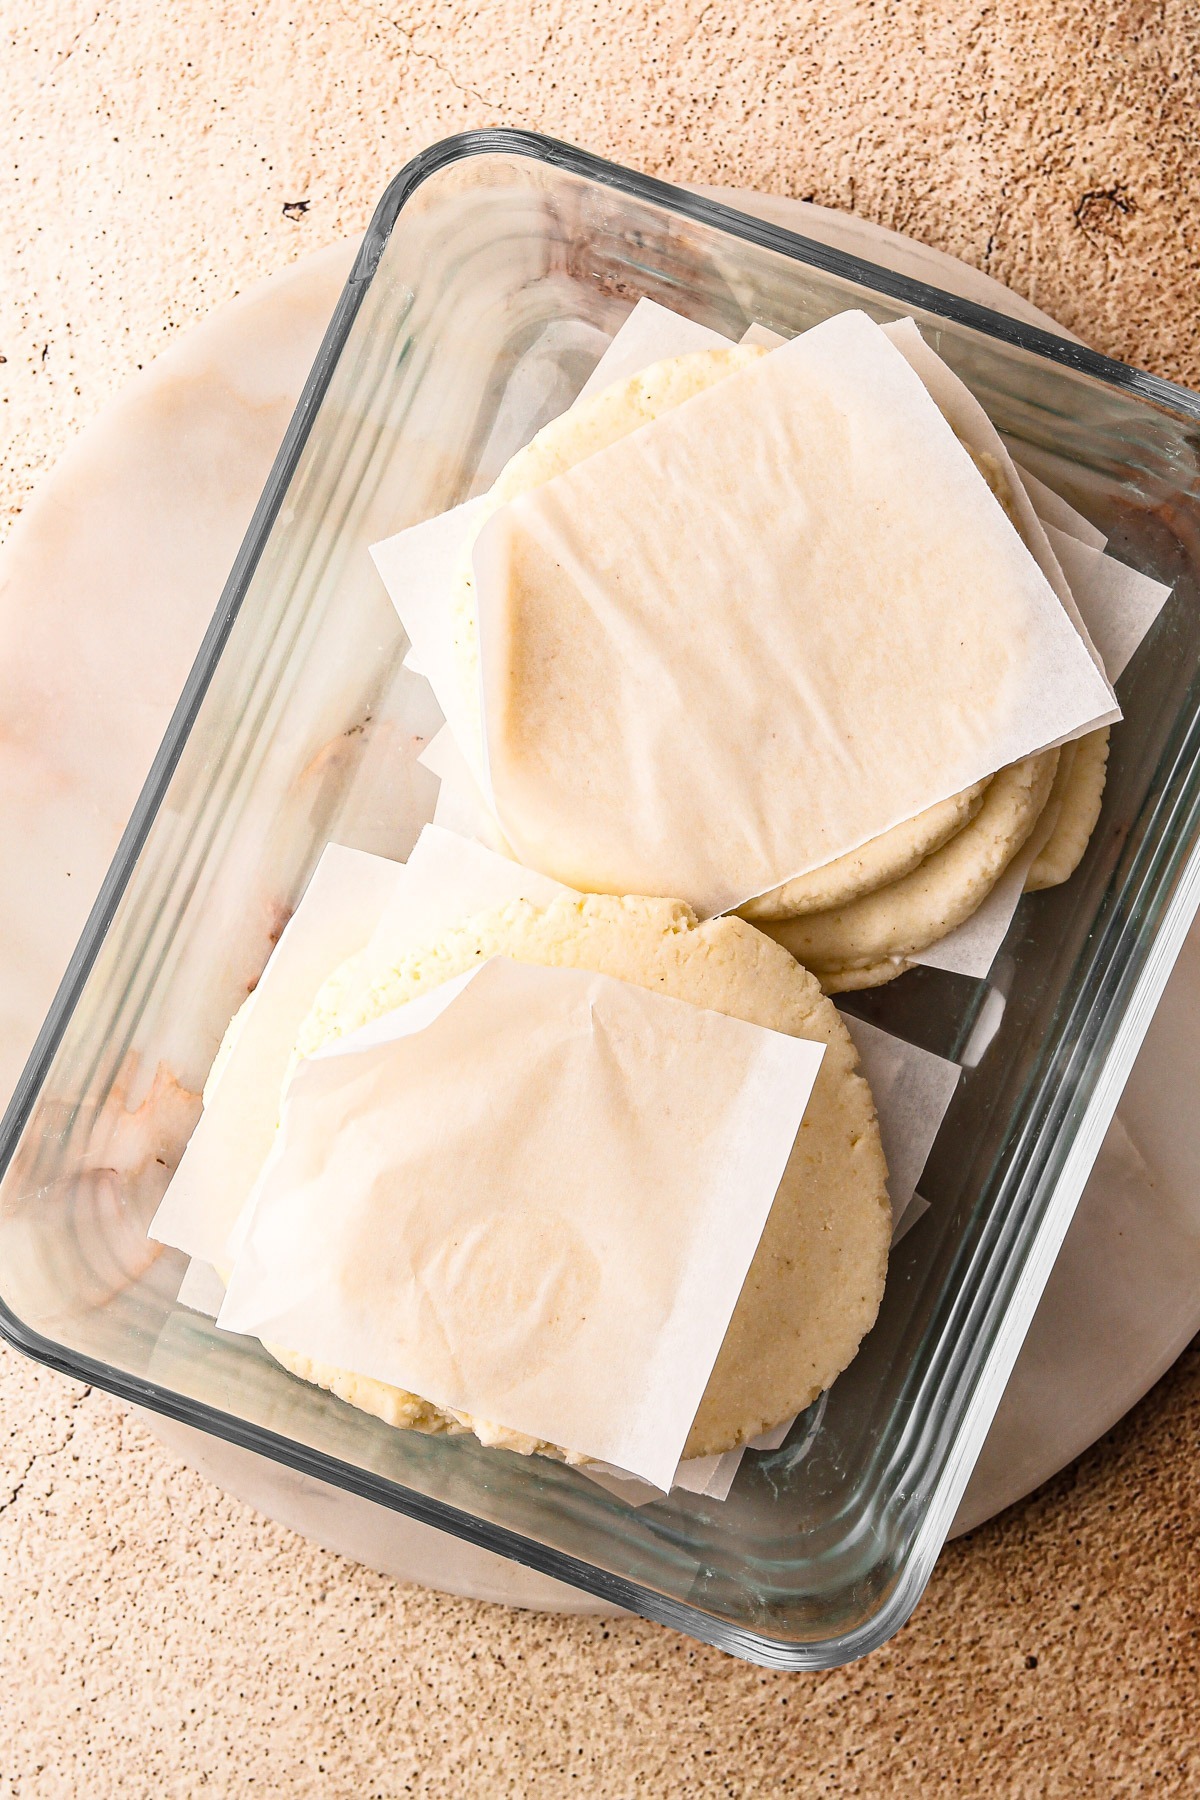
These preformed arepas can be stored in the refrigerator for several days. When you're ready to enjoy them, heat up the pan and cook the arepas as directed, with a slight increase in cooking time to ensure they're heated through since they'll be chilled from the fridge. It's a convenient way to have freshly cooked arepas for breakfast without the hassle of forming them each time!
More Colombian Recipes
Making this arepa recipe? Be sure to leave a comment with a star ⭐️⭐️⭐️⭐️⭐️ review on your experience! Have a question? Leave a comment below and I’ll get back to you as quickly as I can!
Full Recipe

How to Make Arepas
- Prep Time: 00:10
- Cook Time: 00:20
- Total Time: 30 minutes
- Yield: 6-10 arepas 1x
- Category: Side Dish
- Cuisine: Colombian
Description
Arepas, a flat corn cake made from a special type of cornmeal, are a staple in many Latin-American cultures. They are crispy, savory and the perfect side dish to serve up for any meal of the day.
Ingredients
- 2 cups (452 grams) warm water
- 2 tablespoons unsalted butter, softened
- 2 teaspoons coarse kosher salt
- 1 teaspoon granulated sugar
- 1-½ cups (240 grams) masarepa (see note)
- 1 tablespoon avocado oil or other high-heat oil, more as needed
Instructions
- Cut twelve 4-inch squares of parchment paper.
- In a bowl, stir together the warm water, softened butter, salt and sugar until the butter is mostly melted.
- Add in the masarepa and stir with a wooden spoon or rubber spatula until fully combined.
- Let the dough sit for 3 minutes to fully hydrate. It should be the consistency of playdough. It should be soft but not so wet that it sticks to your fingers. If the dough is too wet, add more masa a tablespoon at a time until it has reached a soft, non-sticky texture. If it’s too stiff, add more warm water a tablespoon at a time until it’s a soft, non-sticky consistency.
- Portion the dough into roughly ten ¼-cup balls.
- Working one at a time, pat each ball between your hands to make a flat cake, about 3 inches wide and ½-inch thick. To even out the edges, roll the edges of the arepa on a hard surface. Or, use a tortilla press or a plastic bag and a cutting board to manually flatten the arepas: Cut a large plastic bag (like a freezer bag) into two squares (these plastic pieces will prevent the dough from sticking to the press). Place one of the plastic pieces on a sturdy flat surface (or the tortilla press). Place a dough ball in the center of the plastic, then cover it with the second plastic square. Use a cutting board (or tortilla press) push down with firm, even pressure to flatten the dough until it’s about ½-inch thick, or your desired thickness.
- Place the arepa on a square of parchment paper on a plate.
- Moving quickly (so the dough doesn’t dry out) repeat shaping the remaining arepas, stacking the formed arepas on top of one another with a piece of parchment in between.
- Heat a large, heavy skillet over medium heat. Once hot, add the oil. Place as many arepas in the pan as can fit in an even layer. Cook until lightly golden on the bottom, 5 to 7 minutes. Moderate the heat as needed.
- Flip and cook for an additional 3 to 5 minutes, or until the arepas are golden on both sides. Remove from the pan, and repeat with any remaining arepas.
- Serve immediately.
Notes
Masarepa is not interchangeable with any other masa or flour. I recommend PAN brand.
The dough should be soft, like play dough, but it shouldn't be so wet that it sticks to your hand. After the dough has rested, pick it up and see if it's still very sticky. If it's too sticky, add in 1 tablespoon more masa at a time until the dough is just dry enough. The dough is more likely to be too wet than it is to be too dry, but it is possible for it to be too dry. If you haven't added enough water, the dough will easily crack as you form it into its shape. In this instance, add 1 tablespoon more water at a time until the dough is easily formed into an arepa without cracks.
The arepas can be prepped ahead of time and stored uncooked. Form the arepas, then sandwich them between pieces of parchment paper. Place in a container with a dry cotton towel over the top. These pre-formed arepas can be stored in the refrigerator for several days. When you're ready to enjoy them, simply heat up the pan and cook the arepas as directed, with a slight increase in cooking time to ensure they're heated through. It's a convenient way to have freshly cooked arepas for breakfast without the hassle of forming them each time!
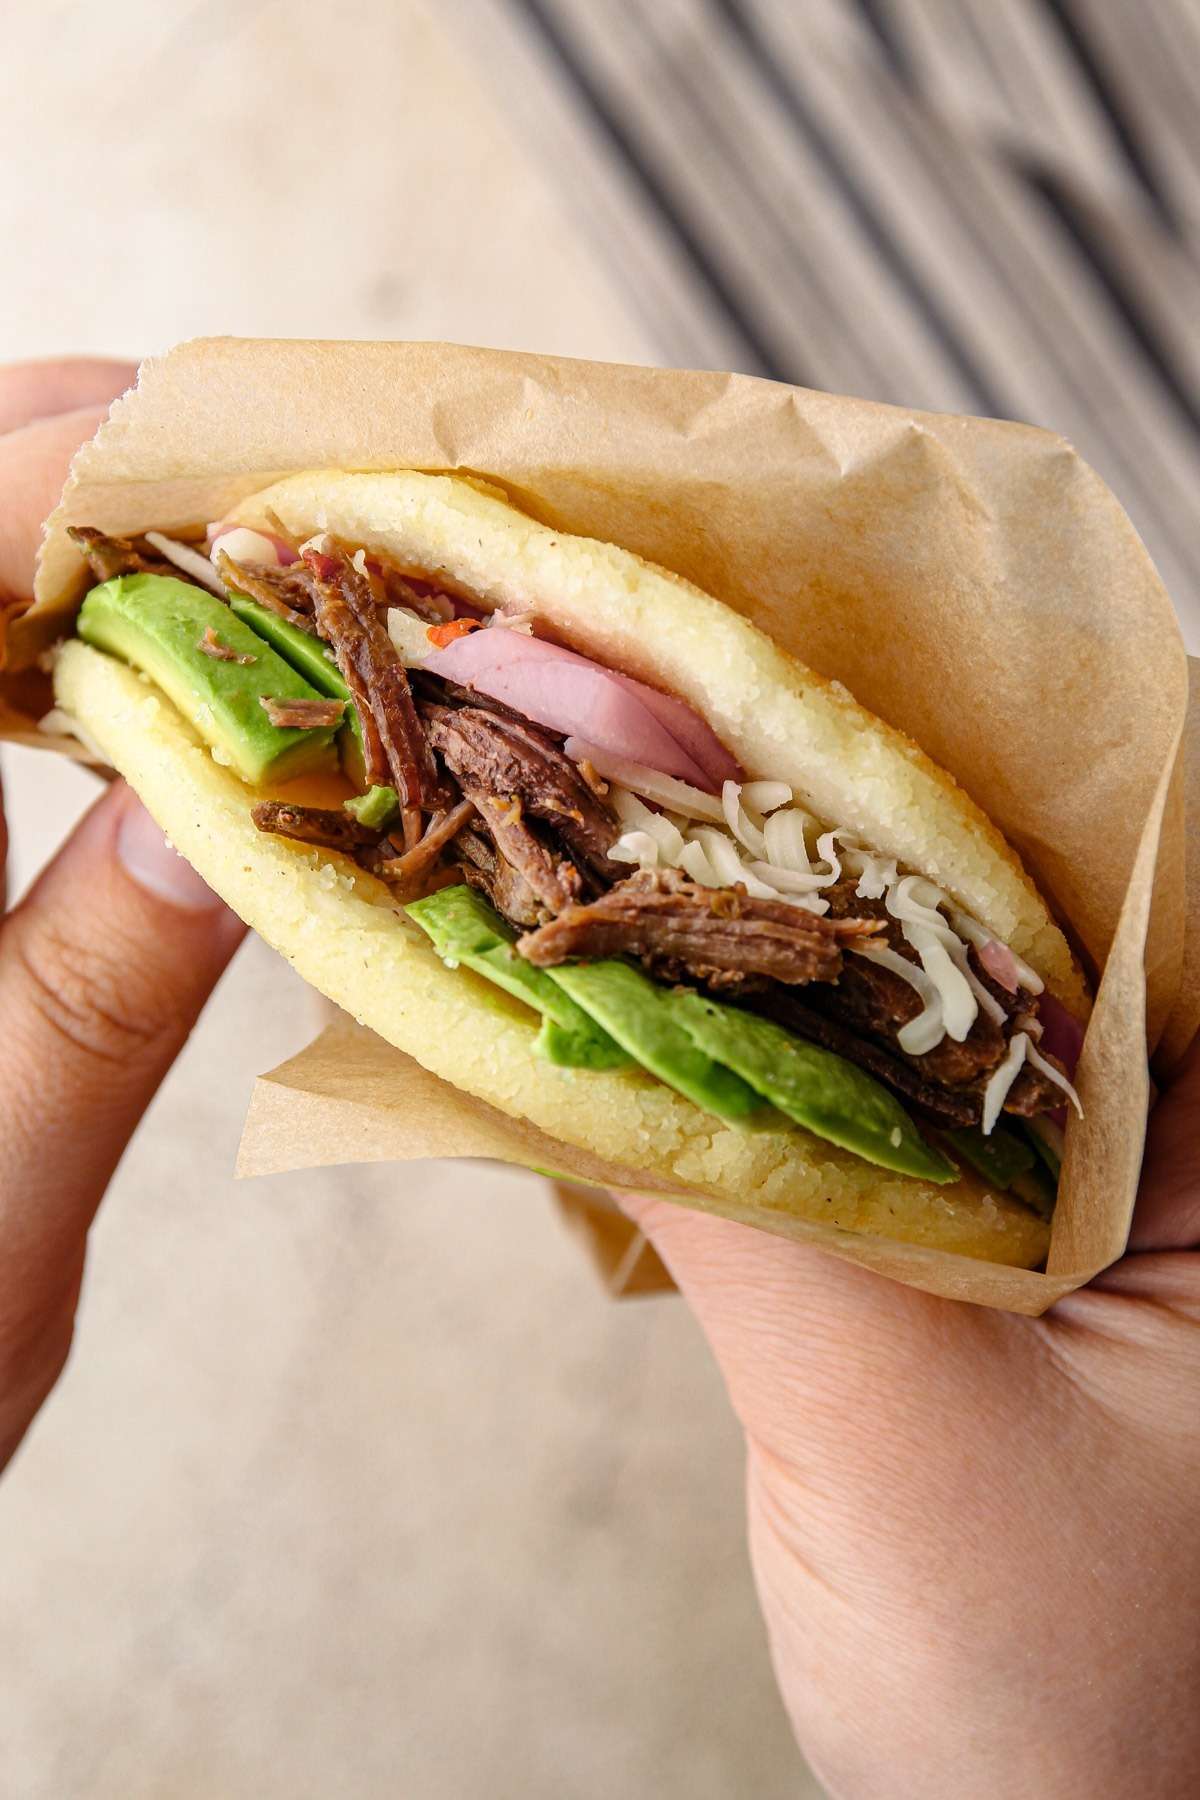
Arepas are made in all shapes in sizes. They can also be stuffed before and after they are cooked. If you want to make arepas to turn into sandwiches, make them on the larger size, about 4-inches wide by ¾ to 1-inch thick. They will take significantly longer to cook through, closer to 10 minutes per side. Let them cool before slicing open and stuffing with your filling of choice. In our family, we love to stuff them with shredded meat, avocado, cheese and aji.
This recipe was tested using Diamond Crystal coarse kosher salt. If you use Morton's kosher salt or fine salt, decrease the volume by half.








Leave a Reply